Continuous Data Protection has become a core capability within Veeam Backup & Replication since its introduction several years ago, quickly establishing itself as the method to protect mission‑critical workloads where even minimal data loss is unacceptable.
Despite its strengths, CDP has carried one notable limitation around it’s platform support. Its dependency on VMware vSphere restricted replication to vSphere based virtual machines only, preventing its use across other infrastructure platforms.
That’s where Universal CDP comes in. Recently introduced in V13, it extends support to protect physical and cloud based workloads as well as virtual machines across other hypervisors through the use of a software based CDP agent.
This change in architecture has dramatically broadened the scope of what can be protected, opening the door to a far more flexible and inclusive workload coverage.
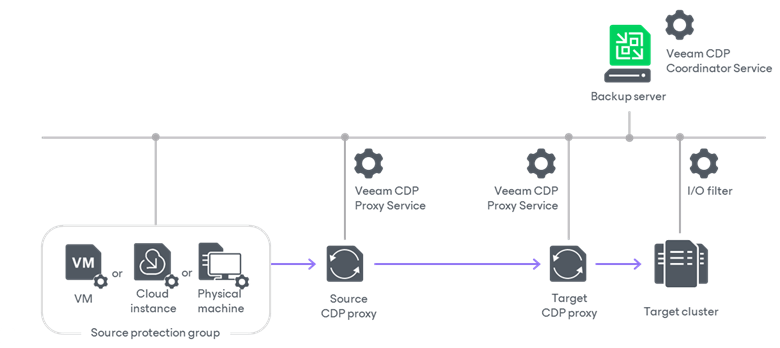
If you’re already familiar with how traditional CDP operates, you’ll notice that most of the infrastructure in the diagram remains unchanged, with the exception of the Source protection group. Protecting “Universal” workloads with CDP is made possible through a Protection Group which deploys a CDP agent service and Volume Filter Driver. Together, these components intercept I/O data operations on the source workload and send them through the source CDP proxy towards the target cluster.
In terms of operation system requirements for source workloads, the following are currently supported:
- Microsoft Windows Server 2025
- Microsoft Windows Server 2022
- Microsoft Windows Server 2019
- Microsoft Windows Server 2016
Deployment
Let’s walkthrough an end-to-end deployment of Universal CDP to see what the process looks like. For this setup I’ll be deployment the below in my lab:
- Source server: Windows Server 2025 (VM running on Proxmox host)
- Source CDP proxy: Ubuntu 24.04.3 LTS (VM running on Proxmox host)
- Target CDP proxy: Ubuntu 24.04.3 LTS (VM running on vSphere cluster)
- Target cluster: VMware vSphere 8.0.3
- Veeam B&R: 13.0.2
Source Server
Since I don’t have any physical hardware to deploy my source server onto right now, I’ve configured it as a virtual machine on my Proxmox host.
Once your source server has connectivity to the backup server we can go ahead and install the CDP Agent Service and Filter Driver onto it.
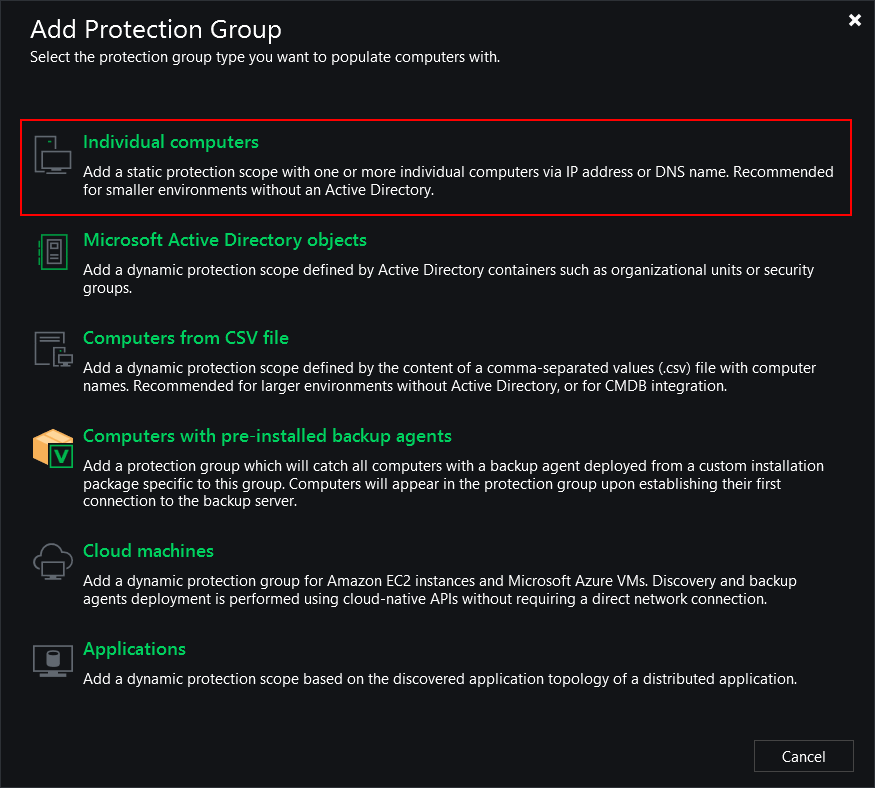
Under the Inventory view right click Physical and Cloud Infrastructure and select Add protection group

For this demo I’m choosing Individual computers which will open a wizard to create a new protection group.
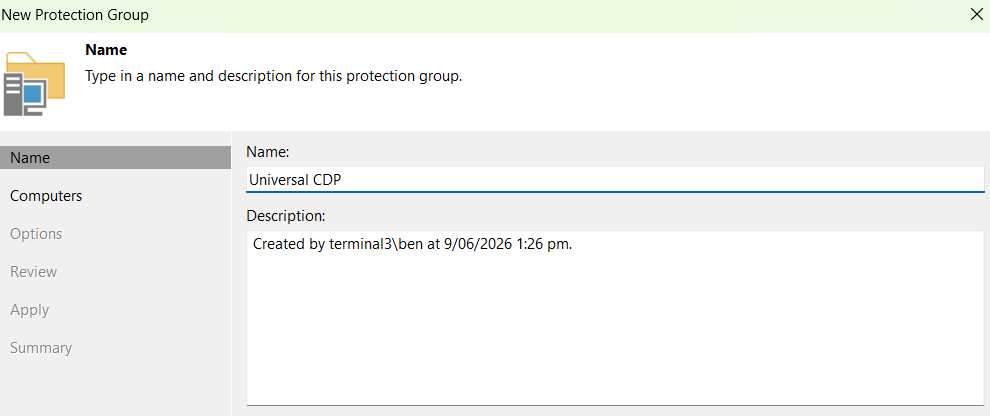
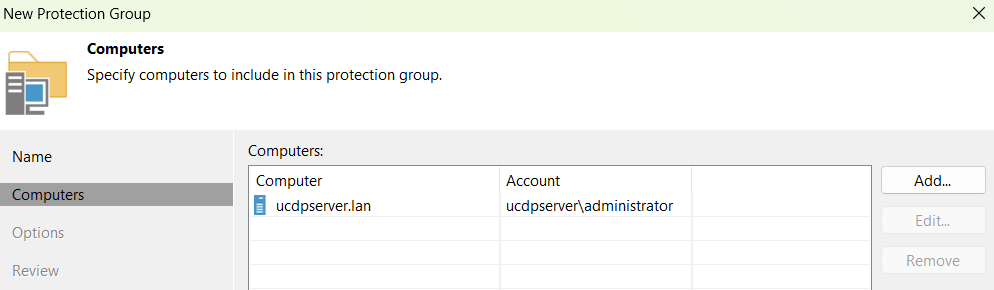
Walking though the wizard steps, I’ll give the protection group a name and add in my source server:
It’s also worth clicking the Test Now button to make sure the backup server is able to connect to the source server and test the credentials.
On the next screen check the box beside Install CDP agent. This will ensure the CDP Agent Service and Filter Driver are both installed.
This process does require a reboot can be performed automatically by checking Perform reboot automatically if required. Alternatively for sensitive production workloads you can leave that option unchecked and schedule the reboot manually.
The Install backup agent option can be unchecked as it isn’t required for CDP.
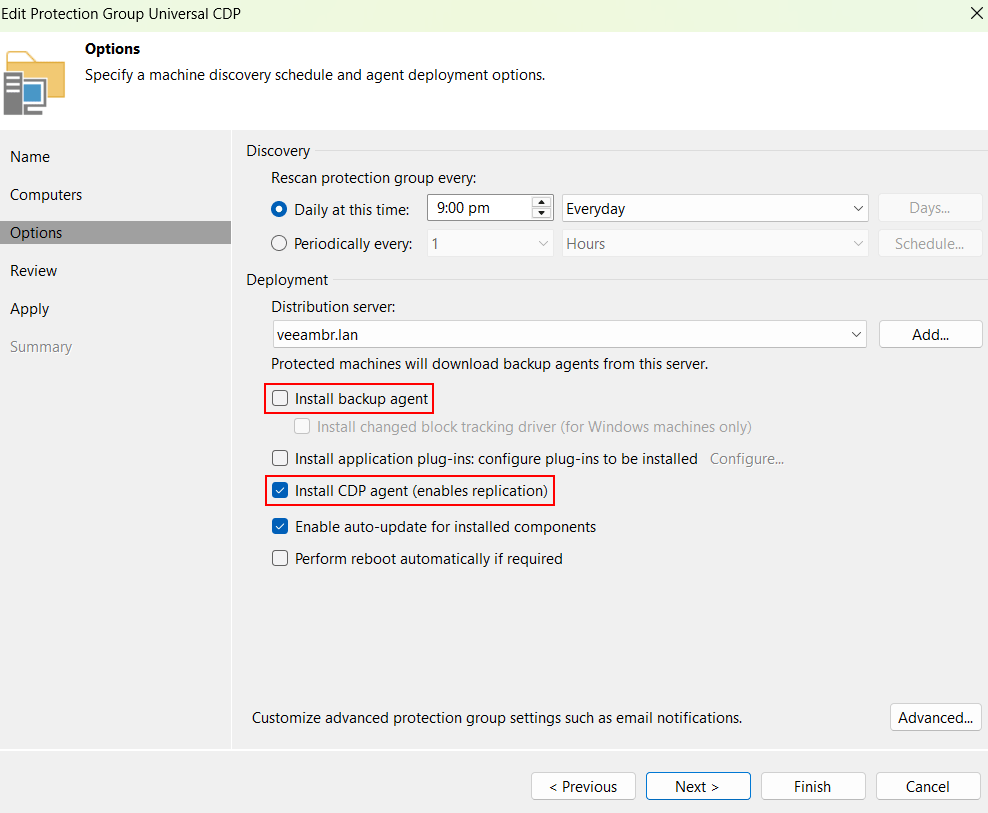
Click Next and then Apply to create the configured protection group.
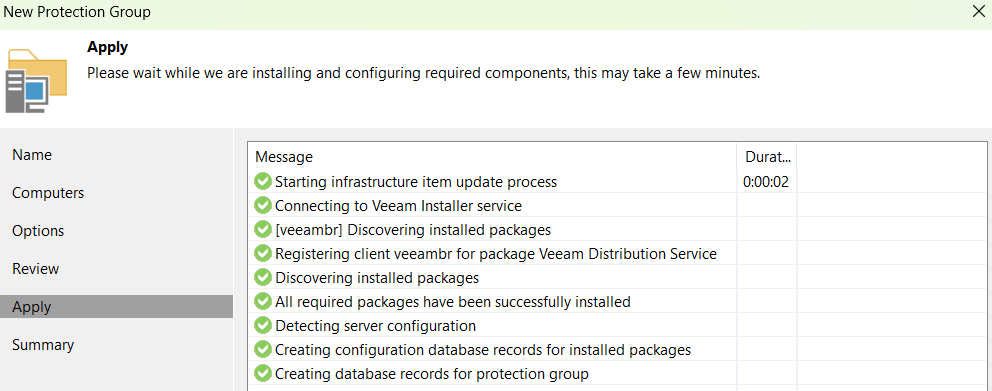
Once complete click Next then Finish to exit the wizard and start the discovery process.

Once the Machine rescan window appears, all required software packages are transferred to the server and installed. If the Perform reboot automatically if required option was selecting in the previous step the server will automatically reboot during the process. Otherwise, you will see a warning appear stating that a reboot is required to complete the installation of the Filter Driver.
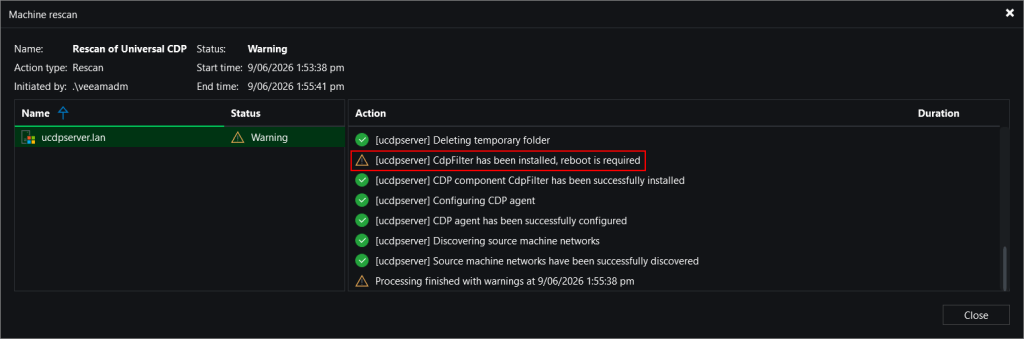
Once all tasks are complete we can move onto the next section.
CDP Proxies
When deploying CDP proxy servers on virtual machines, is it recommended to locate the source proxy on the source host and the target proxy on the target host. In my case, I have deployed a source CDP proxy alongside my source server on my Proxmox host and a destination CDP proxy on one of my ESXi hosts in my vSphere cluster.
Once the operating system is configured and connectivity with the necessary infrastructure components is established, we can add them as CDP proxies in the backup console.
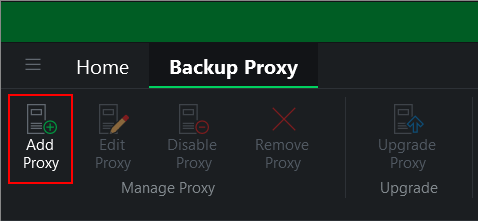
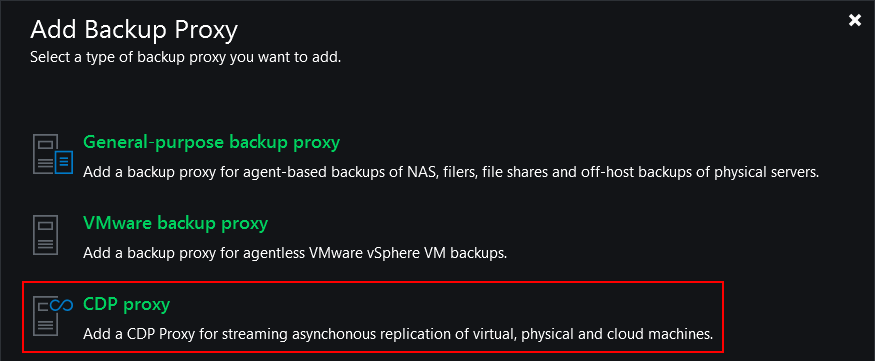
Under the Backup Infrastructure view select Add Proxy then CDP proxy
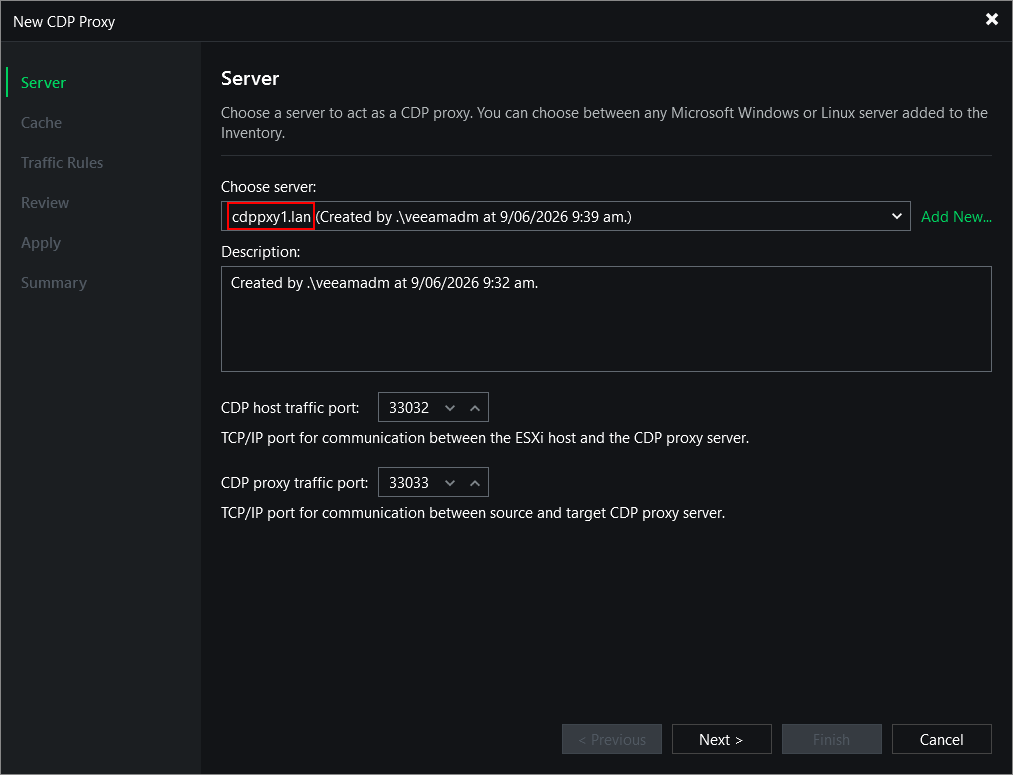
From the New CDP Proxy wizard, we first need to click Add New to add the CDP proxies as Managed Servers in Veeam.
Those steps are outside of the scope of this guide but are well documented online.
https://helpcenter.veeam.com/docs/vbr/userguide/linux_server_name.html?ver=13
https://helpcenter.veeam.com/docs/vbr/userguide/windows_server_name.html?ver=13
On completion of the above step, it jumps back to the CDP Proxy wizard where the Choose server dropdown box gets automatically populated with the CDP proxy name.
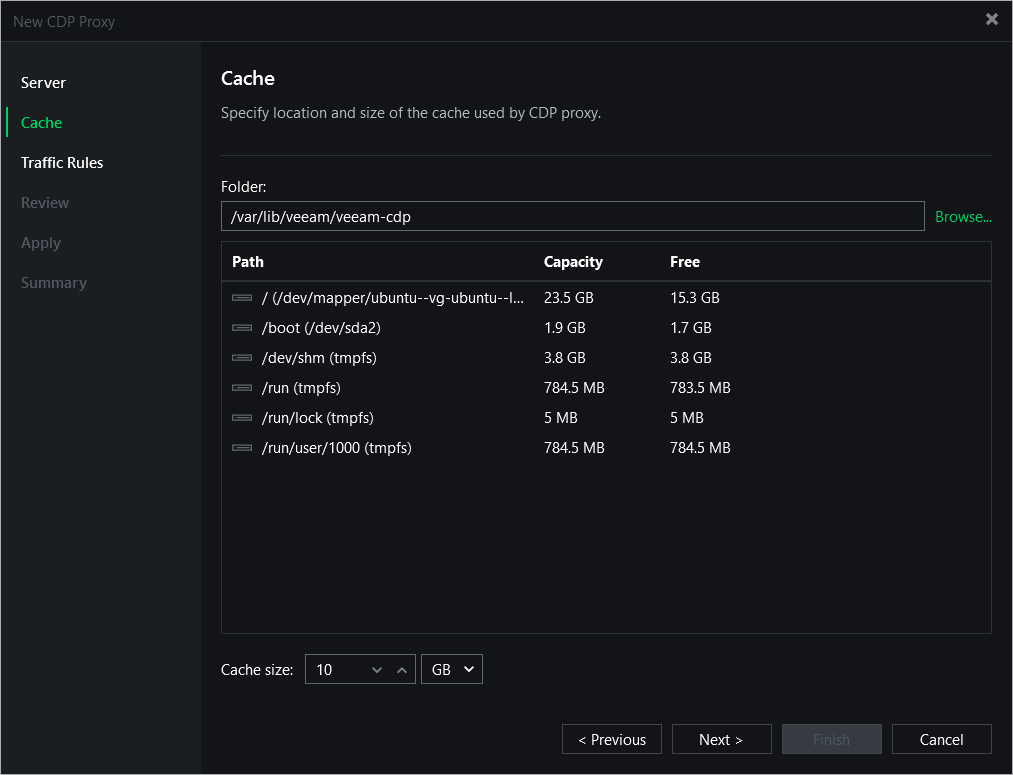
For the next step we will configure the cache, which is used to store the received data in the event the proxy runs of memory. For this deployment I will be using the defaults.
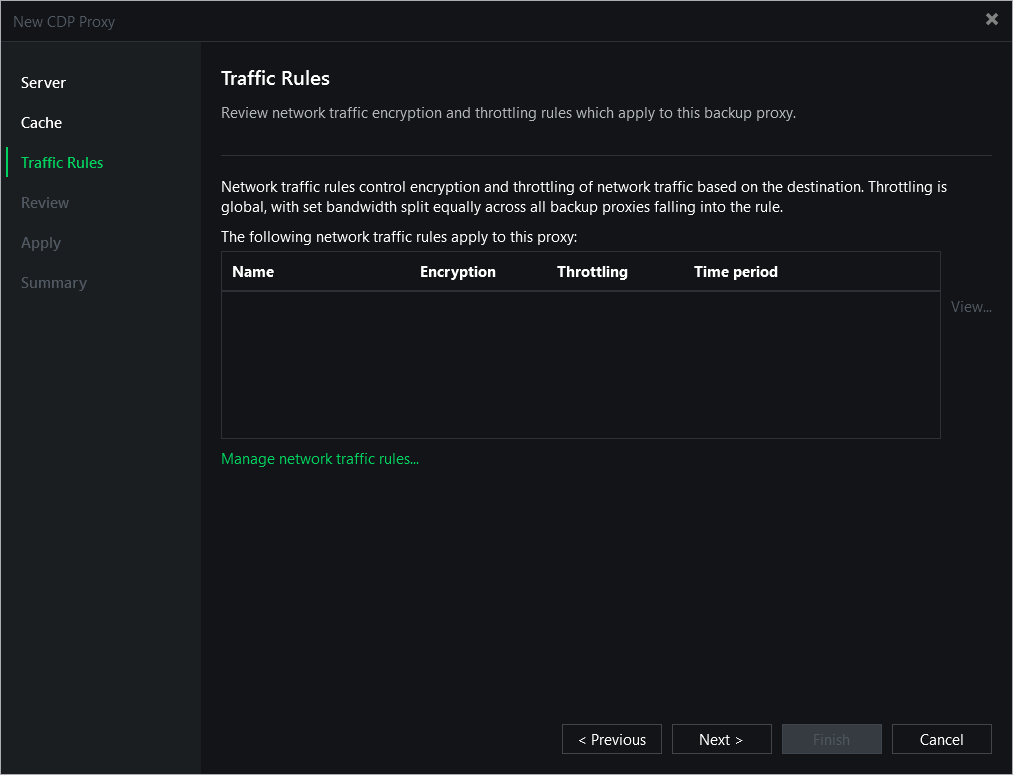
I’ll also do the same for the Traffic Rules.
When we review the settings, it shows the components that will be installed onto the proxy:
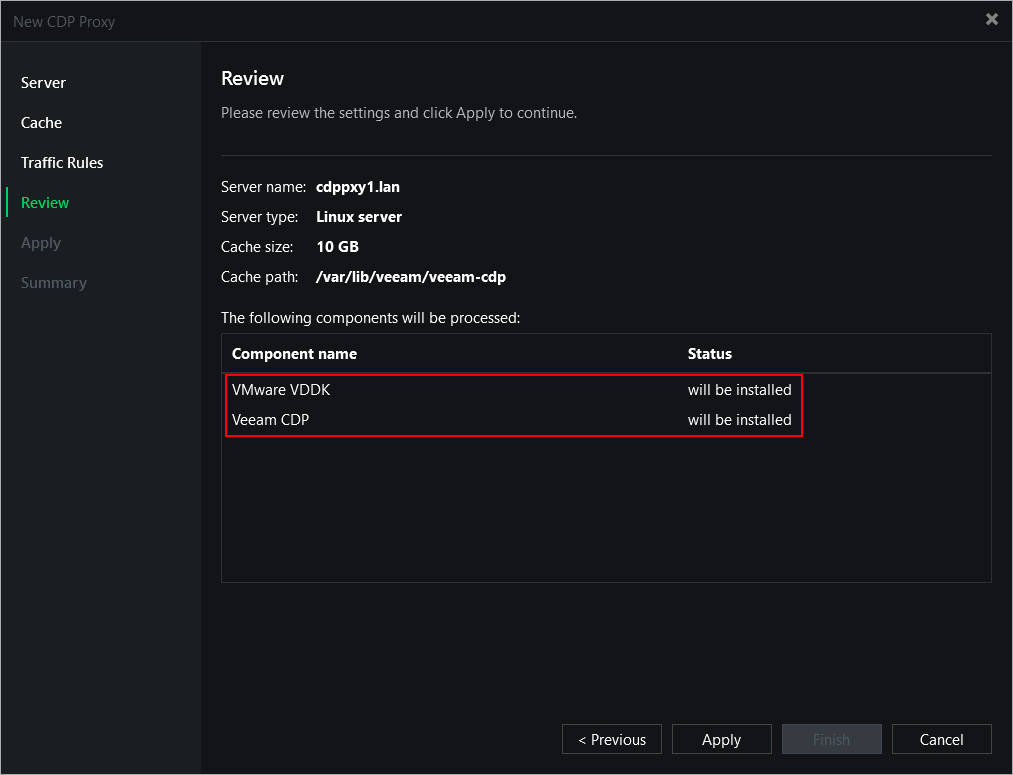
The Veeam CDP component is a light weight service that manages all CDP activities such as data aggregation, compression and decompression, as well as the transfer of data.
VMware’s Virtual Disk Development Kit is also installed to allow the proxy to interact with the vCenter and ESXi hosts.
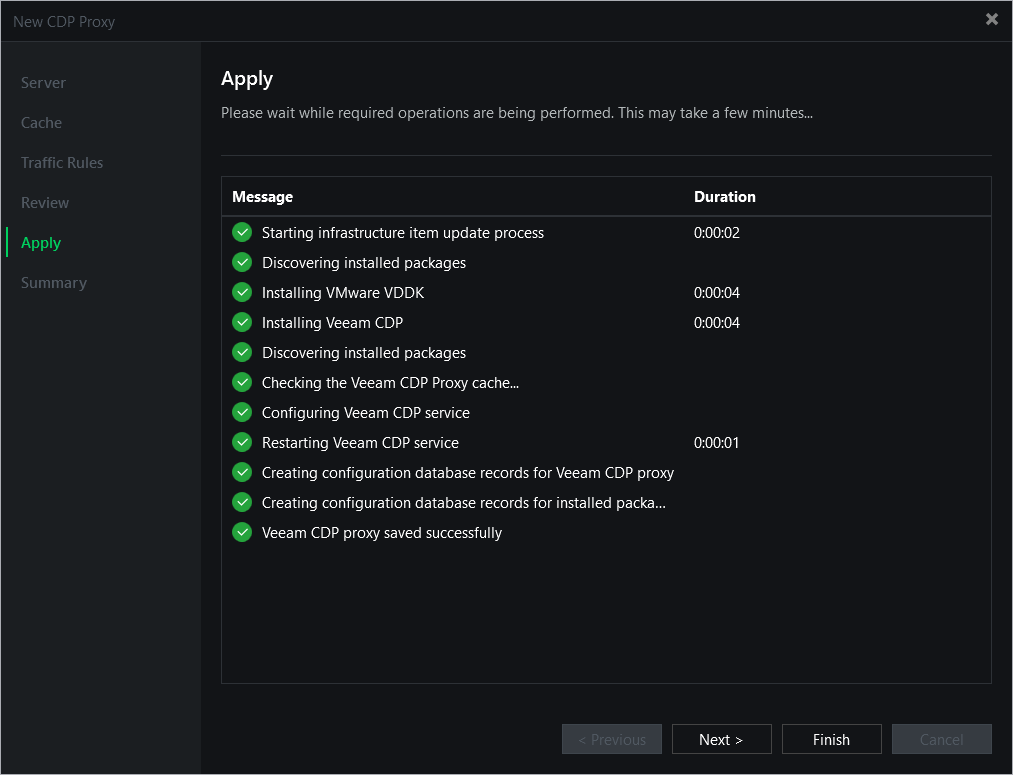
After clicking Apply, the packages are pushed onto the CDP proxy and installed.
Click Next and then Finish to complete the wizard. This process needs to be completed for both source and target proxies.
I/O Filter
The last stage in our deployment involves installing the I/O filter within the vSphere cluster. This is an important step as the I/O filter is responsible for processing data received from CDP proxies.
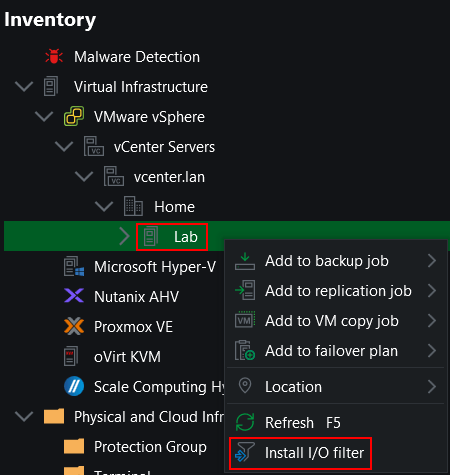
In the Inventory view, navigate to Virtual Infrastructure > VMware vSphere > vCenter Servers. Expand your vCenter name then expand the Datacenter and finally right click the cluster, selecting Install I/O filter
Select Yes when the below popup box appears.
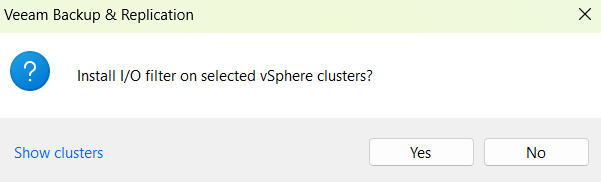
The I/O filter is then installed onto each ESXi host in the cluster.
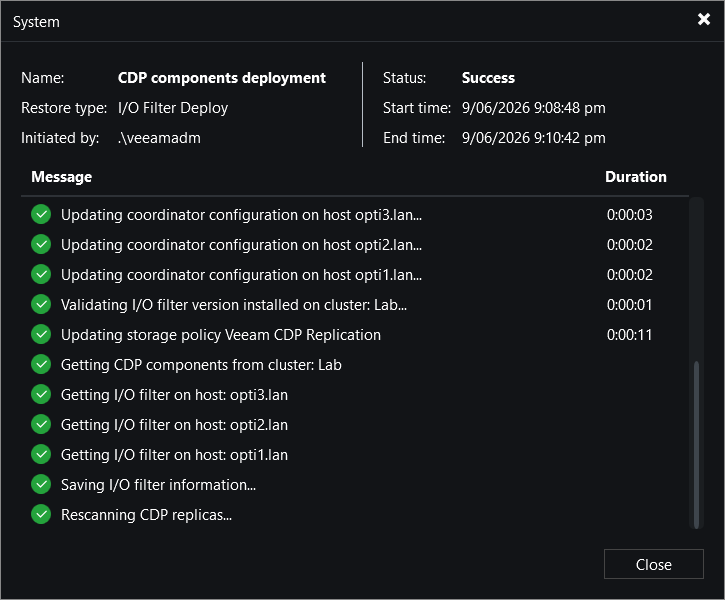
Once the task completes successfully, close the window. Now with everything in place, we can begin configuring the CDP Policies.
Create Universal CDP Policies
A CDP policy is what defines which workloads to protect, where to store replicas, how often to create short-term and long-term restore points, amongst other configuration options.
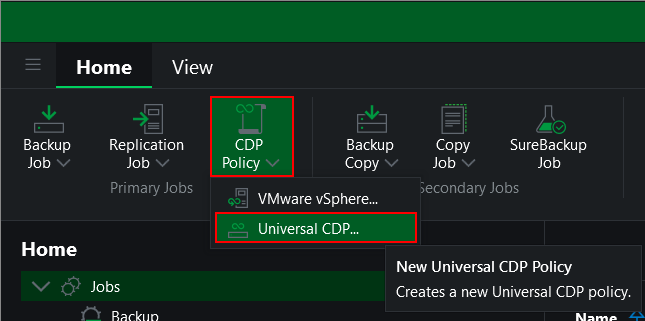
To get started, from the Home view click CDP Policy and select Universal CDP.
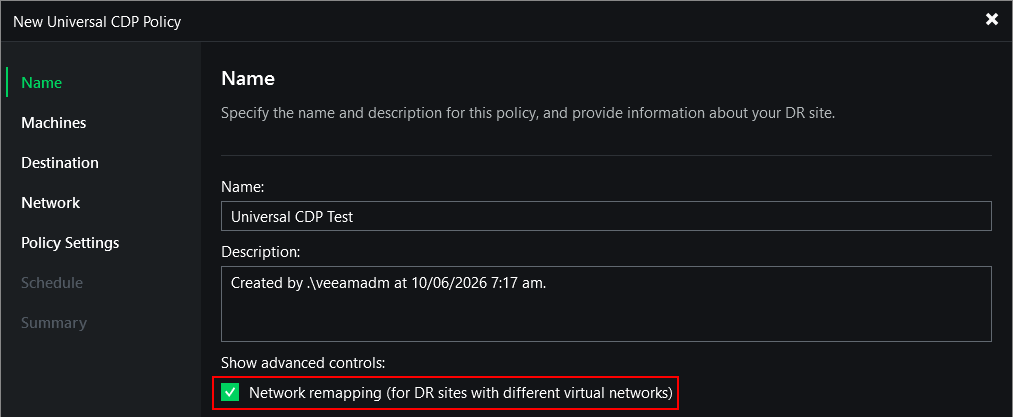
After naming the policy, I will select the Network remapping checkbox which we will come back to in a later step.
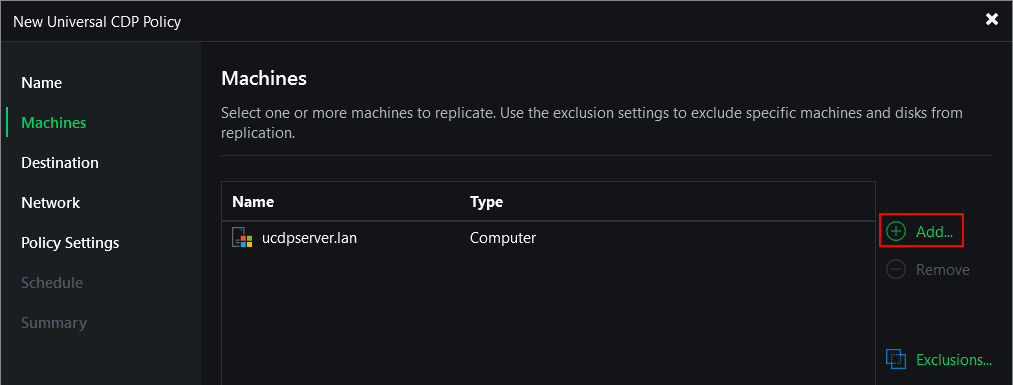
Next click Add and select the server from our Protection Group we setup earlier.
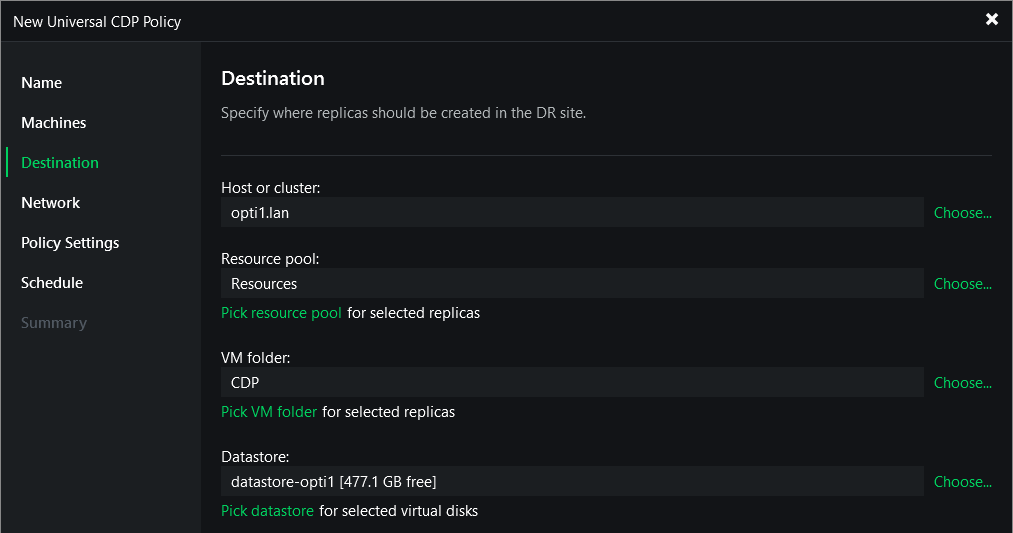
Now we move onto configuring the destination for our replica. In this step you need to select the host or cluster and the datastore that the replica will run on. You also have the option of assigning a resource pool and which folder the VM should be put into.
Next we need to decide how the network mapping should be configured. Click Network and select a suitable network in your DR site from the list.
Configuring this step enables Veeam to update the replica configuration and replace the production network with the specified network in the DR site rather than having to reconfigure network settings manually.

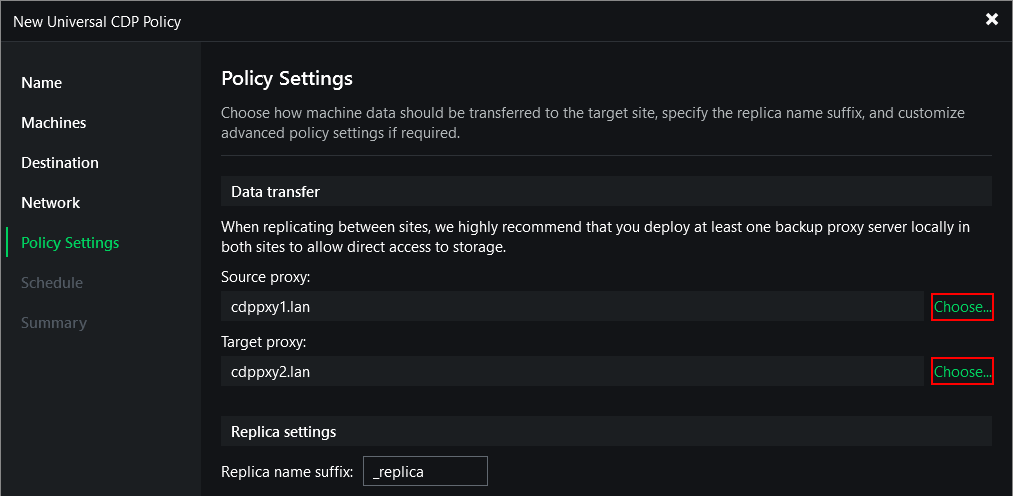
The next step is to configure how the data is transferred by choosing our source and target CDP proxies.
By default the source and target are set to Automatic selection which should result in Veeam automatically selecting the most suitable proxy server from the list. In this scenario, I’m going to manually specific my source and target proxies by clicking Choose then selecting Use the selected back proxy servers only.
We also have an option here to choose a suffix to help identify our replica.
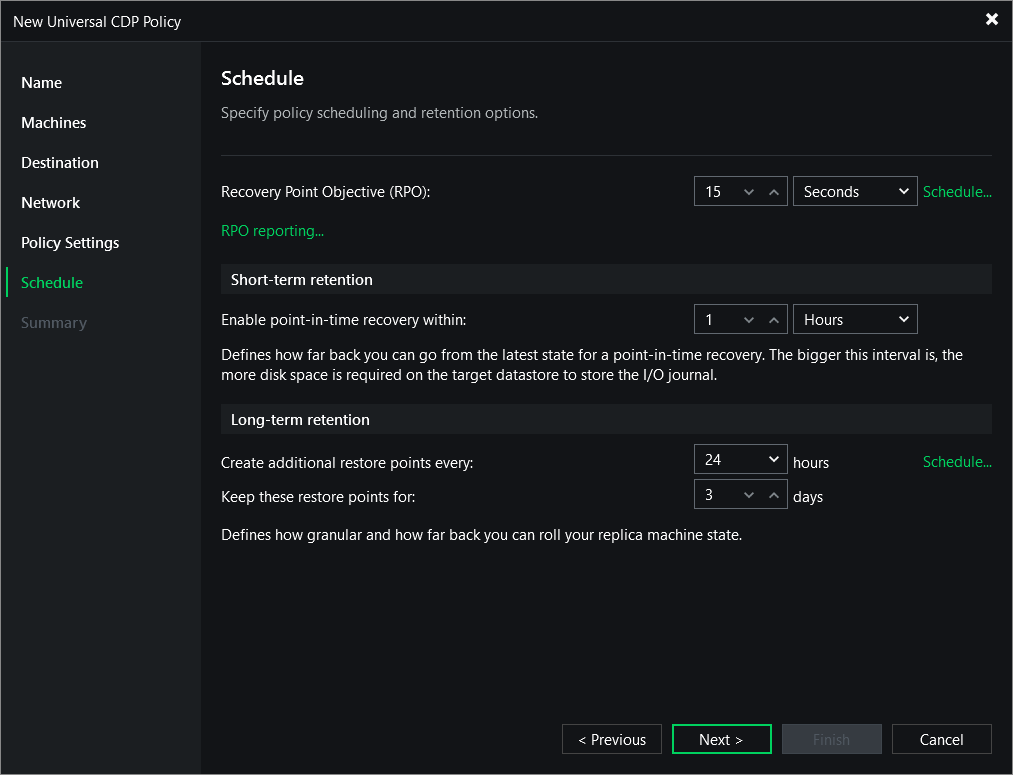
The last section relates to how the scheduling and retention should be configured.
The first thing to configure is your RPO which can be set anywhere from as low as 2 seconds right up to 60 minutes. For this demo I’m going to leave it as the default of 15 seconds.
Next up we’ll configure the short-term retention which is your point in time recovery. Setting this interval higher can be beneficial as it will give you more flexibility when it comes to a failover however be mindful that this will also increase the disk space requirements on your target datastore.
Lastly we need to configure long-term retention which gives you the ability to keep additional restore points at a less frequent schedule. This is useful for when you want to roll back to a point in time that is further back then your short-term retention.
It is worth mentioning here that Universal CDP policies do not support application-consistent restore points, meaning both short and long term restore points are crash-consistent only.
On the next screen click Finish to save the policy and start the initial sync.
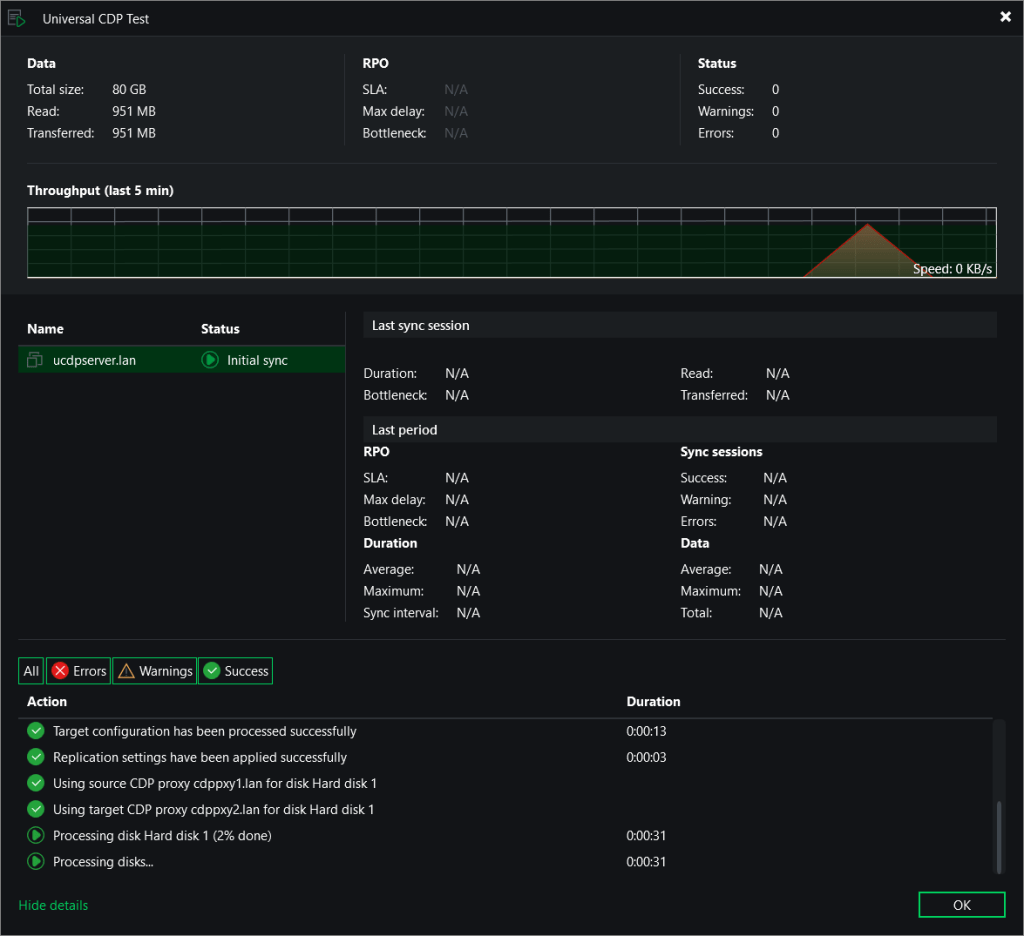
Once the initial sync is complete the status changes to Syncing.

Failover
With the job fully in sync, lets simulate a disaster recovery scenario by powering off the source server and failing over to the replica.
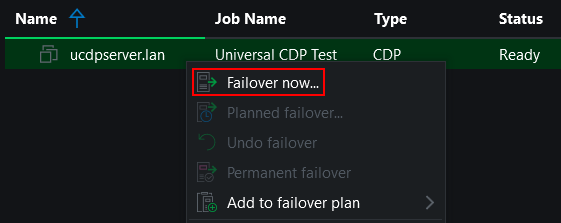
From the Home view we need to navigate to Replicas > Ready then right click the Universal CDP server and select Failover now.
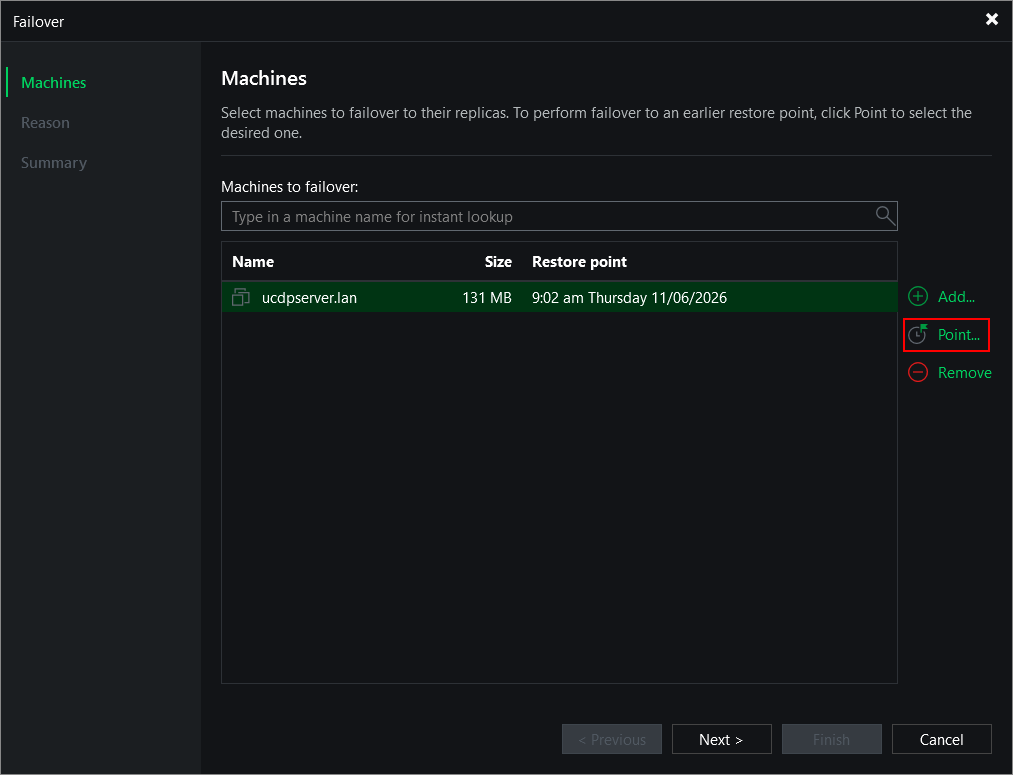
From the failover wizard, click Point to bring up the Restore Point selection window.
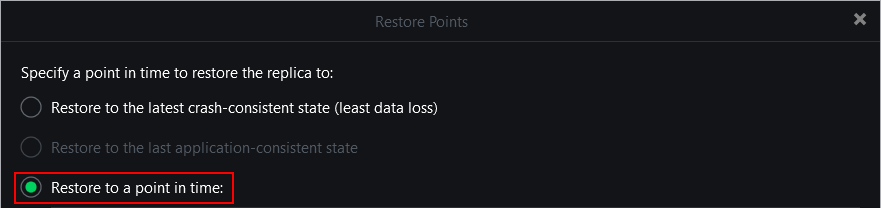
By default the latest crash-consistent restore point will be used for the failover to ensure the least amount of data loss. To pick an earlier point, select Restore to a point in time. From here we have the option to pick restore points from either short-term or long-term retention.
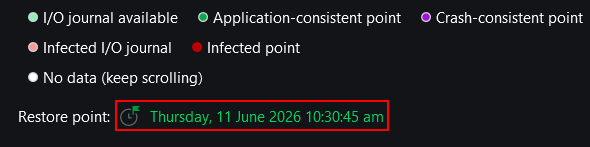
Looking at the short-term restore points first, you can see from the green section in the image below, I have the ability to select from any 15 second interval within the last hour. Areas with darker shades of green indicate higher I/O during that time period which is particularly useful when working with crash-consistent restore points.
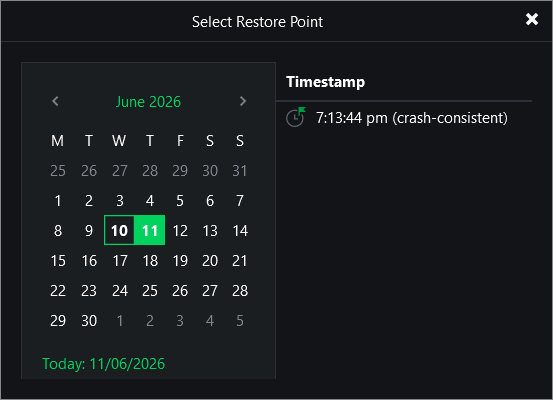
Moving onto the long-term restore points, while these are also available for selection using the slider, the quicker way to select one is by clicking the timestamp link beside Restore point at the bottom of the screen.
Next use the calendar to pick which day is required – only long-term restore points are shown in the list.
For the scenario I’ll select the most recent restore point to simulate a scenario where I want to achieve the least amount of data loss.
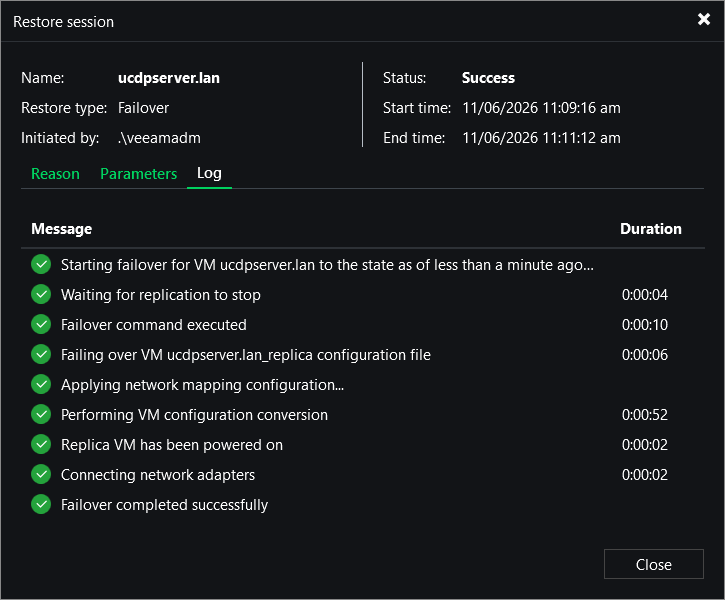
Click Next through the failover wizard and then Finish to start the failover process
Within a few short moments, the replica VM was reconfigured and powered on in my vSphere cluster all within 2 minutes – impressive!
Once the replica server was booted to the logon screen, I needed to assign an IP address to bring it fully online. This extra step only takes a few minutes to complete and is to be expected anyway since the source server will typically be running on dissimilar hardware.
All in all, not a bad result at all given that my source and target environments are running different hypervisor platforms on consumer grade hardware in my home lab.
Wrap Up
If you’ve worked with CDP before, getting hands‑on with Universal CDP will feel immediately familiar. The core concepts carry over, and most of the underlying infrastructure and prerequisites remain the same.
Back when the original CDP feature was released there was plenty of hype, but it always felt somewhat hindered since it was limited to VMware workloads. Universal CDP’s agent‑based approach changes that completely, opening the door for a broader workload coverage, making continuous protection accessible to far more environments.
While the introduction of an agent can sometimes be seen as an added overhead, it doesn’t compromise the failover experience. In my experience, I found the failover process to be straightforward and fast, even in my modest home lab.
Despite my overall experience being a positive one, I do want to include a few areas where I think Universal CDP could be improved.
Operating system support – While including support for Windows Servers is a great start, the number of business systems running Linux is becoming more popular by the day. Extending support to include a variety of Linux distros would be a significant step towards achieving a broader coverage of operating systems.
Re-IP replicas – Reconfiguring the networking of the replica post failover certainly isn’t a dealbreaker however having the ability to automate this step would help further streamline the overall process.
Platform requirements – Possibly the biggest sticking point I can see with Universal CDP is its dependency around the vSphere platform. Although the “Universal” part of CDP helps to address this somewhat, vSphere is still a requirement on the target side. With the current market trend indicating a shift away from the VMware stack, this may prove to be a deal breaker for some as they look to change platform.
Since this is the initial release of Universal CDP, it will be interesting to see what enhancements make their way into the next iteration of v13.
As a whole, I think Universal CDP is a fantastic addition to the platform and a clear step towards enabling a more agnostic approach to replication. With that said, it will be interesting to see how this rapidly changing landscape affects the direction of CDP development into the future.

Leave a comment