After months of hype and excitement around the release of V13, the final build has arrived! This build is known as “Early Release” which is a little different to what we are used to seeing with a major release. The release schedule for V13 will be a two staged approach as announced during the VeeamON keynote.
Early Release
This initial release is a Veeam Software Appliance (VSA) build intended for use with new deployments only. It’s worth noting that there’s no upgrade path from an existing V12 Windows VBR instance with this build – it must be a greenfield deployment. In terms of new features, the Early Release build includes the new Web UI, enhanced RBAC and support for Single Sign On. However there are some notable admissions such as High Availability and Continuous Data Protection which have been held back until the GA release. Lastly and perhaps most importantly, Early Release is fully supported by Veeam Customer Support.
General Availability
The GA build (13.0.1) will provide a fully featured VBR with support for both the VSA and Windows, including the ability to migrate from V12 to V13. This release is planned for Q4 of this year however it has just recently been confirmed that it will be available next month!
A full list of new features available in the V13 builds is available here:
https://www.veeam.com/veeam_backup_13_whats_new__wn.pdf
New Deployment Method
I previously covered the interactive install method for the VSA in my V13 beta release post and since that process hasn’t changed too much in this build I won’t cover it here.
Instead let’s look at an exciting new automated deployment method that’s available with the Early Release build. For those of you who have seen my previous posts relating to Veeam deployments, you’ll know that I’m a big advocator of automation, especially when it comes to deploying at scale. With the new software appliance running a Linux OS, I’ve been particularly intrigued to see how this automation process works.
The V13 user guide contains steps to fully automate the installation and initial configuration of the appliance by creating a customised ISO file.
https://helpcenter.veeam.com/docs/vbr/userguide/deployment_linux_silent_deploy_configure.html?ver=13
After reading over the deployment process, I gave it a shot and ultimately came unstuck but not through any fault of the documentation. While the instructions are clear and easy to follow, I struggled to make the ISO bootable after repackaging it. After several hours of banging my head against a wall I wasn’t getting anywhere until I came across this gem on the Veeam Community Resource Hub:
https://community.veeam.com/automation-desk-103/veeam-software-appliance-iso-automation-tool-11683
The VSA ISO Automation Tool is exactly what I was looking for! This fantastic new tool created by Veeam MVP Baptiste Tellier streamlines and standardises the process of creating the customised ISO file – I guess you could say it automates the automation process!
Let’s run through the process of creating the customised ISO using this tool.
Pre-requisites
First we need to ensure the pre-requisites are satisfied in our working environment:
- Windows 10/11 or Server 2016+ with PowerShell 5.1+
- At least 14GB free disk for ISO work, minimum 4GB RAM
- PowerShell execution policy permitting script runs
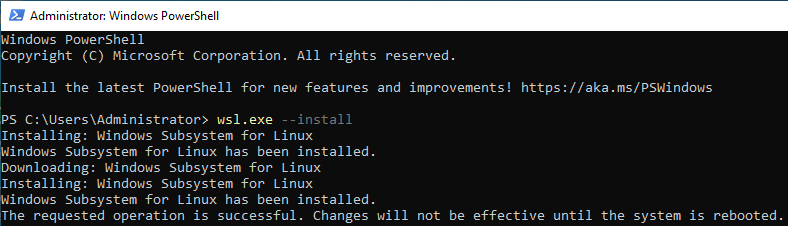
- WSL installed and accessible – this can be easily installed using wsl.exe –install from a PowerShell window
 After the reboot, the install automatically continues and Ubuntu is installed and configured
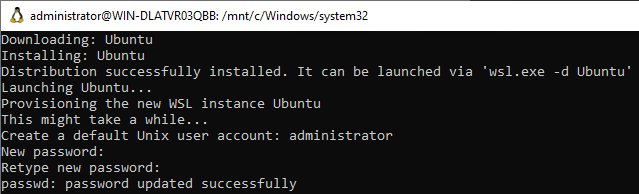
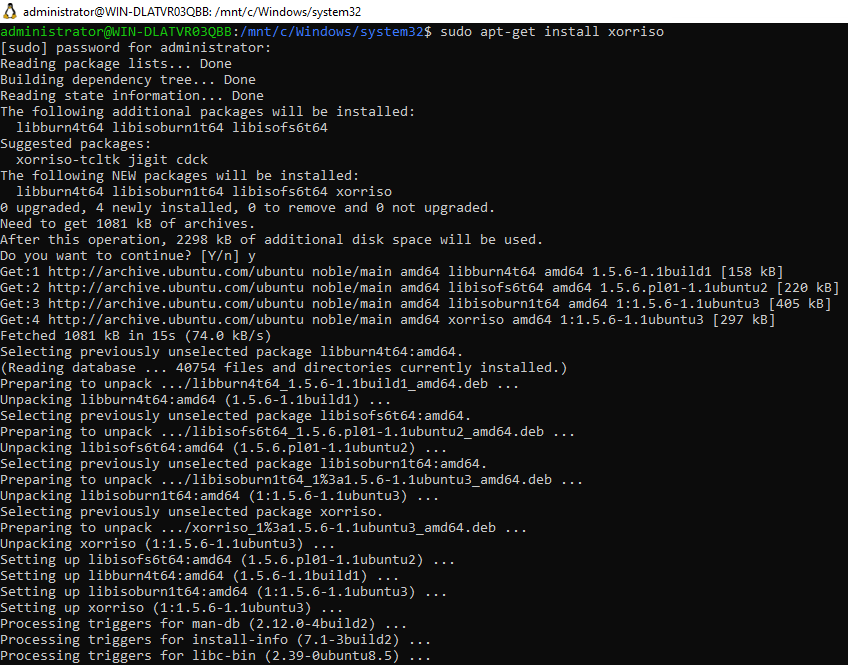
- xorriso installed in WSL – use sudo apt-get install xorriso
Download & Configure
Next head over to Baptiste’s GitHub repo to download the associated files needed to run the script and extract the files to a location on your machine.
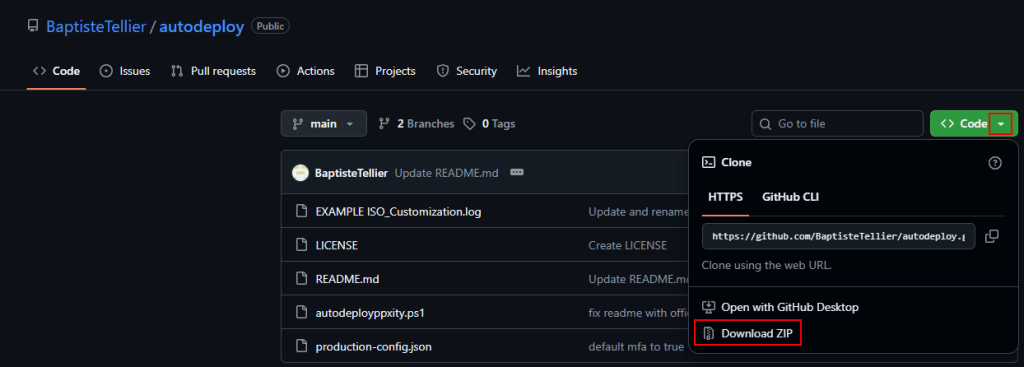
Also grab a copy of the V13 ISO (Build 13.0.0.4967) and place it in the same directory as the script files.
Next we will setup the JSON configuration file which determines the settings used for the automated deployment. A description of all the configuration parameters along with their default values is available from the GitHub repo. The downloaded JSON file will look similar to below when opened:
{
  "SourceISO": "VeeamSoftwareAppliance_13.0.0.4967_20250822.iso",
  "OutputISO": "",
  "InPlace": false,
  "CreateBackup": true,
  "CleanupCFGFiles": false,
  "CFGOnly": false,
  "GrubTimeout": 15,
  "KeyboardLayout": "fr",
  "Timezone": "Europe/Paris",
  "Hostname": "veeam-backup",
  "UseDHCP": false,
  "StaticIP": "192.168.1.166",
  "Subnet": "255.255.255.0",
  "Gateway": "192.168.1.1",
  "DNSServers": ["192.168.1.64", "8.8.8.4", "8.8.8.8"],
  "VeeamAdminPassword": "123q123Q123!123",
  "VeeamAdminMfaSecretKey": "JBSWY3DPEHPK3PXP",
  "VeeamAdminIsMfaEnabled": "true",
  "VeeamSoPassword": "123w123W123!123",
  "VeeamSoMfaSecretKey": "JBSWY3DPEHPK3PXP",
  "VeeamSoIsMfaEnabled": "true",
  "VeeamSoRecoveryToken": "12345678-90ab-cdef-1234-567890abcdef",
  "VeeamSoIsEnabled": "true",
  "NtpServer": "time.nist.gov",
  "NtpRunSync": "true",
  "NodeExporter": false,
  "NodeExporterDNF": false,
  "LicenseVBRTune": false,
  "LicenseFile": "Veeam-100instances-entplus-monitoring-nfr.lic",
  "SyslogServer": "172.17.53.28",
  "VCSPConnection": false,
  "VCSPUrl": "",
  "VCSPLogin": "",
  "VCSPPassword": ""
}
Since the deployment scenario will differ from environment to environment, the parameters and values to configure here will ultimately depend on what your requirements are. There are of course some important security parameters that should definitely be changed such as passwords and MFA tokens. In this example, I’ll walk through what a typical configuration might look like.
| Parameter | Comments |
|---|---|
| SourceISO | Ensure the file name matches the downloaded ISO name |
| GrubTimeout | Automated install will begin after this value (in seconds) is reached. The higher you set this value, the more time you will have to cancel the install if required. |
| KeyboardLayout | Assign your local layout (“us” in my case) |
| Timezone | Assign to the time zone the VBR will be deployed into – full list available here |
| Hostname | Sets the hostname of the VBR |
| UseDHCP | Set to “true” if using DHCP |
| StaticIP/Subnet/Gateway/DNSServers | Set the IP addressing of the VBR. These settings are only used if DHCP set to false |
| VeeamAdminPassword | DISA STIG requirements: – 15 characters minimum – 1 upper case character – 1 lower case character – 1 numeric character – 1 special character – No more than 3 characters of the same class in a row |
| VeeamSoPassword | Same requirements as above – password must be different to VeeamAdminPassword |
| VeeamAdminMfaSecretKey/ VeeamSoMfaSecretKey | See MFA configuration below |
VeeamSoRecoveryToken | See Recovery Token configuration below |
| VeeamSoIsEnabled | Setting to “false” will disable the Security Officer account |
MFA Configuration
The MFA secret key parameters for the Administrator and Security Officer accounts must be provided as a Base32-encoded string. This can be achieved by running the below PowerShell command which will generate a randomised 16 character string.
-join ((1..16) | ForEach-Object { "ABCDEFGHIJKLMNOPQRSTUVWXYZ123456789"[(Get-Random -Maximum 32)] })Recovery Token Configuration
The recovery token must be specified using hexadecimal values – 0, 1, 2, 3, 4, 5, 6, 7, 8, 9, A, B, C, D, E, F. A random GUID can be generated in PowerShell using the below command:
New-GuidOptional Parameters
There are also some optional parameters available which I haven’t covered here but look very useful, allowing for some additional automation tasks relating to the VBR:
- VCSP connection details (for v13.0.1+).
- VBR customization with license install and syslog
There is also one other optional parameter which can deploy Node Exporter to allow a Prometheus instance to monitor the VBR. This is a very cool option but it’s worth mentioning that installing third party applications is unsupported and will prevent Veeam technical support being able to assist with any issues. Check out the below KB to see what changes to the VSA are unsupported:
Running the Script
Once all required edits have been made to the JSON file, we can execute the script in PowerShell:
.\autodeployppxity.ps1 -ConfigFile "your-config.json"Ensure the JSON file name above matches the one on disk before hitting enter.
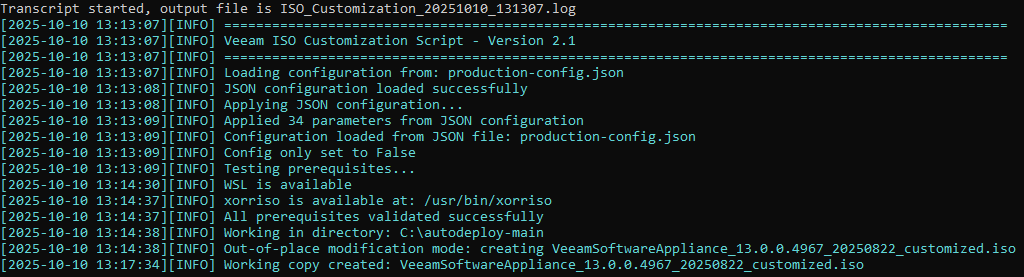
The script starts off by loading the configuration from the JSON file and checks that all pre-requisites are in place. The next steps the script takes will depend on what has been fed into the configuration file. In my case, it creates a new ISO where the customization will be applied.
It then provides a summary of the modifications that will be made to the newly created ISO.
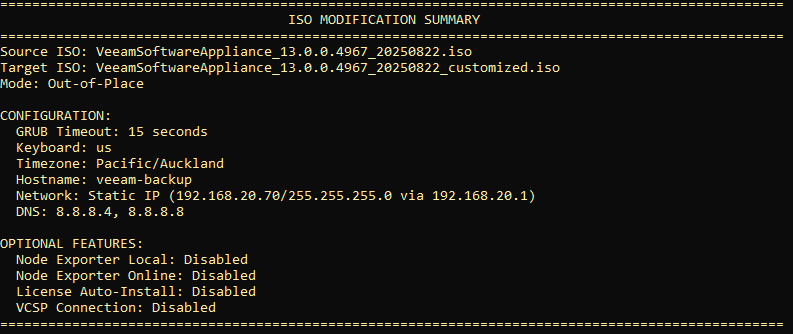
Press Enter to begin the modification steps.
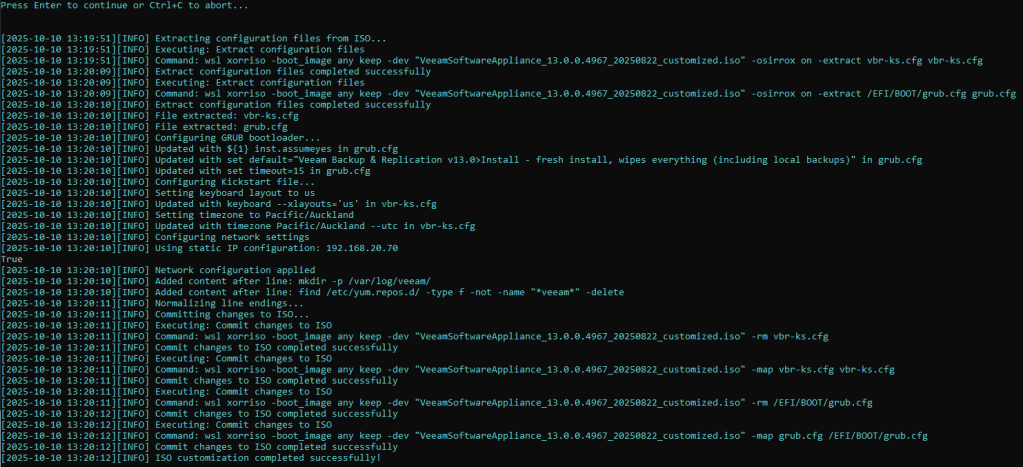
Providing all went well, you should see a success message similar to below, containing the name of the customized ISO.

The ISO is now ready to use so let’s try booting from it.
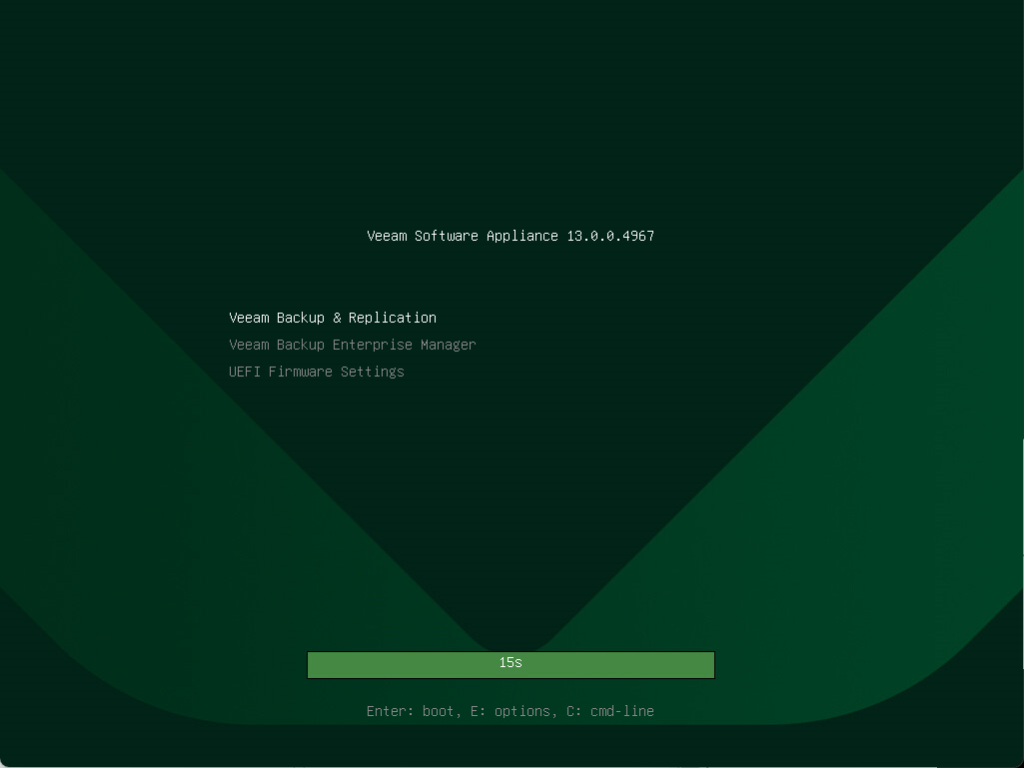
Once the ISO is loaded the GRUB countdown timer starts, matching the value set in the configuration file.
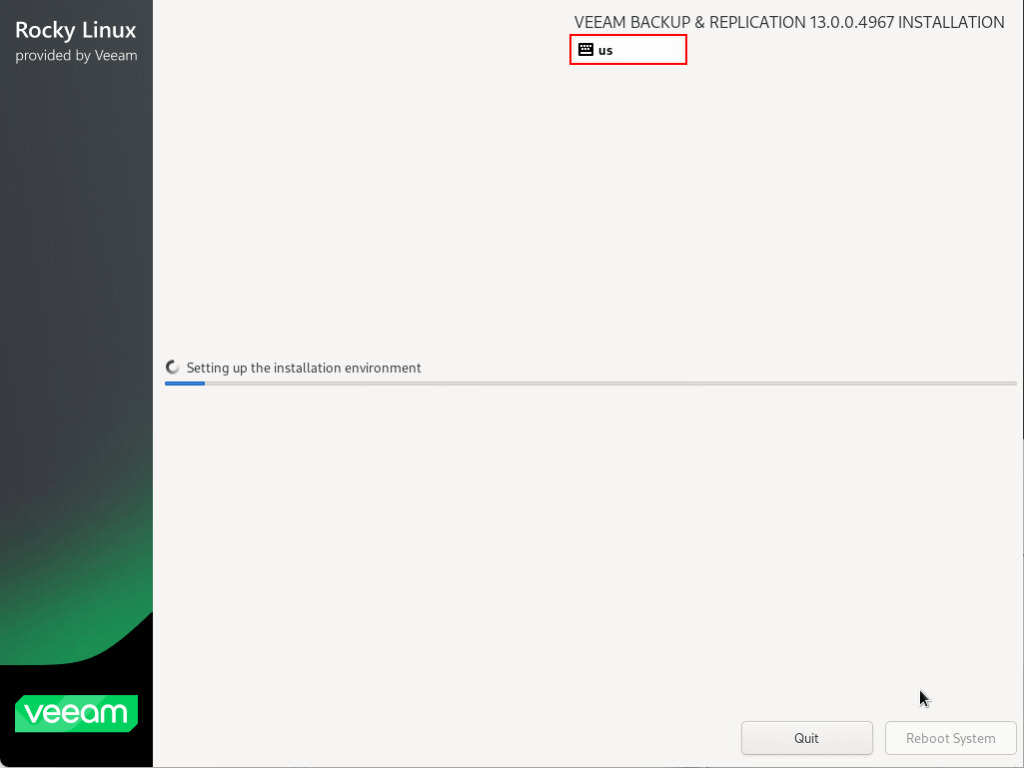
Shortly after the install process then begins- notice the “us” keyboard layout specified in the JSON file is being used.
Unlike the manual deployment process, the system automatically reboots once complete.
The next part of the process is probably where the most time is saved. Previously the system would boot into the “Initial Configuration Wizard” which required a lot of manual user interaction. Instead, all the configuration parameters we provided up front are automatically applied in the background. Not only is this a huge time saver, it also massively reduces the risk of human error.
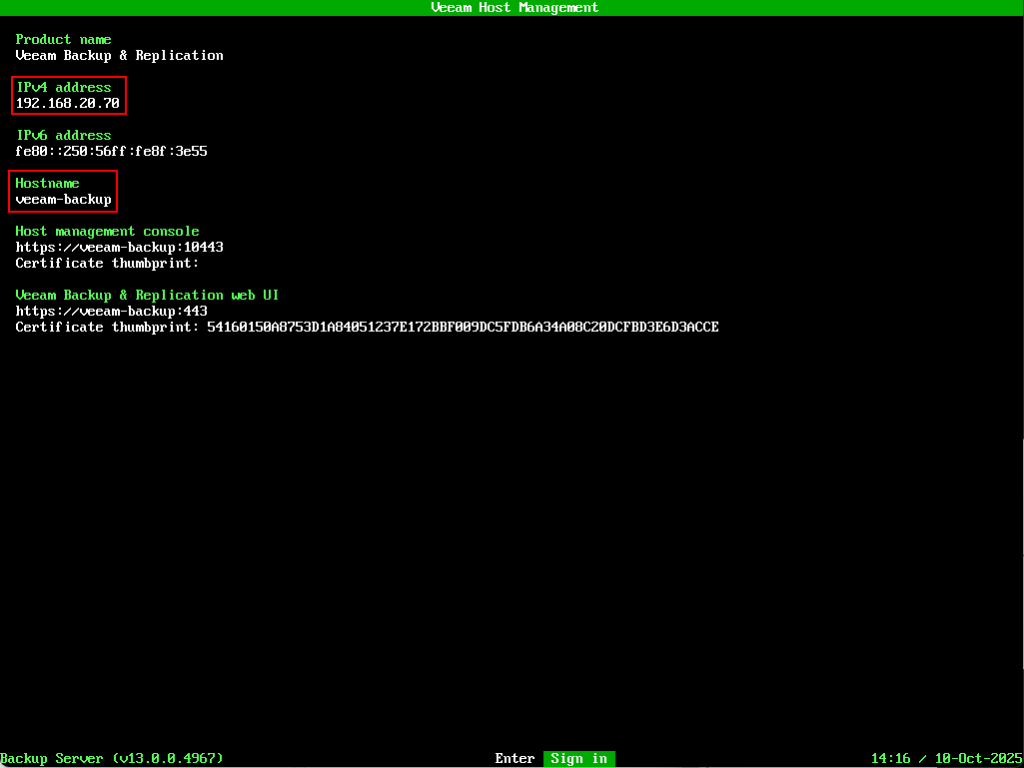
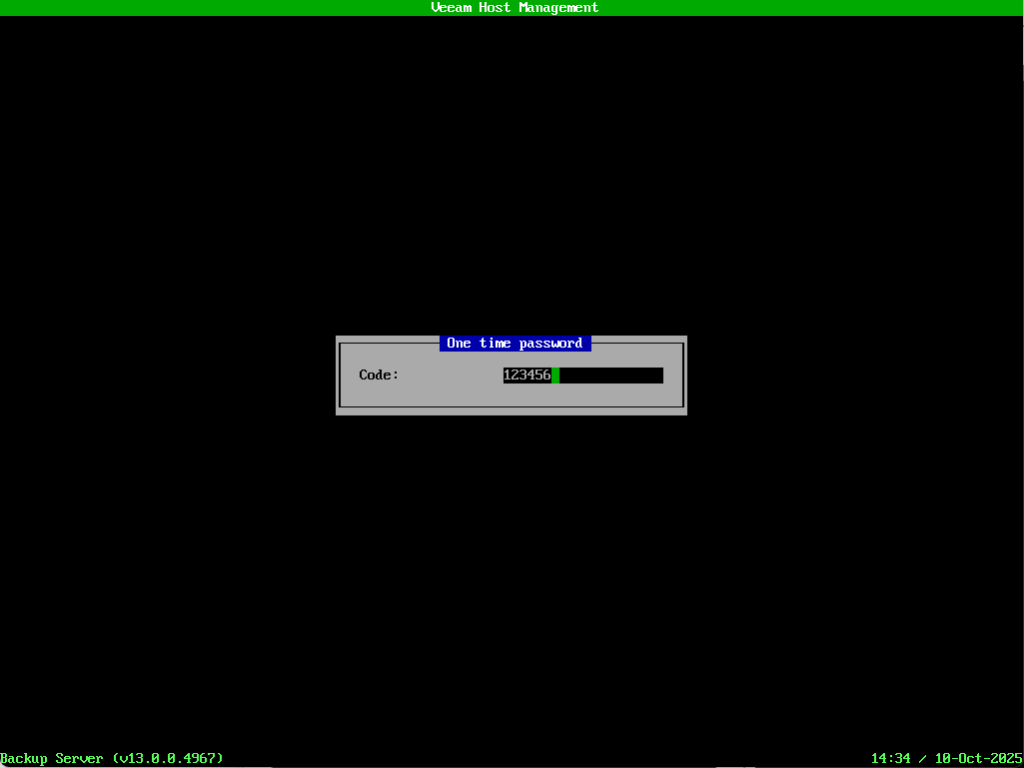
A few moments later we are presented with the Veeam Host Management login screen. As you can see below, the IP address and hostname have been correctly set based on what I entered in the JSON file.
As you can see, the entire process requires no interaction whatsoever!
Let’s also have a look around the VBR to make sure is it configured the way we intended it.
First up, let’s test the credentials and check MFA is working correctly. To do this we’ll need to add a new entry into an authenticator app on your phone. Rather than using the QR code option, choose to enter the code manually and use the VeeamAdminMfaSecretKey parameter value set in the JSON file.
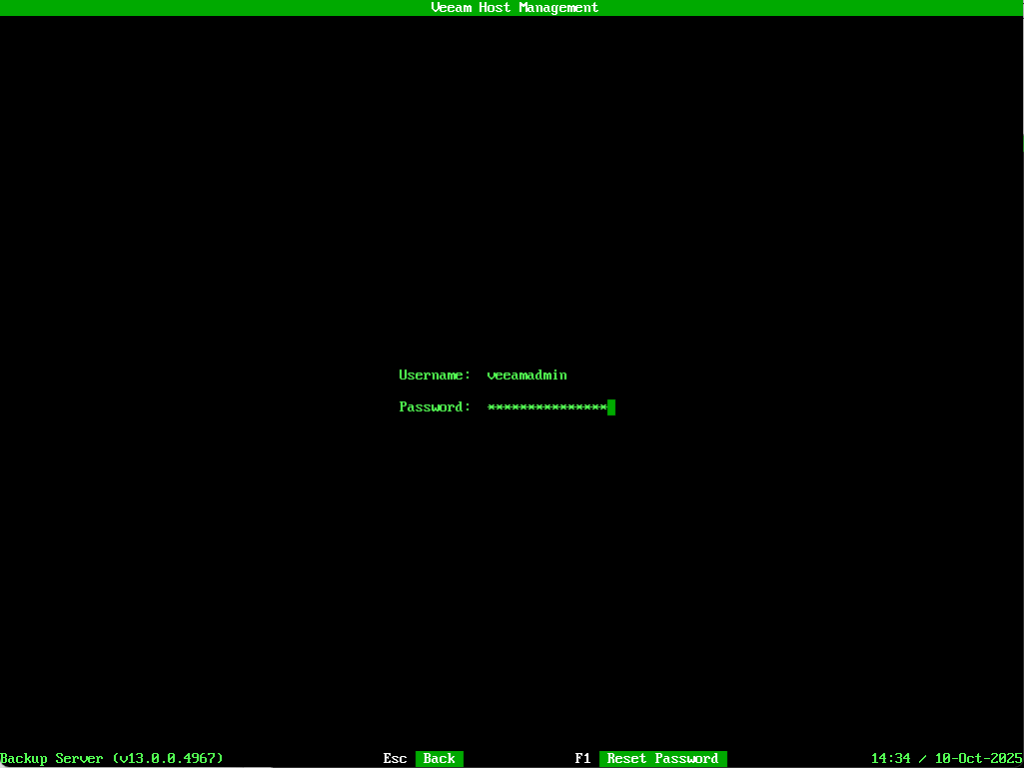
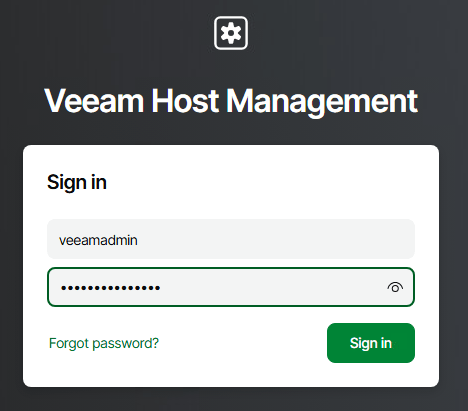
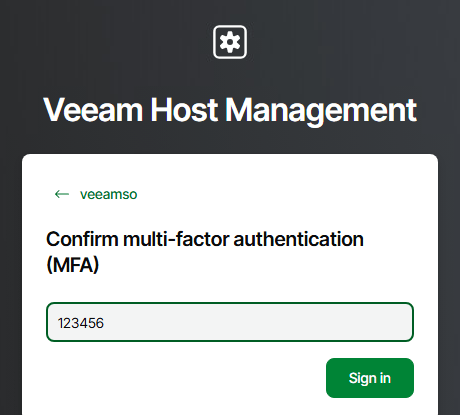
Now we can sign into the Host Management Console using the veeamadmin account. I’ll use the password I specified in the configuration file then when prompted entered the OTP code from my authenticator app.
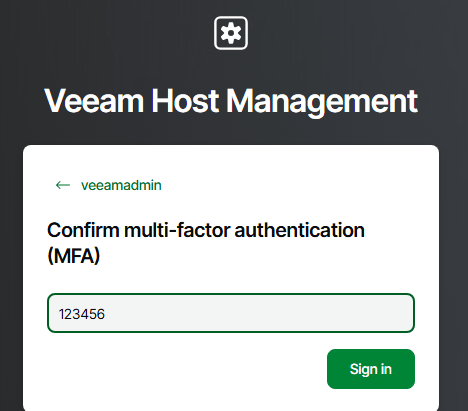
We can also confirm access to the Host Management Console via the web UI using MFA.
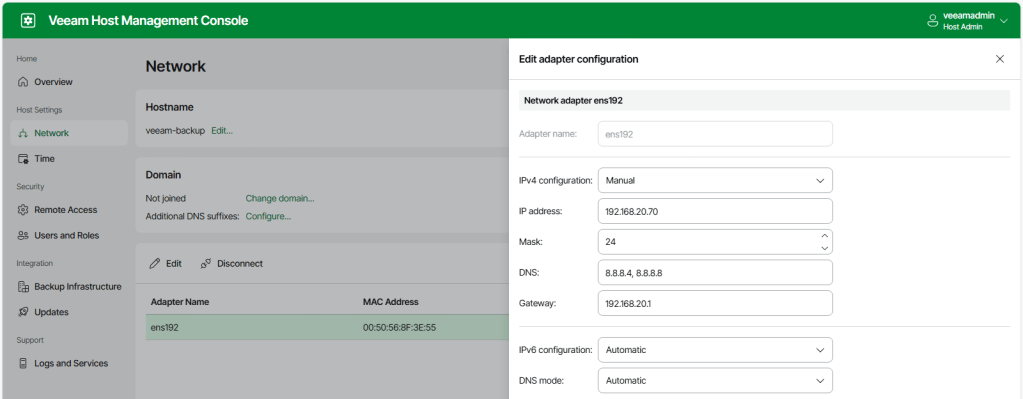
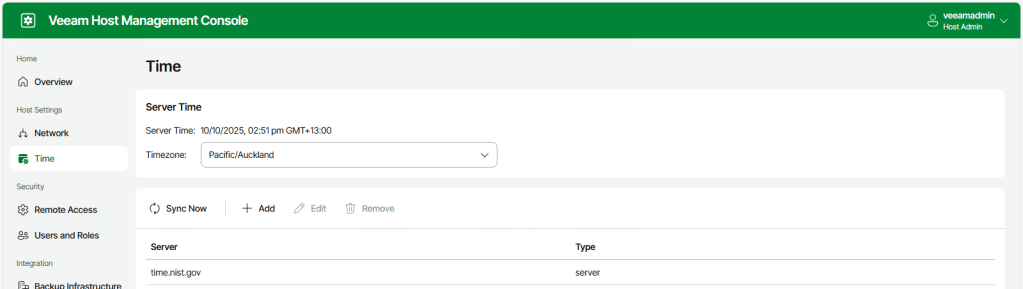
From here we can see the full IP configuration settings and the time zone details match what was entered in the configuration file.
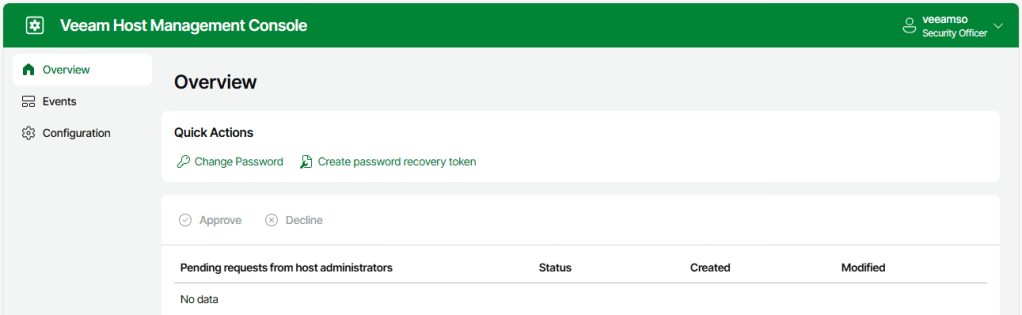
We can also test out access using the Security Officer account by following the same process as above.

Wrap Up
Having the ability to automate the deployment of the new V13 VSA is a welcome sight and will prove to be a powerful and convenient tool especially in the enterprise world.
Baptiste’s VSA ISO Automation Tool is a great addition to the existing documented Veeam process, expanding on the concept to keep complexity to a minimum and making the entire ISO creation procedure a more streamlined experience. I can see it being particularly useful in large environments where creating reproducible, standardised deployments are key. The fact this tool is completely community driven makes it all the more impressive in my book – I strongly recommend checking it out!

Leave a comment