
Veeam Data Platform 12.2 was released at the beginning of this month bring many new features, many of which were demoed at this year’s Veeam ON event.
In this post I’m going to focus specifically on the Veeam Backup & Replication component of VDP where I will cover:
- VBR 12.2 upgrade walkthrough
- Proxmox overview with VBR walkthroughs
- Adding Proxmox components
- Backing up a Proxmox VM
- Restore options
Before jumping into the walkthroughs, lets have a quick look at some of the headline features that arrived with VBR 12.2:
Proxmox VE – NEW
Native support for Proxmox with the ability to protect VMs.
- Immutable backups
- Change Block Tracking
- HotAdd backup mode
- BitLooker
- Support for all backup repository types
- Full VM recovery to Proxmox
- Granular restore capability
MongoDB – NEW
Support for MongoDB adds to Veeam’s existing portfolio of databases it can protect.
- Simple discovery of replica sets via protection group
- Support for all backup repository types
- Immutable backups
- Granular restores with new Veeam Explorer for MongoDB
Nutanix AHV – ENHANCEMENT
Hypervisor support continues to be the theme with AHV getting a major overhaul bringing many new features.
- Prism integration centralising cluster management
- Backup using VM categories
- Backup from secondary VM replica copy
- More advanced job settings
These are just a few of the new features available in the latest release. Check out the full list here: https://www.veeam.com/veeam_backup_12_2_whats_new_wn.pdf
Upgrade Process
To get things started, let’s walkthrough the process of upgrading Veeam Backup & Replication to 12.2. Upgrades are possible from version 11a (build 11.0.1.1261) or later.
Everything you need to plan and perform the upgrade can be found in the KB article below:
To ensure the best possible upgrade experience, it is recommended to read through the Upgrading Veeam Backup & Replication section of the Release Notes first before initiating the upgrade. Probably the most important thing is ensuring you have a recent Configuration Backup to rollback to in the event something goes wrong during the upgrade process.
The process does involve stopping the Veeam services while the upgrade is in progress so it’s recommended to allow any running jobs to complete or alternatively to stop them prior to starting the upgrade.
Mount the downloaded ISO on the backup server and run Setup.exe then click Upgrade.
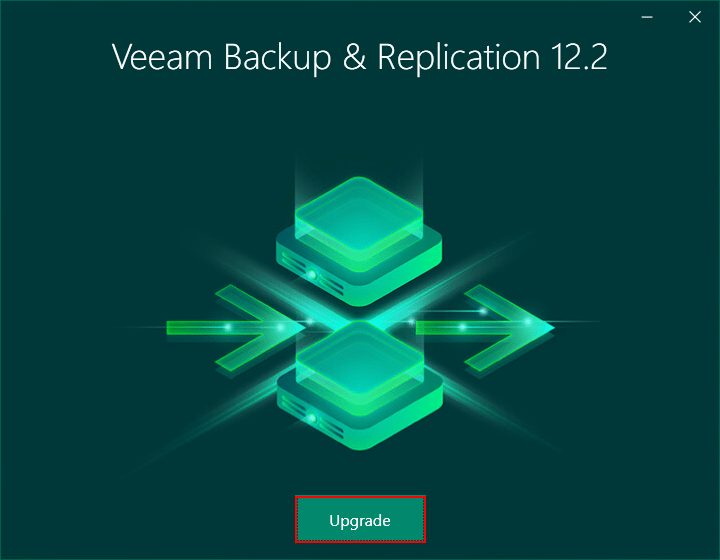
Now click Upgrade Veeam Backup & Replication which will initialise the setup.

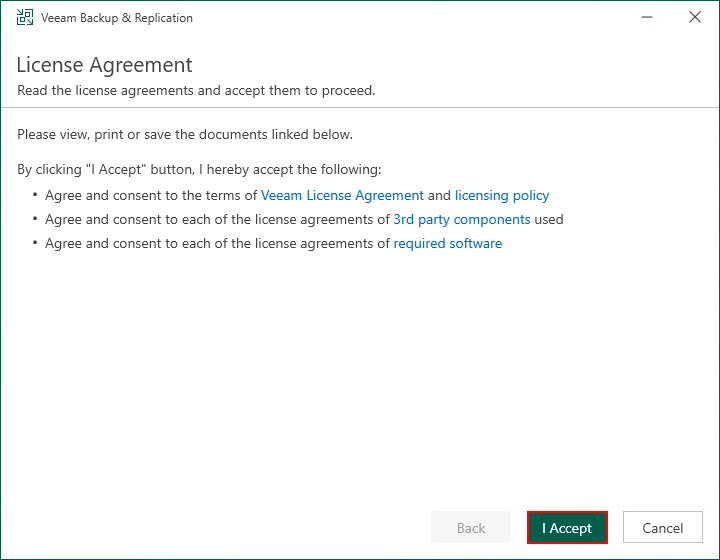
Agree to the licensing agreement by clicking I Accept.
Next the wizard will summarise what components will be upgraded along with the current build numbers and what they will be after the upgrade.
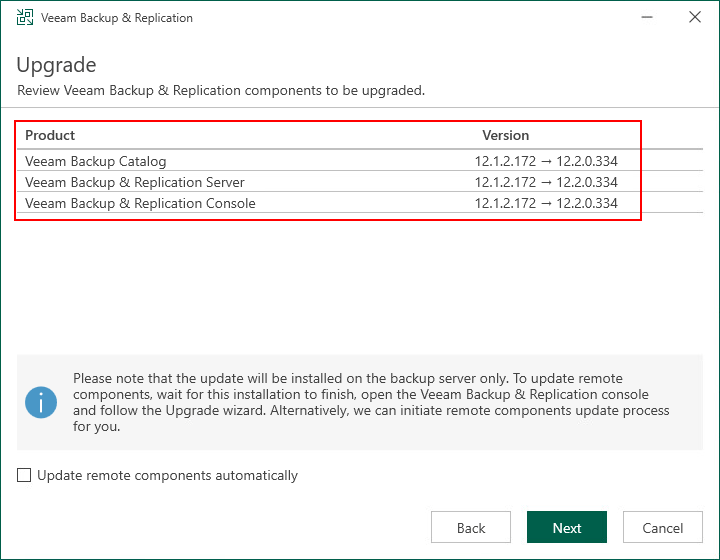
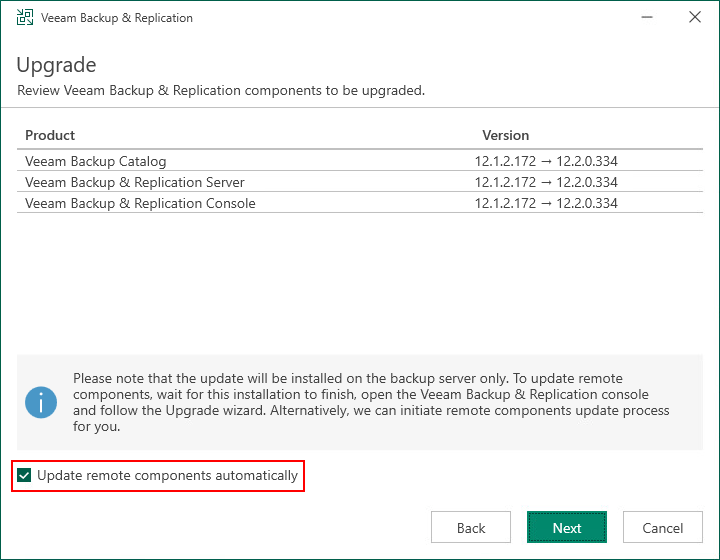
By default, Veeam components on remote machines are upgraded manually when logging into the console after the upgrade completes. This process can be automated by ticking Update remote components automatically.
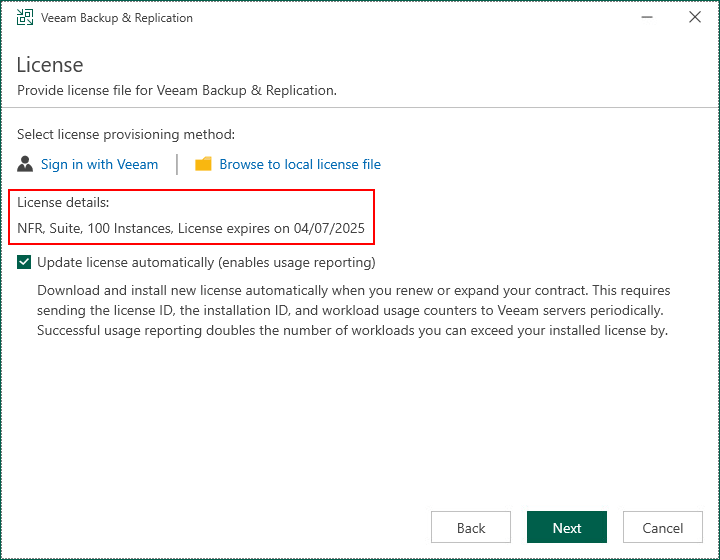
Next specify the license file. If you already have a license file in use it will be selected automatically.
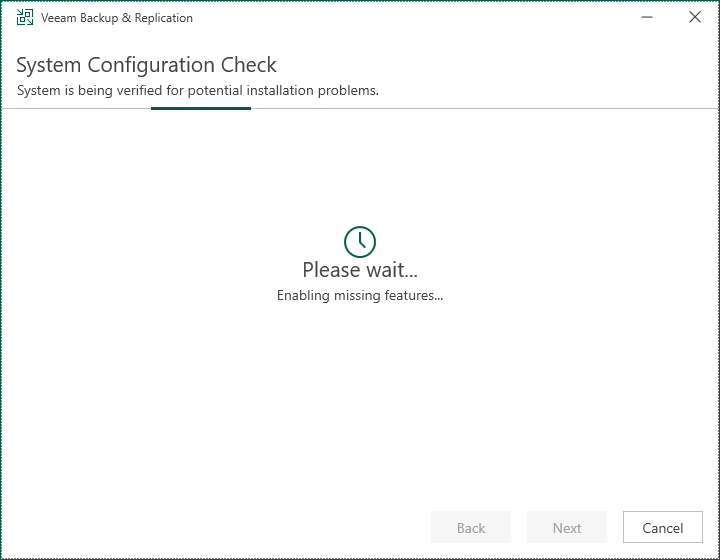
Now a system configuration check takes place to install any missing pre-requisite software to perform the upgrade. If there is nothing to install the wizard skips straight to the next step.
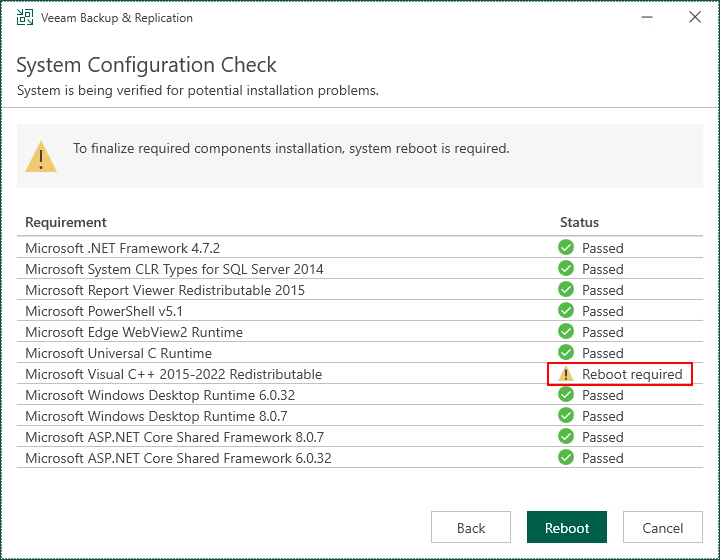
Some software may require a reboot after it’s installed before the upgrade can continue. If this happens, you will need to run through above steps of the setup wizard again after the reboot.
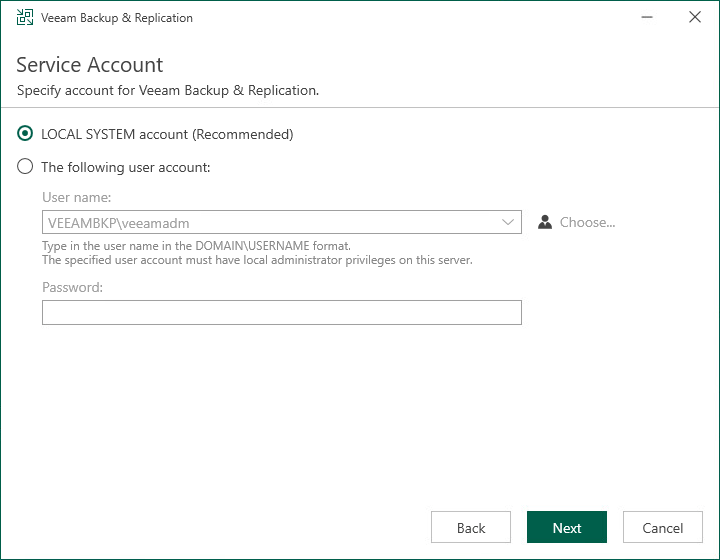
Next select the service account to use. This setting should default to the user account the Veeam services run under. If you are using a named user account you will need to enter the password.
Next define your database settings. The default settings should pickup your existing configuration. If you have used user defined credentials you will need to enter the password.
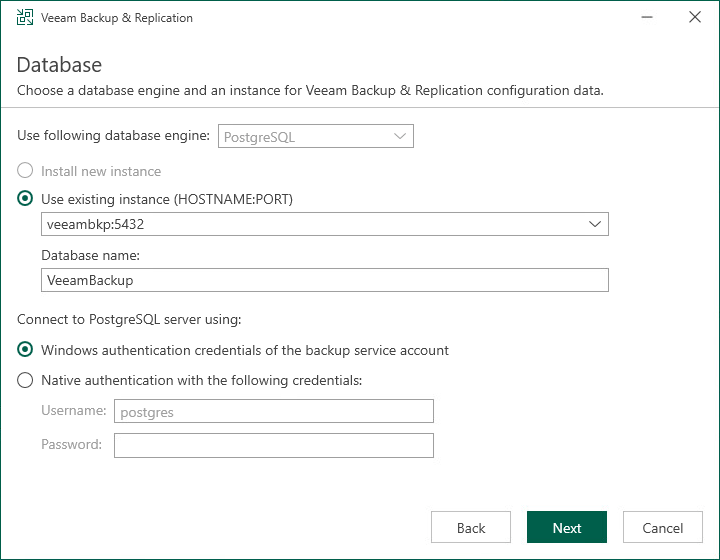
When an existing database is specified, the below popup will appear advising it will be upgraded to the latest version. This is normal behaviour so you can click Yes.

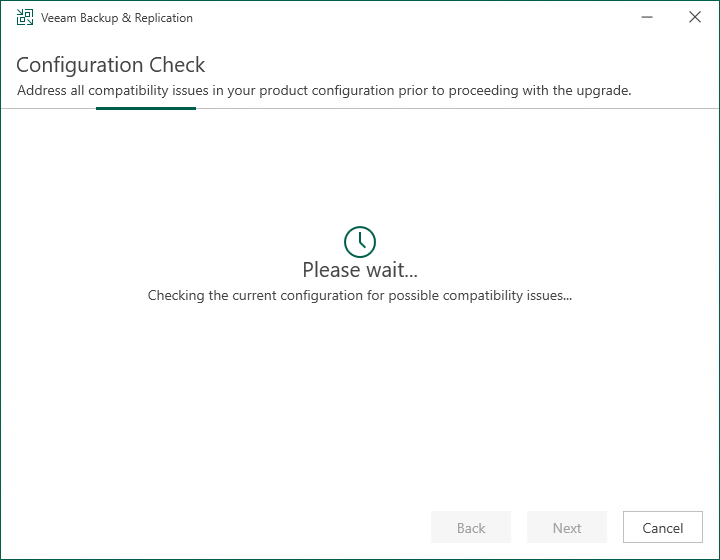
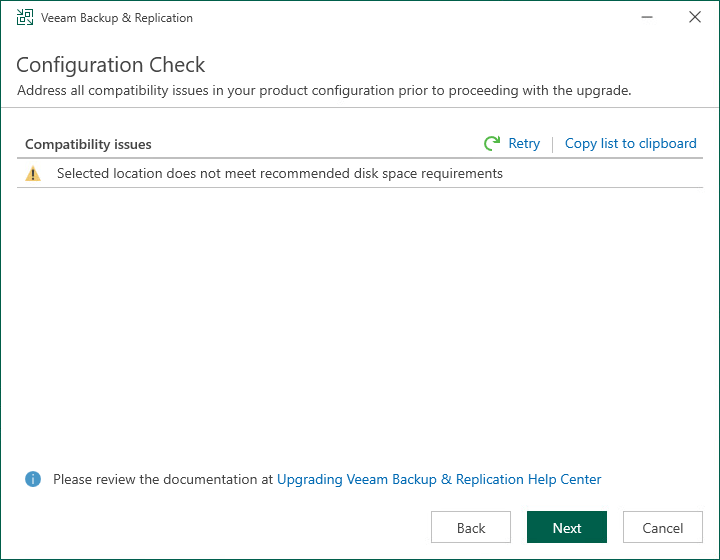
Now another configuration check is performed, this time to confirm there are no compatibility issues.
If any issues are found it is highly recommended they be resolved before continuing any further.
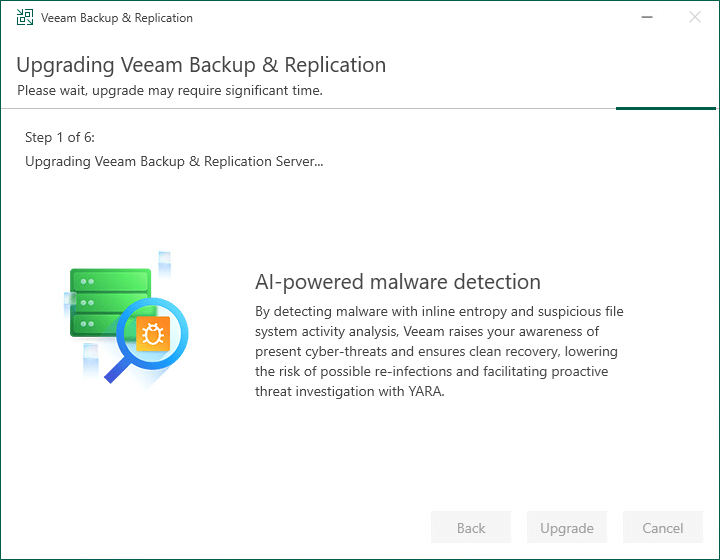
You should now be at the point where the upgrade is ready to begin. Click Upgrade.

The time it takes to complete the upgrade will vary depending on your environment.
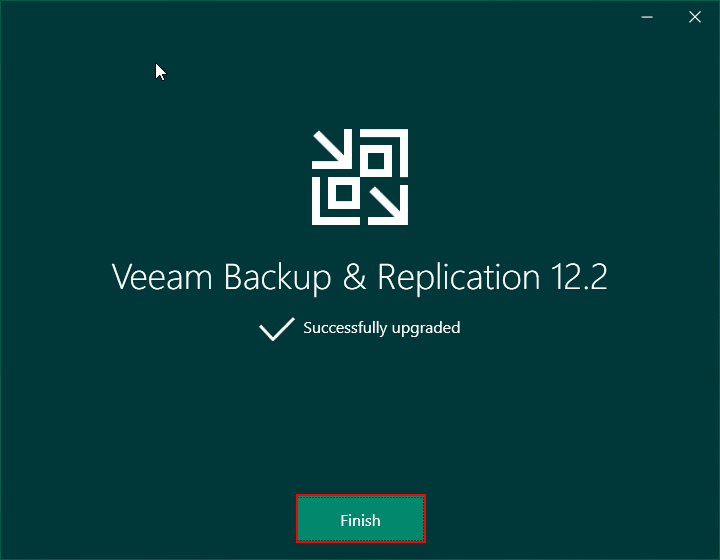
Once the upgrade is complete click Finish. The ISO can be unmounted at this point.
Post Migration Tasks
- Login to the console and confirm the build number has been updated and all infrastructure components are online and up to date.
- Keep a close eye on your backup jobs to make sure they complete successfully. Ideally run some test backups ahead of their next schedule to catch any potential issues early.
Proxmox Support
Here is the architecture of Veeam Backup for Proxmox VE. Most of the components below should be familiar however there are a couple of differences when compared to the vSphere architecture for example.
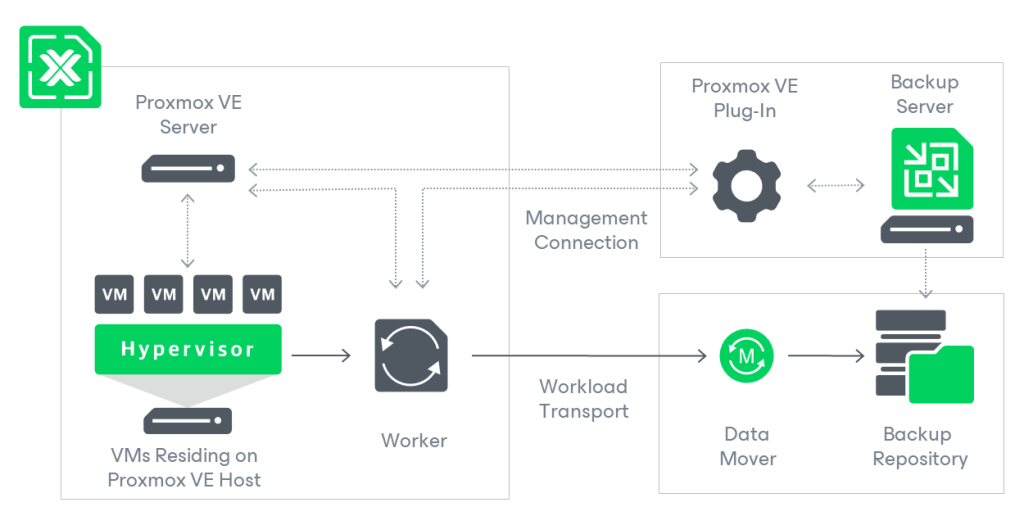
Veeam Backup for Proxmox VE User Guide
Proxmox VE Plug-In
- Enables the backup server to communicate with the Proxmox server
- Enables the backup server to manage and deploy workers
- Installed as part of 12.2
Workers
- Performs a similar role to that of a VMware Backup Proxy
- Linux appliance deployed by Veeam on the Proxmox host
- Transfers data to/from backup repositories during backup and recovery tasks
- Launched on demand on the Proxmox host
Deployment
Before we begin deploying Proxmox into Veeam, there are some preparation steps to take into consideration such as system requirements and the like. In particular, Proxmox VE is only supported for version 8.2 and later. https://helpcenter.veeam.com/docs/vbproxmoxve/userguide/planning_and_preparation.html?ver=1
Add the Proxmox Server
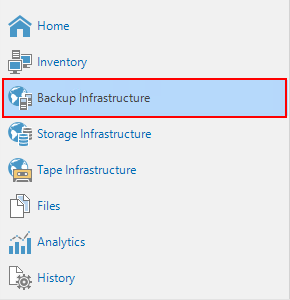
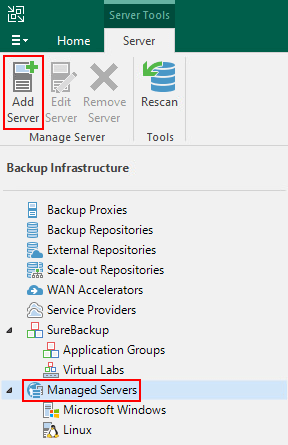
First we will add the Proxmox VE Server into the Backup Infrastructure. To do this, head to Backup Infrastructure > Managed Servers > Add Server
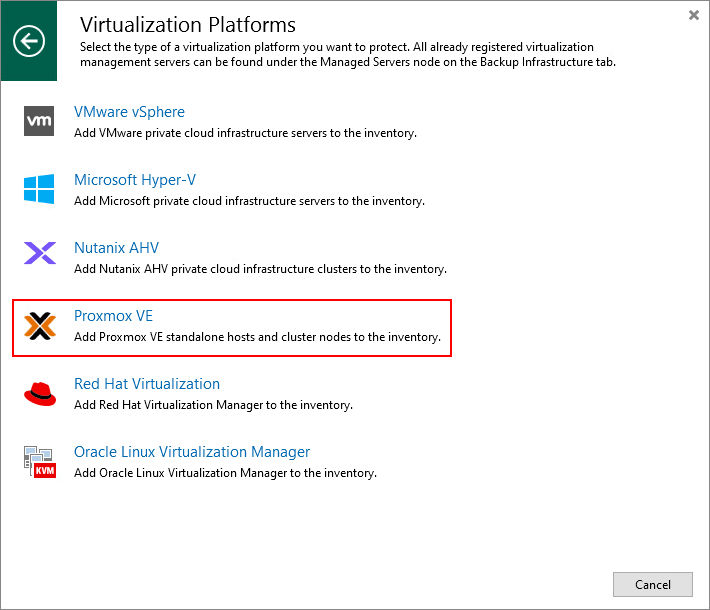
With the list of supported hypervisors ever growing, they now have their own group under Virtualization Platform in 12.2.
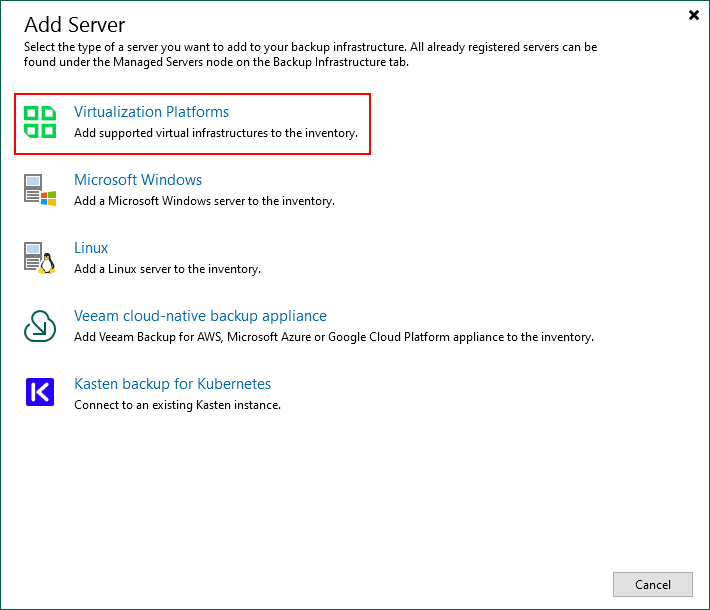
From here select Proxmox VE to open the New Proxmox VE Server wizard.
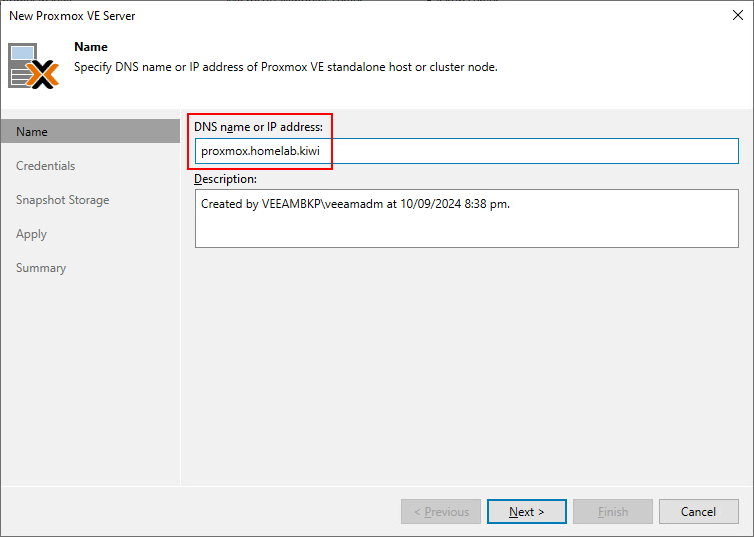
Enter the hostname of your Proxmox server and an optional description.
Click Add and enter credentials which have root privileges.

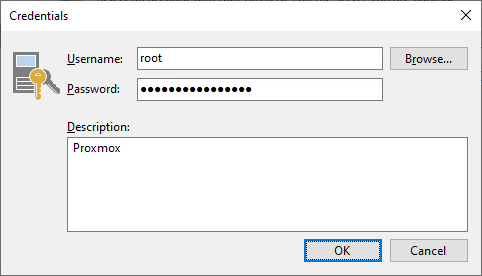
Once the credentials have been verified click Yes to trust the server.

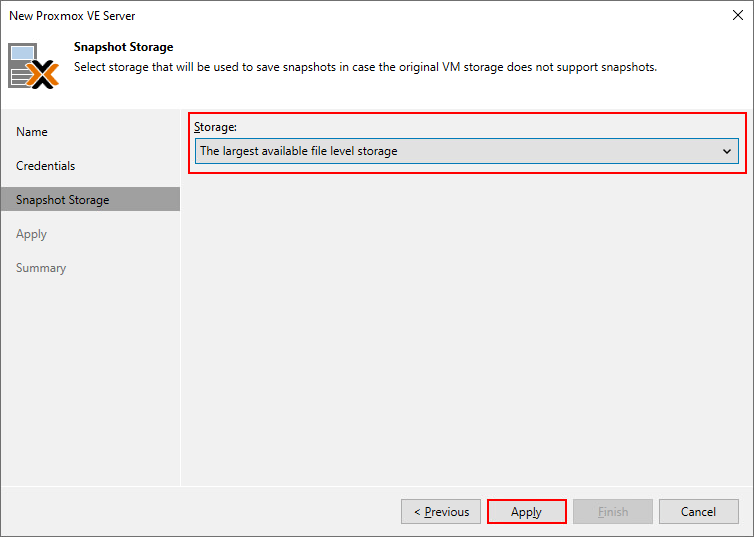
Select the storage to be used for saving snapshots – this setting only applies to processed VMs on Proxmox storage where snapshots are not supported.
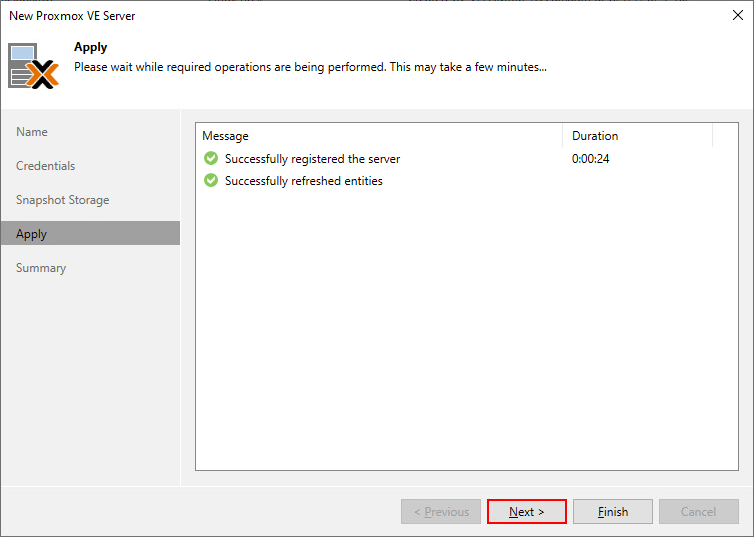
Click Apply and wait for the Proxmox server to be added.
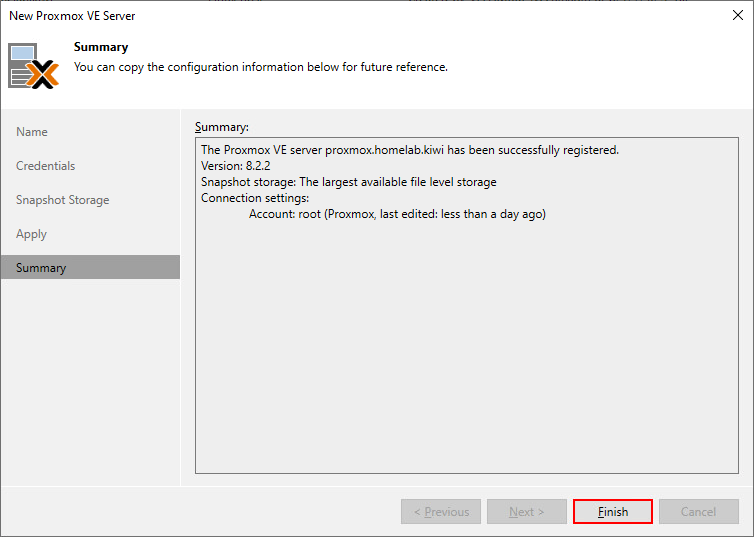
Click Next and then Finish to complete the wizard.
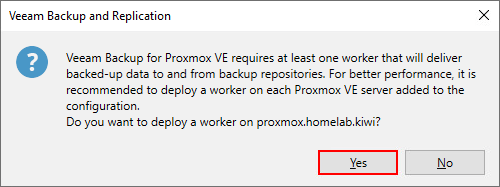
Add a Worker
When the wizard closes the below popup will appear asking whether you want to configure a worker. At least one worker is required to backup and restore Proxmox data. Click Yes to open the New Proxmox VE Worker wizard.
You can also add a Proxmox VE worker from Backup Infrastructure > Backup Proxies > Add Proxy > Proxmox VE worker
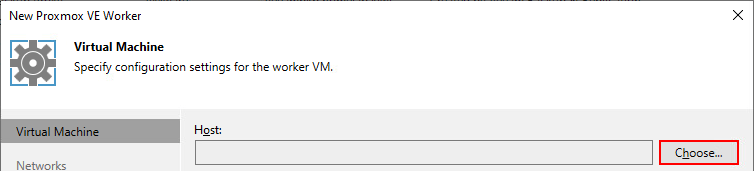
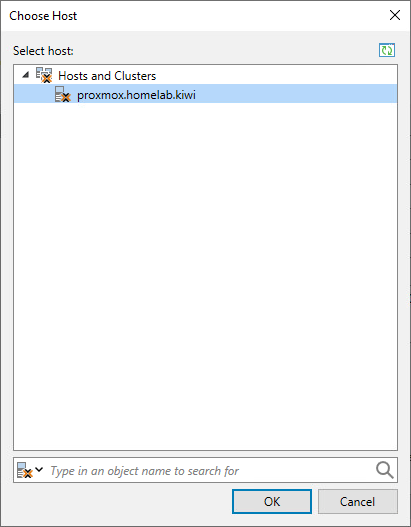
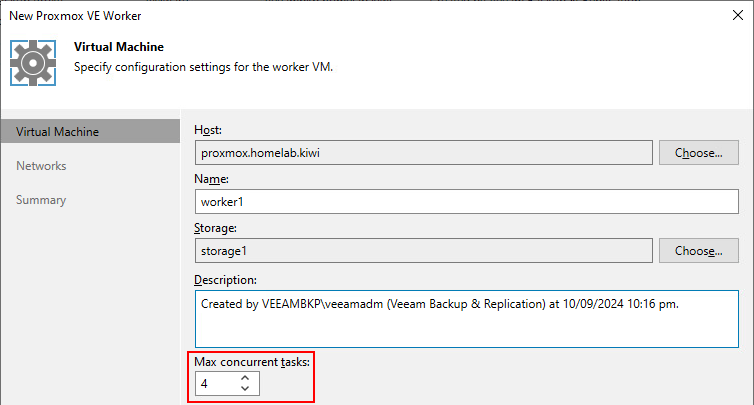
First select the Proxmox host by clicking the Choose button beside Host and select the Proxmox server from the list.
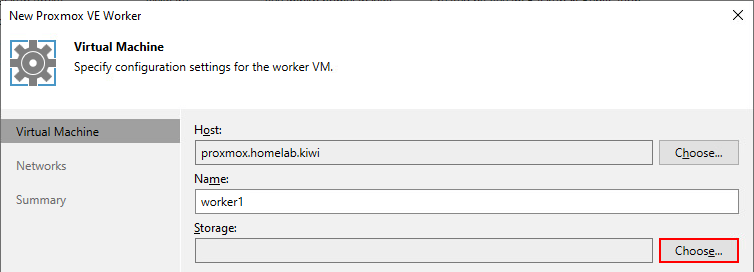
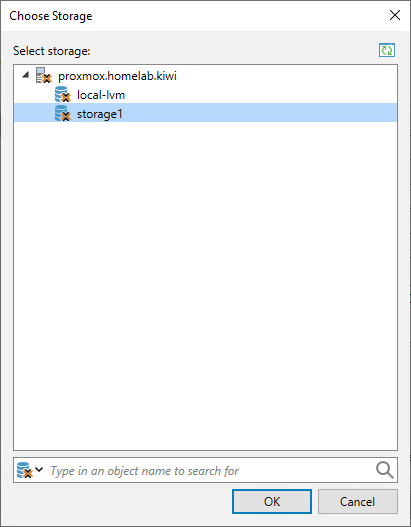
Next give the worker a name. Then click the Choose button beside Storage and select which storage the system files of the worker will be stored on. Make sure that the selected storage supports snapshots.
Next decide how many concurrent tasks the worker should be able to handle. With the default settings a worker will be able to handle 4 concurrent backup and restore tasks, being assigned 6 CPU, 6 GB RAM and 100 GB disk.
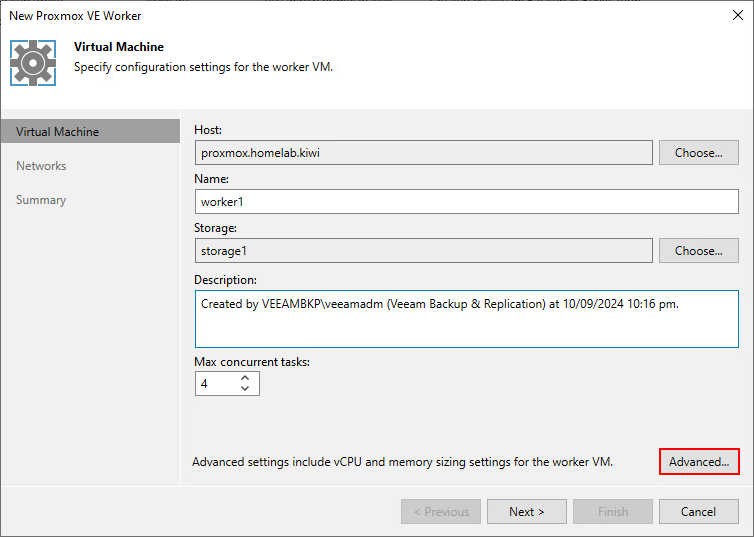
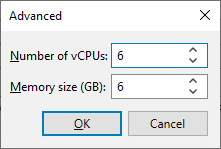
It is possible to increase the number of concurrent tasks. The recommendation is to allocate an additional CPU and 1 GB RAM per additional task. This can be achieved by clicking Advanced and amending the CPU and memory as needed.
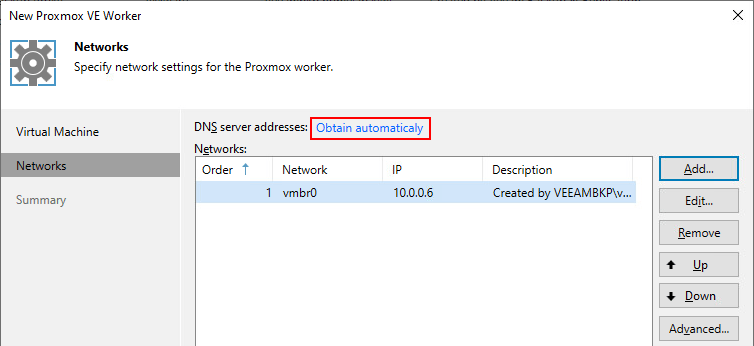
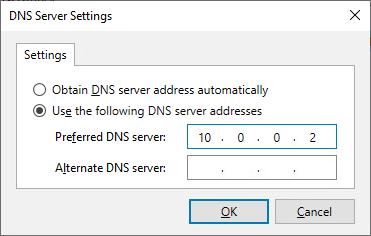
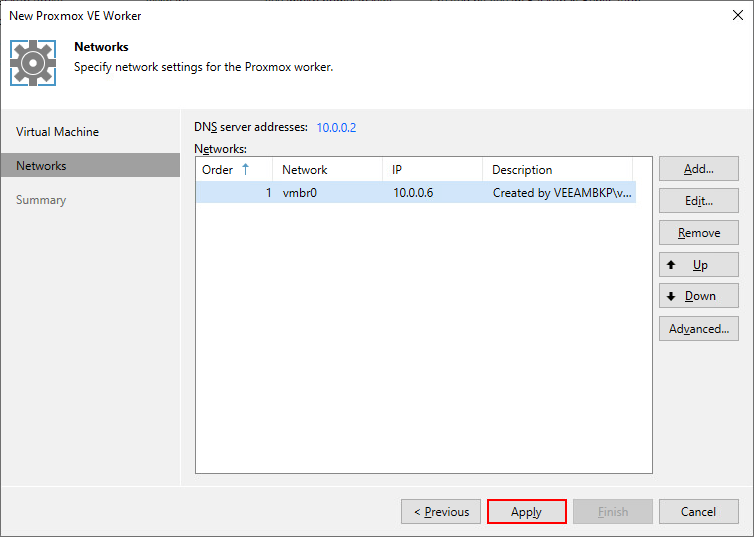
Next we need to configure the networking for the worker. Both DHCP and statically assigned IP addresses are possible. I don’t have DHCP configured in my lab so I’ve statically assigned the IP addressing in this example.
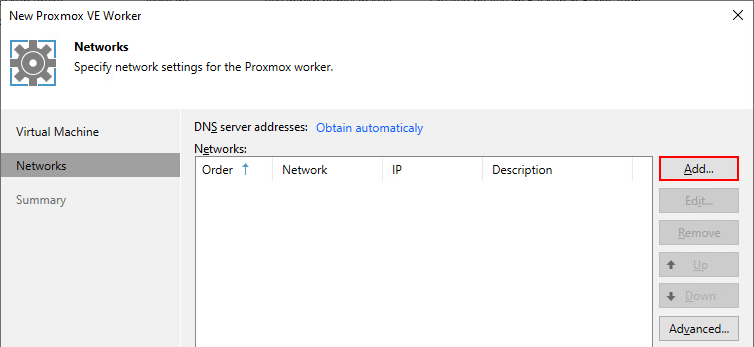
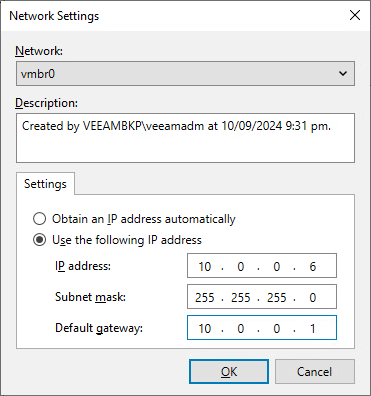
If your Proxmox environment has multiple networks available, it is possible to configure workers with multiple adapters however that is outside of the scope of this walkthrough. The below link from Veeam’s online documentation explains this in more detail.
https://helpcenter.veeam.com/docs/vbproxmoxve/userguide/multiple_networks.html?ver=1
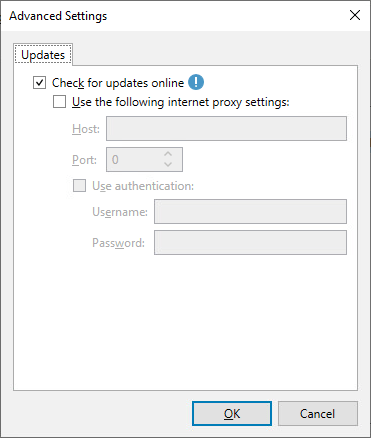
The Advanced button contains options relating to package updates for the worker.
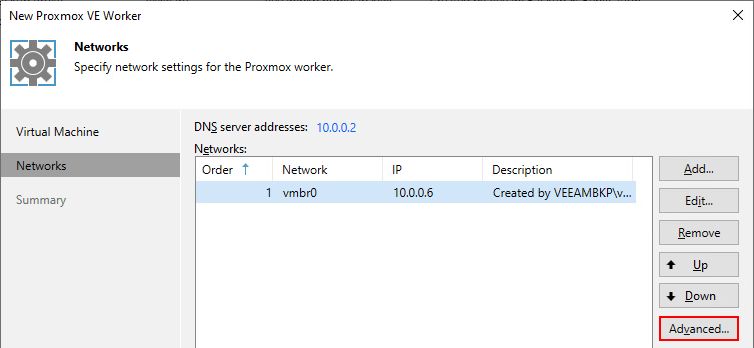
Updates can be turned on or off with the ability to specify a HTTP proxy for workers that don’t have internet access.
When you’re finished configuring the network click Apply.
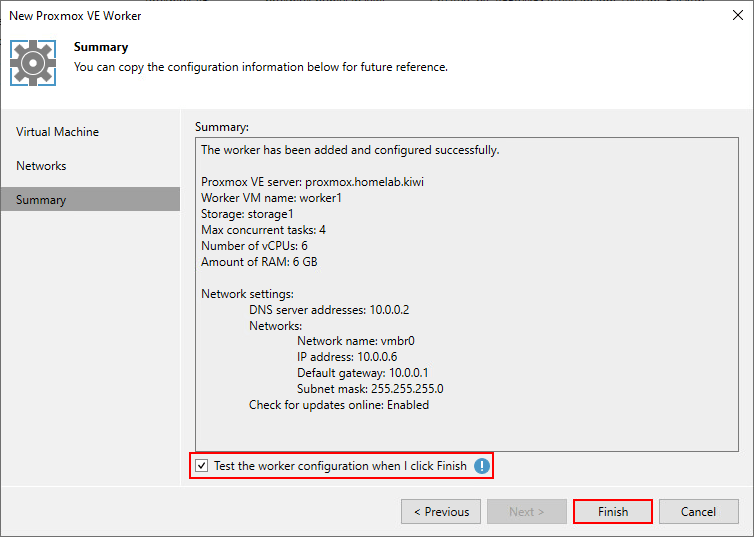
The Summary section shows an overview of the worker configuration. Ensure that Test the worker configuration when I click Finish button is selected before clicking Finish.
You can also run a manual test from Backup Infrastructure > Backup Proxies > Select the worker > Test Worker
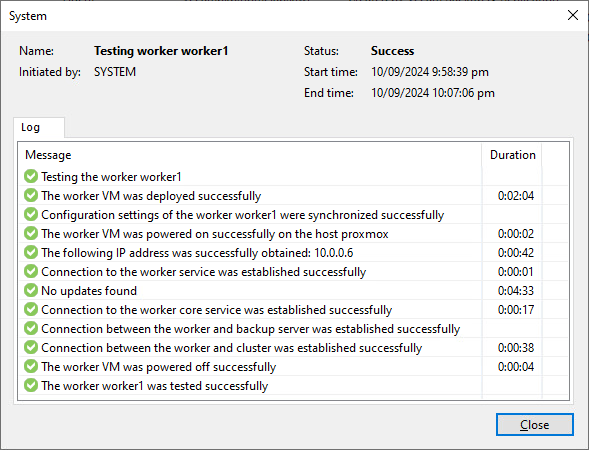
The test process performs a set of pre-flight checks to ensure the worker is ready and able to process requests based on the configuration.
- Verifies that the worker service can start successfully
- Checks that the worker can connect to the backup server and to the Proxmox host
- Installs available updates.
That’s the infrastructure deployed and ready.
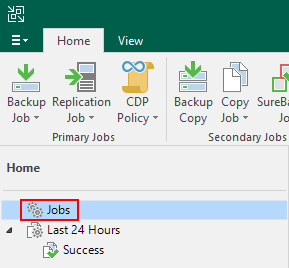
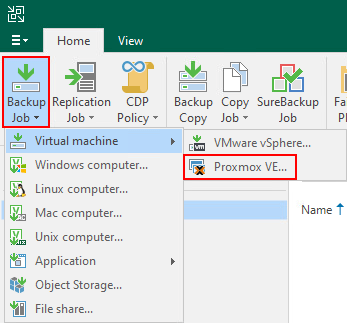
Creating a Backup Job
To create a backup job to protect virtual machines in Proxmox go to Home > Jobs > Backup Job > Virtual Machine > Proxmox VE

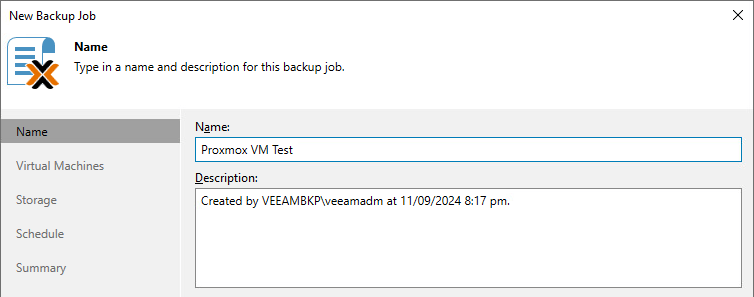
If you are used with creating backup jobs for other hypervisors the below steps will look very familiar. It’s worth noting that Application Aware backups are not supported yet. Any application specific workloads will need to be protected with traditional Veeam agents for now.
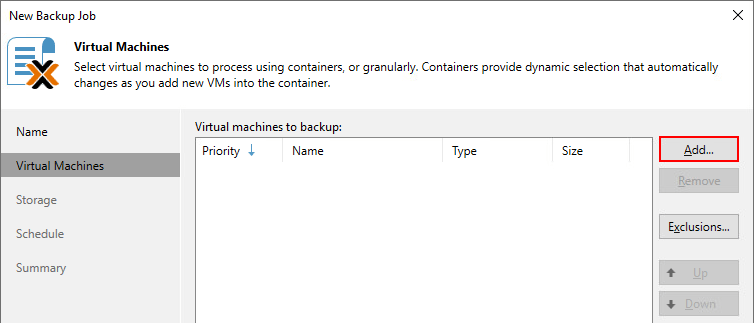
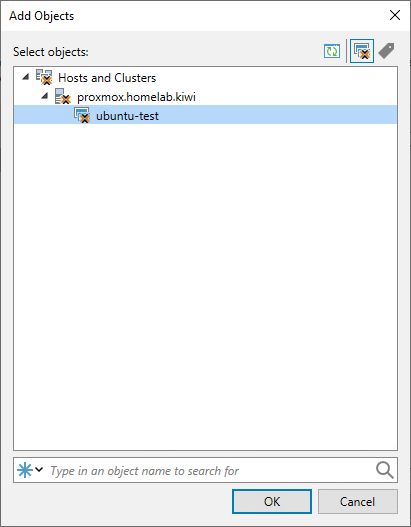
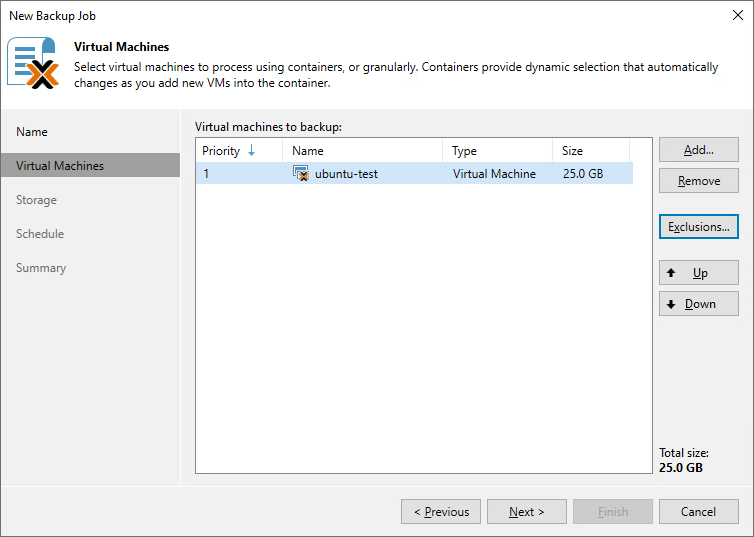
Click Add and select what to backup. In this example I’m backing up a single Ubuntu VM.
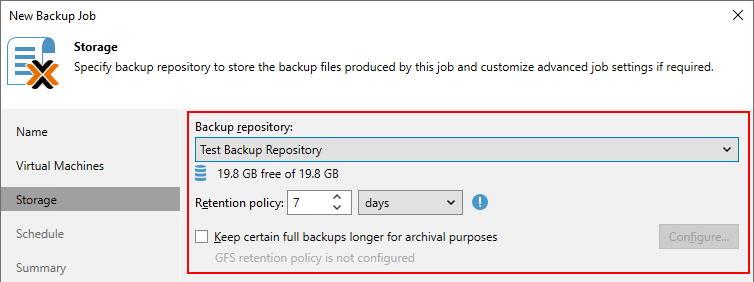
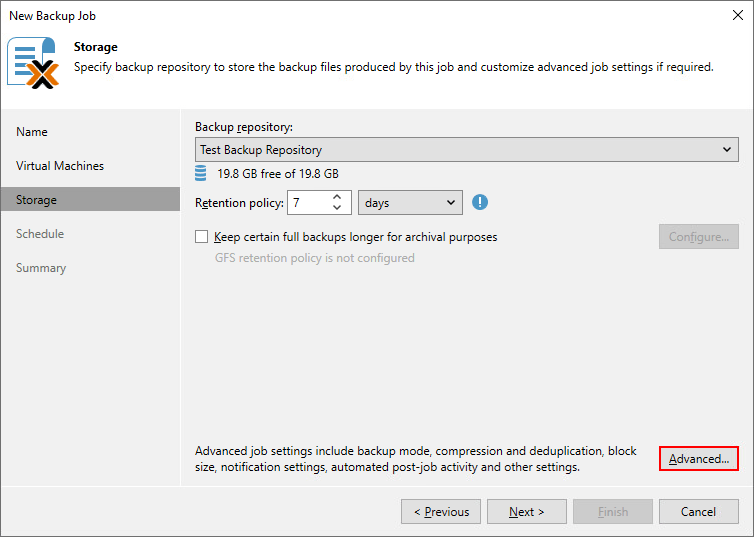
The storage section contains typical settings for the backup repository and retention policy.
Under Advanced you will find some of the common settings seen in other hypervisor jobs such as synthetic full backups, corruption guard and compression.
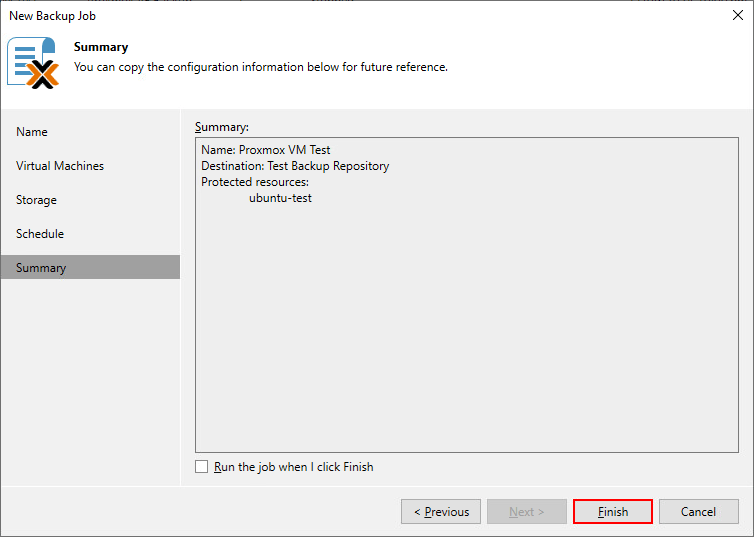
The scheduling section looks as you would expect however there are no Backup Window options for Proxmox jobs yet. Click Apply to create the job then Finish.

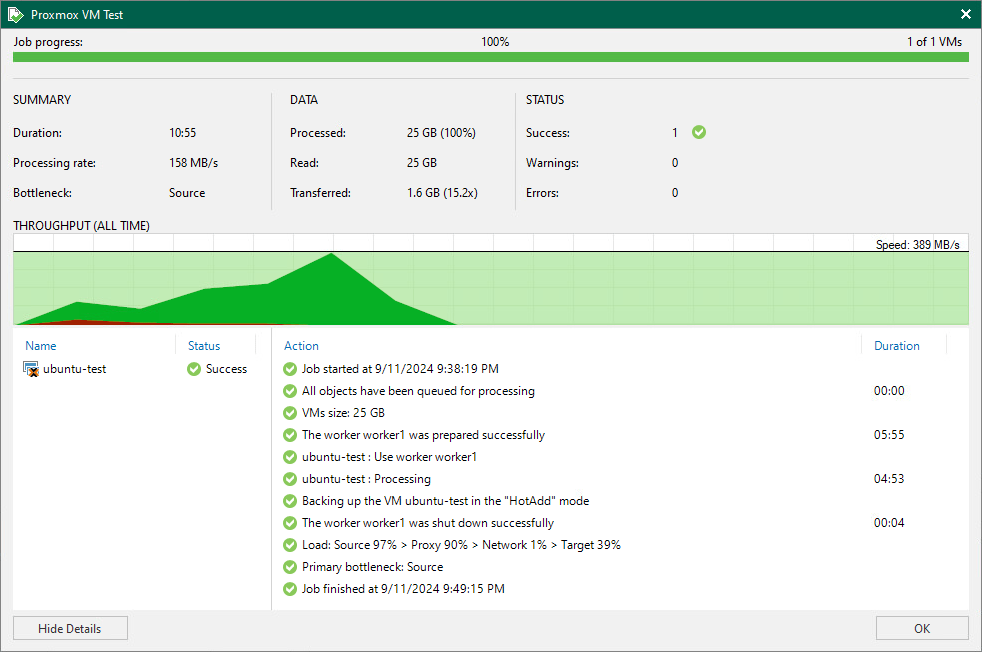
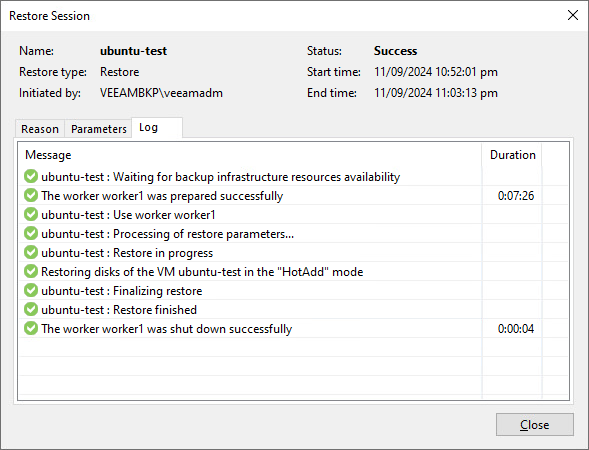
When the backup is started the worker is powered on and begins processing the backup and is shutdown again once complete.
Performing Restores
When it comes to restoring, there is a plethora of choices including options to migrate to other hypervisors and public cloud.
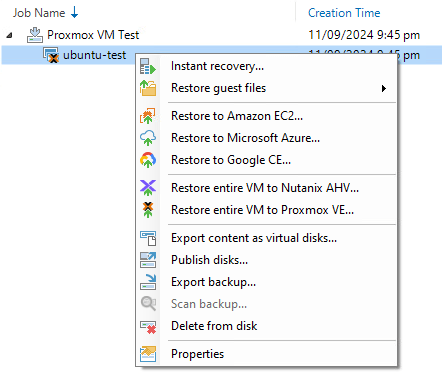
Lets have a look at some of the different restore options on offer.
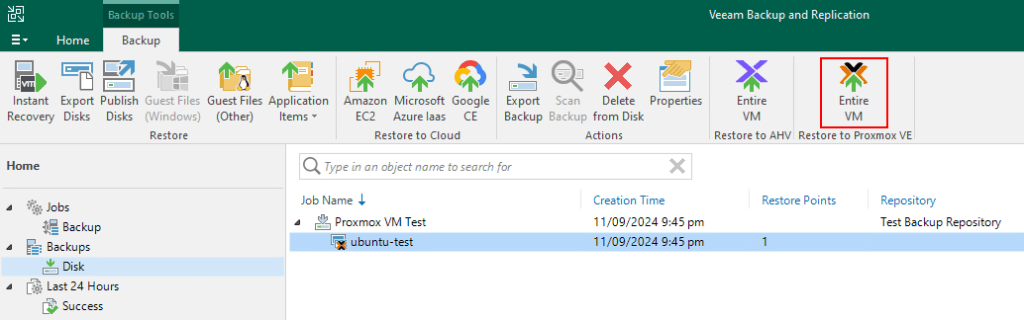
Full VM
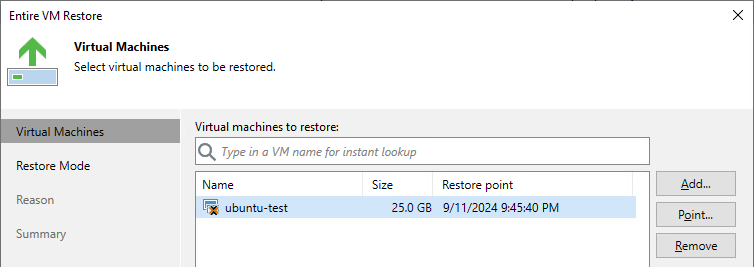
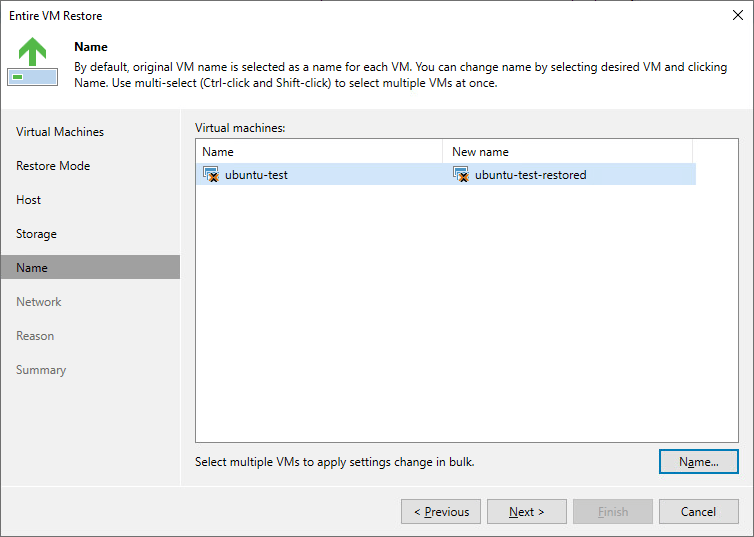
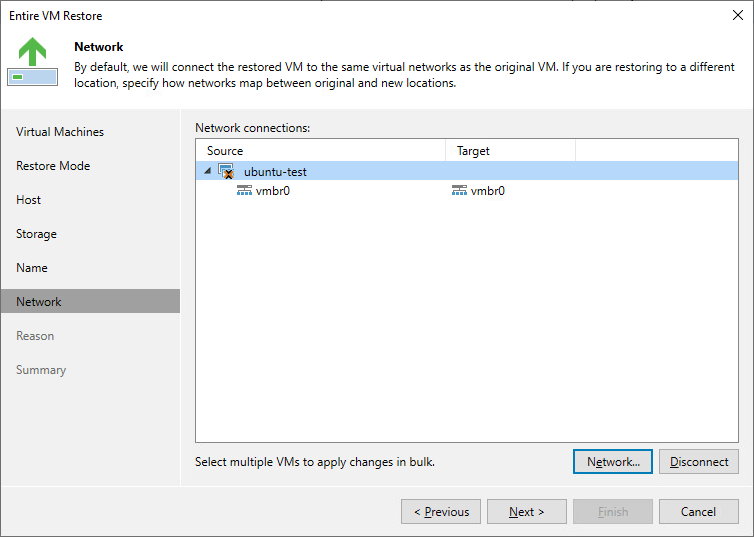
First I’m going to go through restoring the entire VM back onto my Proxmox server.
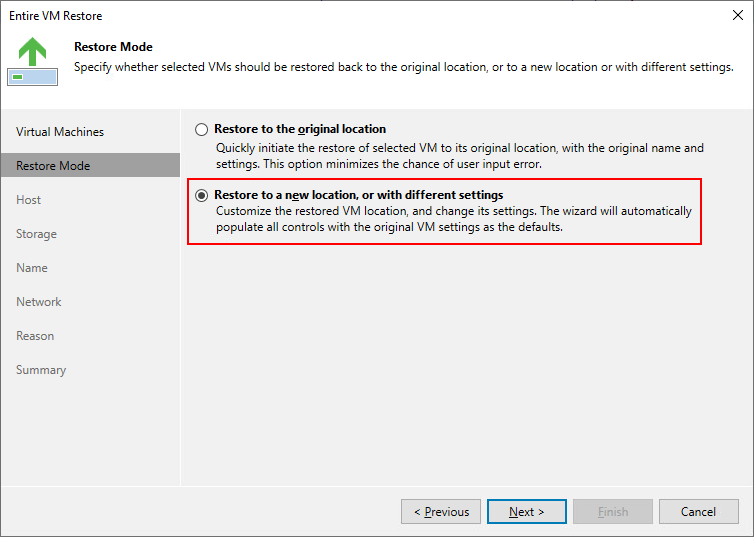
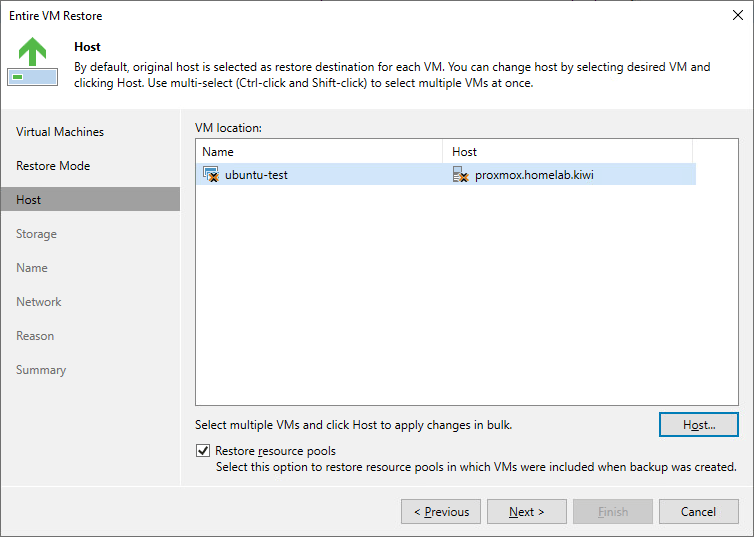
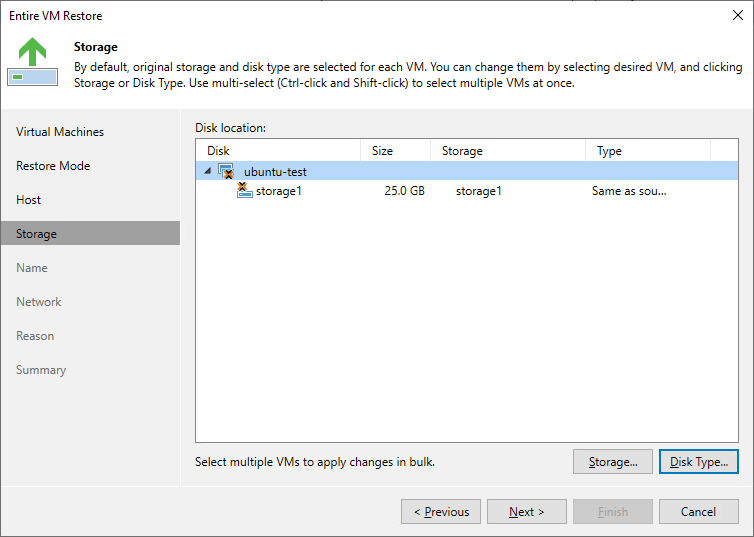
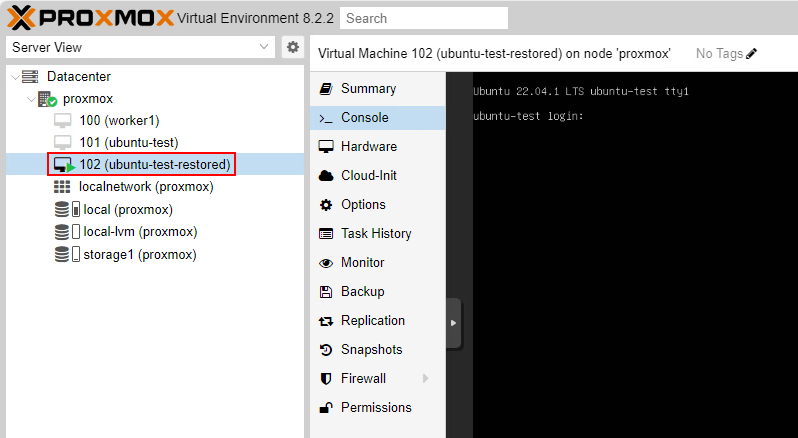
At the restore wizard selecting a restore point choose the restore location. In this scenario I’m going to restore the VM back to the same host and storage but with a different name.
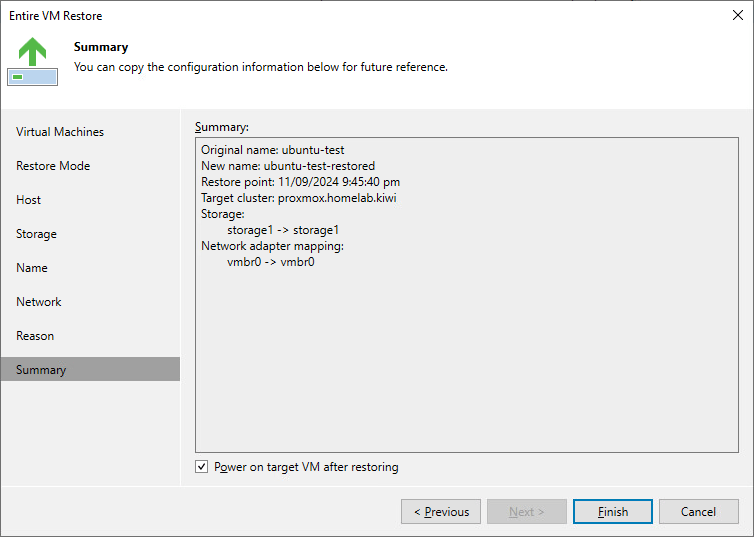
After the restore completes, the VM is powered on and running in Proxmox.
Files and Folders
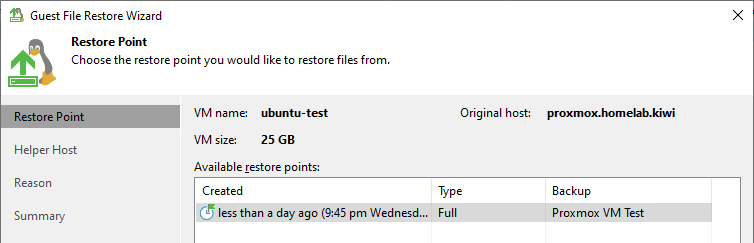
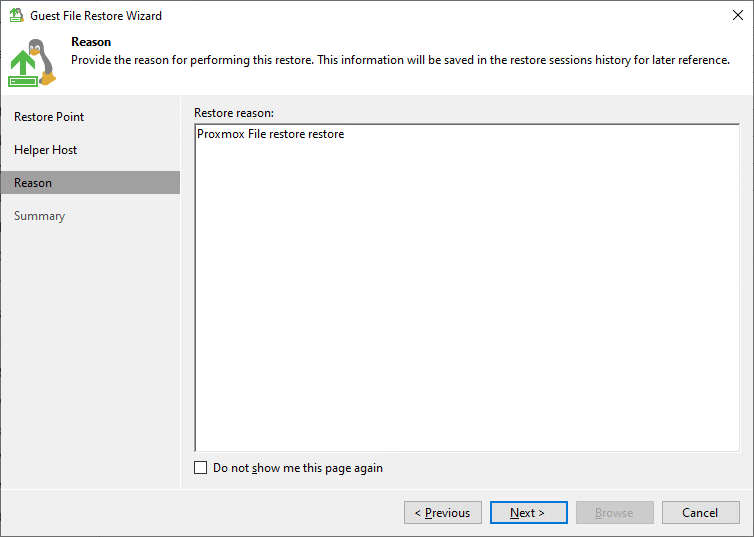
Now lets look at a more granular restore using the Guest Files option where both Windows and Linux operating systems are supported. In the below example I’ve selected Guest Files (Other) since the I’m restoring an Ubuntu server.

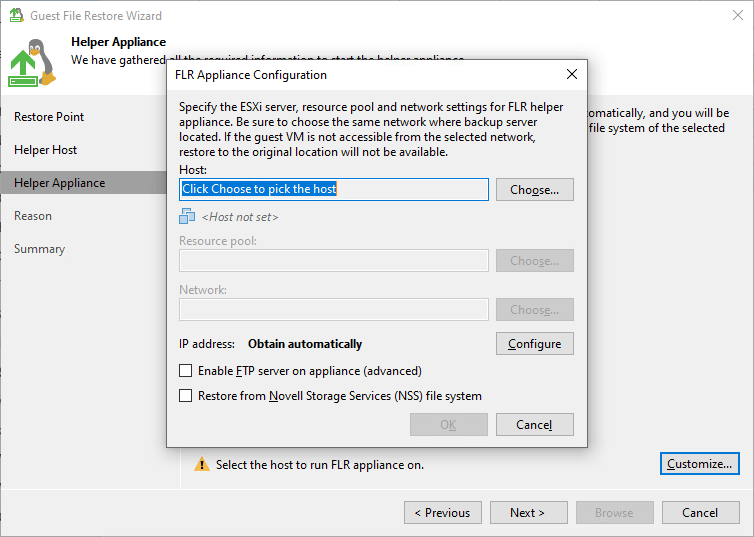
The screenshots below go through the Guest File Restore Wizard process for Linux. I’m selected one of my existing Linux servers as the Helper Host in this instance.
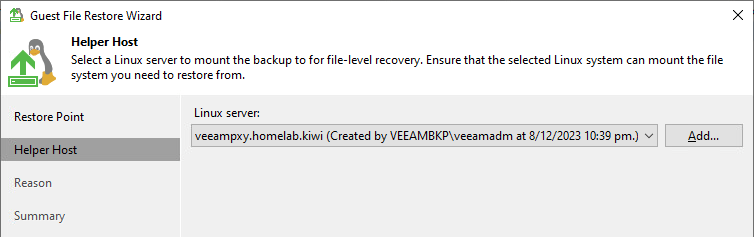
It’s worth mentioning here that it’s possible to use a helper appliance to mount the backup however starting it on a Proxmox host is not currently supported . As you can see from the screenshot below, this is only possible with vSphere.
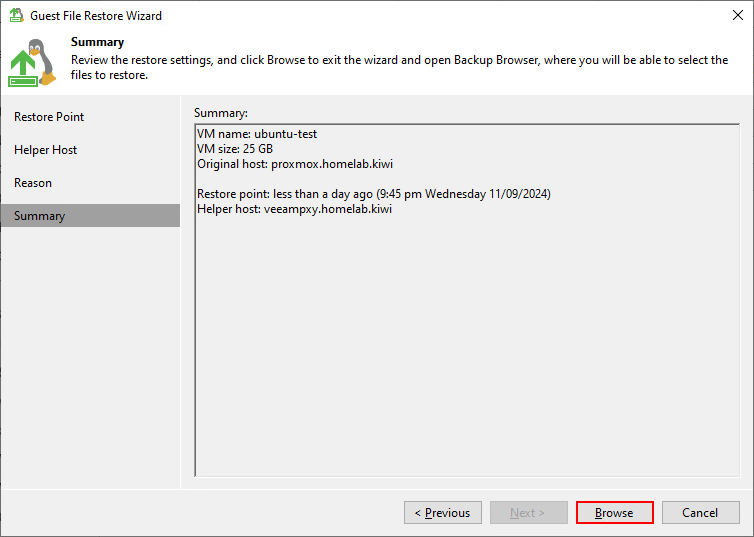
After clicking Browse the Backup Browser opens and the guest file system folder structure is able to be browsed.
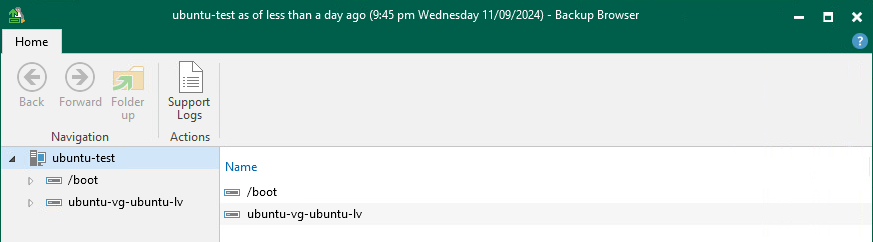
Selecting objects to restore provides a familiar set of restore options.
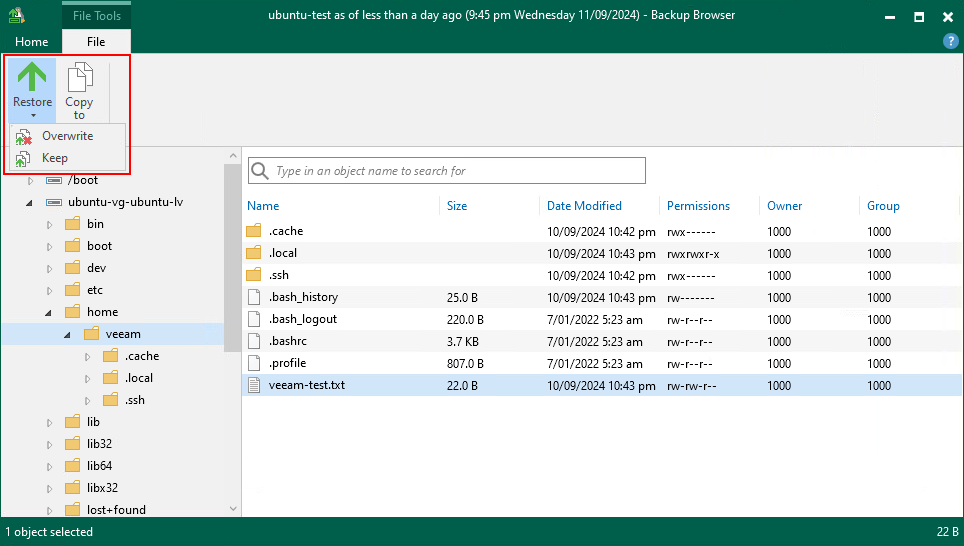
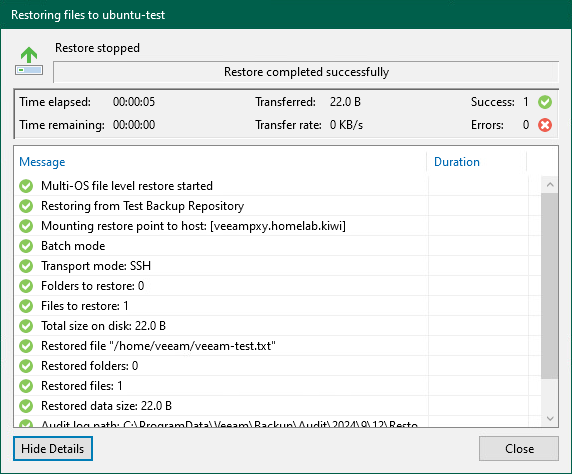
I performed an out of place restore of a single file to demonstrate this.
Wrapping Up
Bringing Proxmox support to Veeam Backup & Replication is a welcome addition and will no doubt cater for folk who might be thinking about their options in the hypervisor market given the recent Broadcom shake up. Storing Proxmox backups in Veeam’s native backup file format along with the multitude of restore options for migrating workloads to and from Proxmox ties back to Veeam’s data freedom messaging around portability of data which is a unique differentiator in the market.
In terms of functionality, I think all the right boxes have been ticked. Sure, there a few advanced features missing that exist for other hypervisor platforms but you have to consider this is an initial release. I’m sure there is more to come as future versions are released.

Leave a comment