
If you follow my blog posts you’ll know I’m a big advocate of the Veeam Service Provider Console. It simplifies management of Veeam environments at scale, bringing everything together in a single pane of glass. Coming from a managed service provider background myself, it’s something I simply couldn’t be without. VSPC is becoming more feature rich with each new release and while the majority of those features relate to backup and monitoring, more recently we’ve seen our first glimpse at restore capabilities.
In this blog post we’ll look into how File-Level Restores can be initiated right within VSPC! Although this feature has been available since version 7, I wanted to put a spotlight on how incredibly useful it can be for both MSPs and customers alike.
Overview
So what does File-Level Restores mean in the context of VSPC? Well, we are talking about restoring individual files and folders from backups created by Veeam agents – specifically Windows, Linux and Mac. The functionality here is much the same as what agents offer us natively with the Veeam file explorer that you might be accustomed to. When a restore request comes in, VSPC connects to the backup agent on the associated remote computer to process it. Since the agent is being leveraged here, we have a familiar list of restore options to choose from:
- Restore to original location, overwriting the original objects
- Restore to original location, keeping the original objects
- Download objects to computer as zip archive
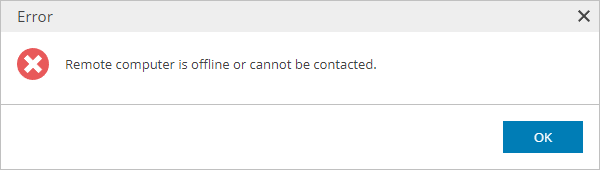
It’s worth noting that the remote computer must be online for restore requests to be processed. If a connection cannot be made to the backup agent, restore requests will fail.
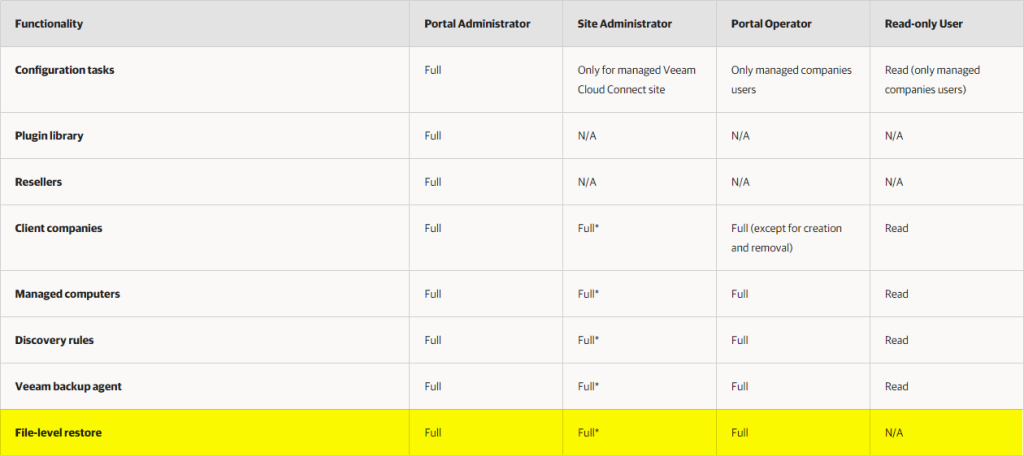
Restore capabilities use RBAC, designed to be available right across VSPC whether you are a company, reseller or admin portal user. The tables below show which roles portal users will need in order to perform file-level restores.
Administrator portal users:
Resellers:

Companies:

In terms of pre-requisites, Veeam components need to be running the versions below for restores to be possible.
- Windows Agent V6 or later
- Linux Agent V6 or later
- Mac Agent V2 or later
- Veeam Cloud Connect/Veeam Backup & Replication repository running on VBR V12 or later
VSPC will throw an error if any of the components don’t meet the requirements. For example, attempting a restore using an outdated agent will display the below message.
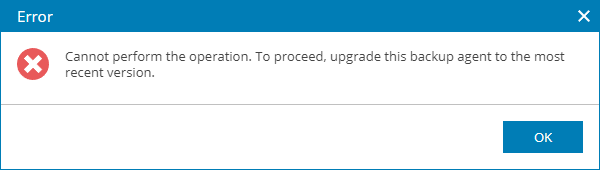
Now that we have an understanding of File-Level Restores and how they work in VSPC, lets jump into the console and see what it the restore process looks like.
Enabling the Integration
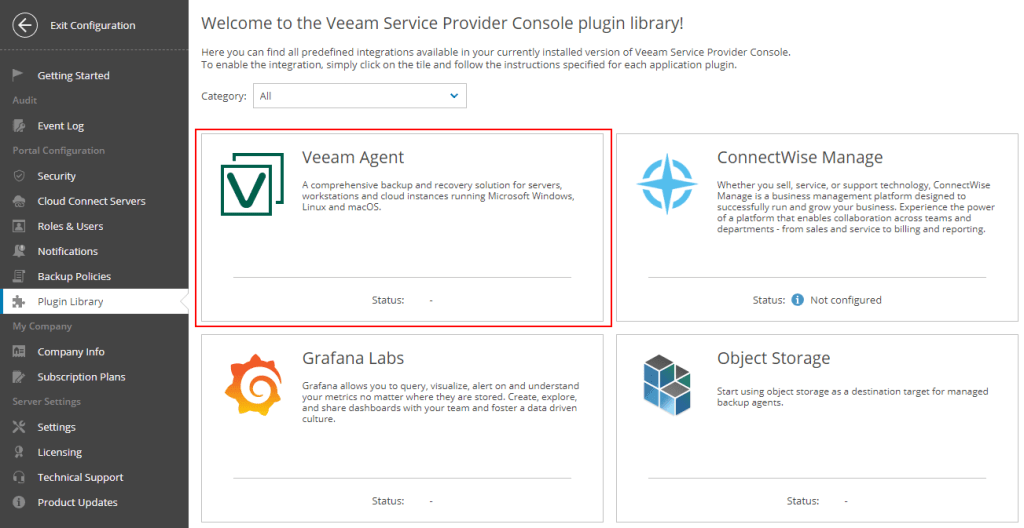
The first step before we can start restoring anything is to enable the feature since it is turned off by default. To do so, log into VSPC as a Portal Administrator and head over Configuration > Plugin Library and click on the Veeam Agent tile.
Next toggle File-Level Restore to On

Take note of point 2 above – file system indexing must be enabled in the associated backup job of the computer being restored to enable searching capabilities during a file-level restore. While this is not strictly a requirement, it does have some advantages which will be covered in the advanced file searching section later on.
Now head back to the Plugin Library and exit the configuration.
Restore Portal
To start the restore process head over to the Protected Data section where you will find a new File-Level Restore Portal link.

Select an agent from the list that you want to restore files for. This will make the link active which when clicked on takes you to the restore portal in a new browser tab. The look and feel of the restore portal is much the same regardless of what OS the underlying agent computer uses. The examples below are based on a Windows machine but the steps for Linux and Mac are almost identical.
Performing a Restore
We’ll start with the Browse tab which is where you will be directed to by default when the restore portal opens. The first step is to select which backup job to restore from the dropdown box (if the computer has more than 1 job) followed by which restore point to use by clicking Select.

From here you can use the date picker to select the restore point to browse from.

After selecting the restore point, it takes a short time to perform a mount request before displaying the list of available volumes to restore from.
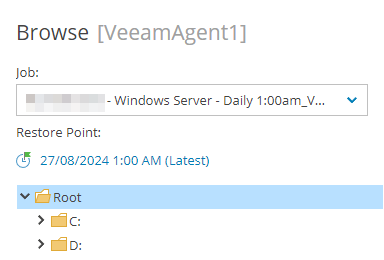
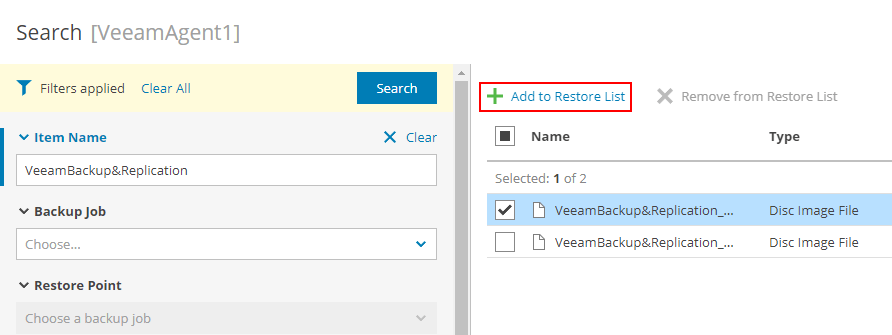
Selecting files and folders for restore can be achieved by browsing the folder structure in the tree view and selecting a folder. This will display the files and folders within the selected folder in the window to the right.
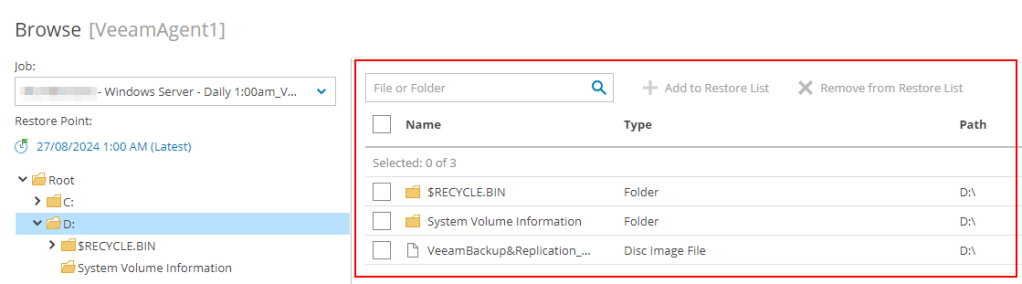
Next select the files and folders to be restored and click Add to Restore List.

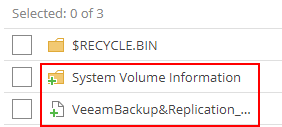
This process can be completed as many times as necessary until all the files you need to restore have been added to the list. Files and folders that have been added to the restore list can be distinguished by their icon.
Conversely, an item can be removed from the list just as easily.

Once you have everything selected, open the Restore List tab.

Here you will see all of the files and folders previously added to the restore list. There are various options available on the page to help search, sort and filter your files if needed. Next let’s explore the different options when it comes to actually restoring some data. After selecting the items you want restore, we have a few options.
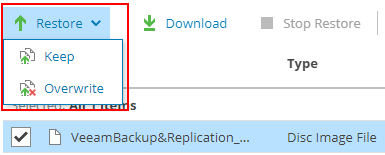
When you want to restore files back to the same computer they originated from, select Restore and then either Keep or Overwrite. These options are pretty self-explanatory – the restore operation will begin as soon as you click either option so be particularly careful when clicking overwrite.
Once the restore process begins the Restore Status column will change to Running.

You can see more detail on the progress of the restore in the session log window underneath by selecting one or more of the items being restored.

If for whatever reason you need to stop the restore, this is also possible by selecting items that are in process then clicking Stop Restore.

Once the restore process completes you can view the results in the Audit tab which will be covered later on.
The second type of restore is Download.

Selecting this will open a window asking for credentials for the remote computer. For a Windows OS this should be a local administrator account and for Linux/Mac, an account with sudo rights.
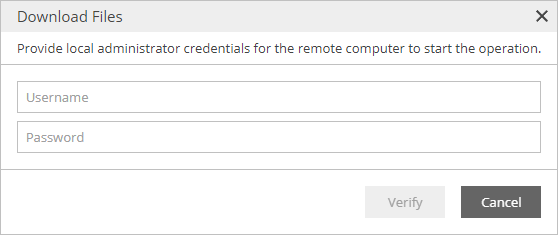
Provided the credentials were entered correctly, the download will begin with the selected items bundled into a zip file.
Whichever restore option you use, the above processes can be repeated as many times as needed. This method of restore is best used when you know exactly where your data is located.
Advanced File Search
What if you’re faced with a scenario where you don’t know where the file is located, what it was called or when it was last available? This is where the advanced file search comes into play, available from the Search tab. Unlike the previous restore methods, the advanced file search doesn’t require the backup files to be mounted to perform a search since it is reading directly from the file system index. However as previously mentioned, if file system indexing is not configured in the backup job, the search option will be unavailable.
Down the left hand side you will see a list of different options for searching and filtering the list of backed up files and folders, allowing you to fine tune your parameters.

By default, the search will return items across all available restore points if none of the filters are specified. Files that are available in multiple restore points will only show the latest restore point.
Once you have performed the search, items matching the filters are shown in the window to the right. These can then be selected and added to the restore list the same way we did previously.
Like before, this process can be completed as many times as necessary including performing multiple searches using different filters. When you have finished adding items to the restore list, a restore can be started from the Restore List tab using the same process as above.
Restore History
Earlier on I mentioned the ability to look at restore job results. Let’s go over that now by heading to the Audit tab. You can think of this as a historic view of any type of file-level restore that has ran and a way to determine whether a particular object was restored successfully or not.
The main window shows an overview of all restored objects.
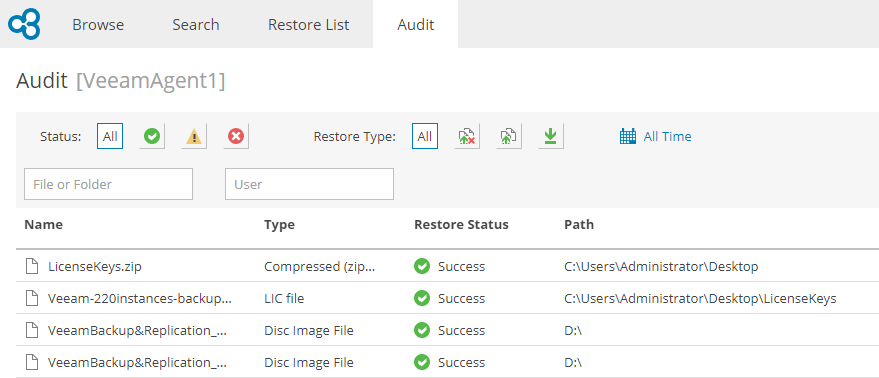
If many objects have been restored for a particular machine over time, it can be difficult to find what you are looking for. For those cases there are a number of ways to filter the results to your specific needs including status, restore type and time as well as searching by file/folder name and the user who initiated the restore.

You can also see the session log from the restore session if necessary by selecting an object from the list and reviewing it in the window below.

Wrap Up
That about covers the topic of file-level restores in VSPC. Whether you are using VSPC to provide a fully managed service, giving customers ability to self-manage or adopting a hybrid model, file-level restores are designed to support all scenarios. Overall I think it has been very well implemented and I look forward to seeing what other workloads we will be able to restore from in future releases.

Leave a comment