
One of the perks of being in the Veeam Vanguard program is getting early access to software technical previews. Today I’m going to be walking through the installation steps and looking at some of the new features V8 has to offer.
Note that some of the below content may change or differ slightly to the GA release.
Installing the software
The first step as always with new installations or upgrades is to read through the release notes. Since this version is a technical preview, I can’t provide a public link for it at this time so be sure to read the notes upon GA release.
Next download the installation package, mount the ISO to the server and run Veeam.Setup.exe.
Once the splash screen appears click Install.

Now select Veeam Backup for Microsoft 365 from the list of install options.

Agree to the license agreement by clicking I Accept.

At the license section, click Browse and select your license file.

Next a System Configuration check will begin which determines whether your system meets all the system requirements and also enables any missing features. My system is in a lab and doesn’t pass the check however in a production environment make sure there are no issues reported here.

Finally you are presented with a summary screen showing the settings to be used for the installation. There are a few new things to mention here. First, notice that the database engine is set to PostgreSQL, replacing SQLite in previous versions. It also has settings for NATS Server which is used for communication between proxy servers within a proxy pool and to store information about the proxy server roles – proxy pools will be covered in its own section later on.
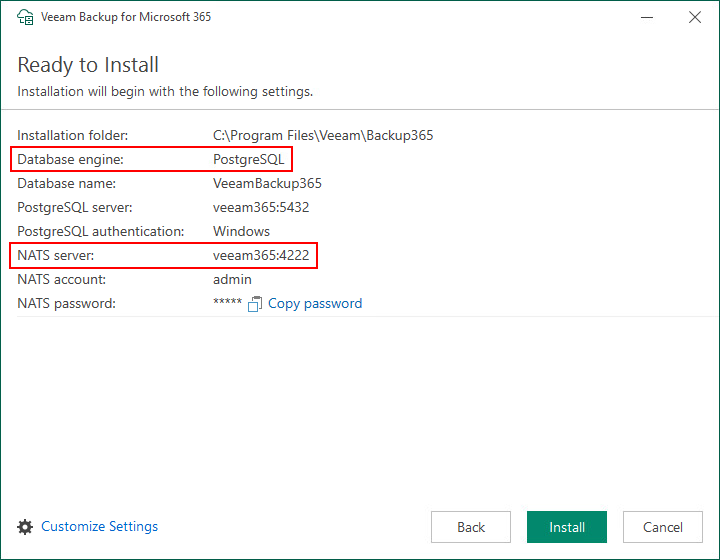
Some of these settings can be adjusted by clicking Customize Settings however for demonstration purposes I’ll be using the defaults.
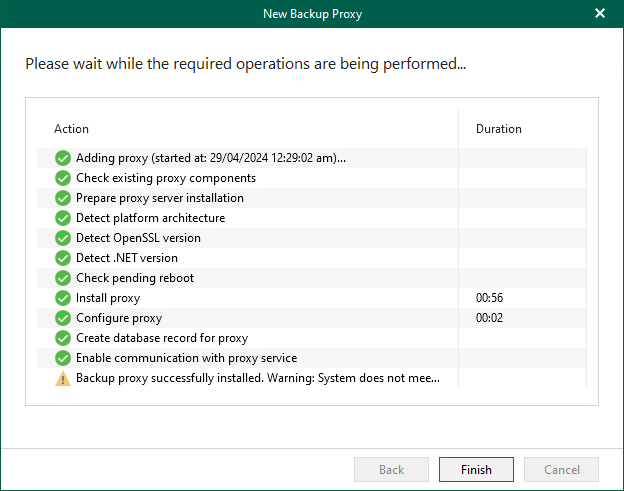
Click Install. Once the installation is complete click Finish.

New Features
Now that the install is complete, let’s have a look at some of the new features available to us in V8.
Linux Proxies
V8 now brings Linux support to proxy servers! Current support includes:
- Ubuntu 20.04 LTS and 22.04 LTS
- RHEL 8.6 to 9.2
Once your Linux server is deployed, it can be configured as a backup proxy with a few simple steps.
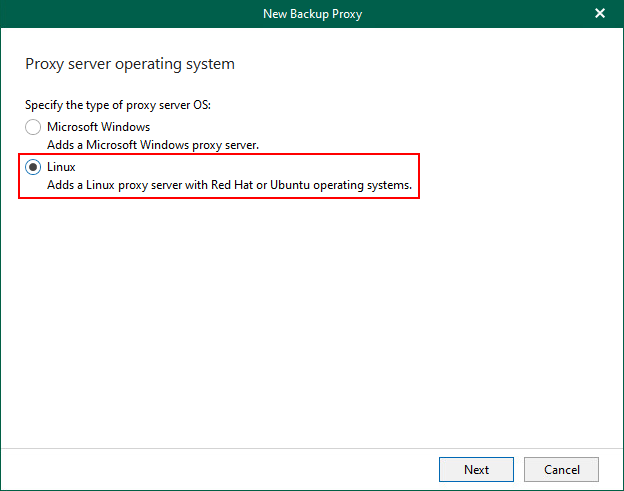
When adding a new backup proxy there is a new option for Linux.
Enter the hostname of the proxy.

Next enter the SSH details to connect to the server.
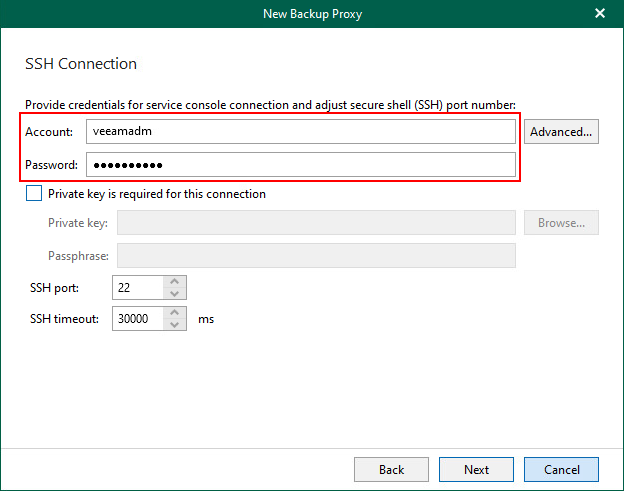
If the account does not have root privileges, click Advanced and configure as needed.
Confirm the SSH key fingerprint.

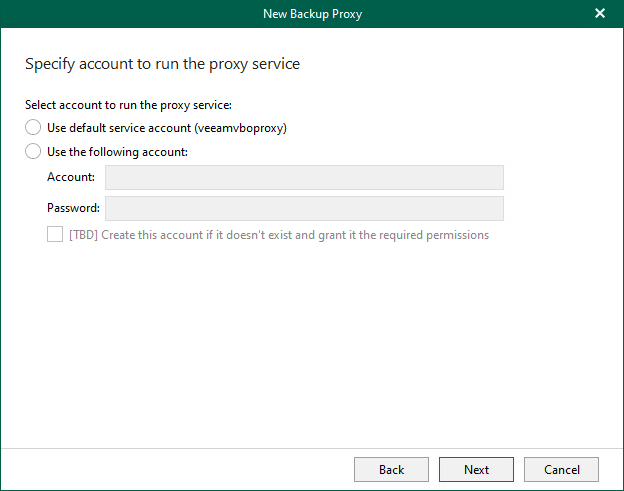
Configure which account will be used to run the proxy service.
Next the proxy role is pushed to the Linux server. The below warning is due to the proxy server running lower specs in a lab environment.
Proxy Pools
To utilise multiple backup proxies in V7 architecture, an organisation’s backup job would need to be split up into a series of different jobs making things difficult to manage.
V8 has a new concept of Proxy Pools which gives the ability to combine multiple backup proxies into a logical entity.
Proxy Pools bring several advantages:
- Scalability – All objects can be protected within a single job when being processed by a proxy pool
- Optimisation – During a backup, backup copy or restore operation, traffic is dynamically distributed among the proxy servers within the pool
- Maintainability – Perform maintenance tasks to proxy servers within a proxy pool seamlessly without affecting running backup tasks
- Flexibility – Ability to add both Windows and Linux based proxies into the same proxy pool
Note that proxy pools can only be assigned to object storage backup repositories.
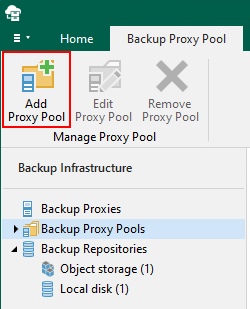
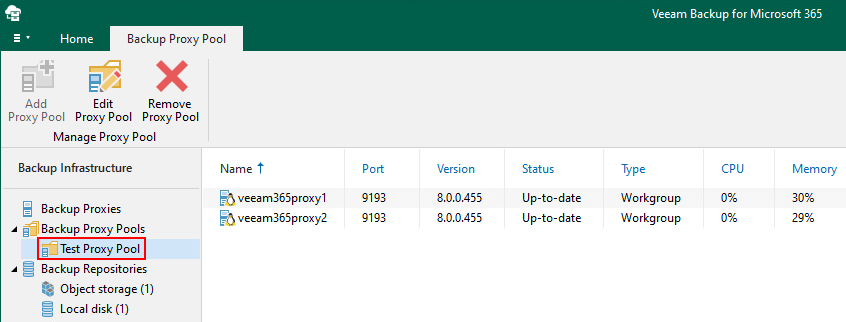
Proxy Pools are available in Backup Infrastructure under the new Backup Proxy Pools entry.

To add a proxy pool click the Add Proxy Pool button.
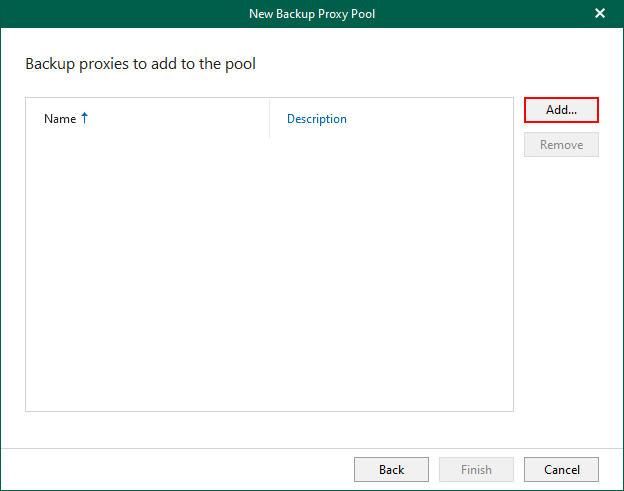
Name the pool.

Click Add and select from the available backup proxies.
Here I will select 2 Linux based proxies.
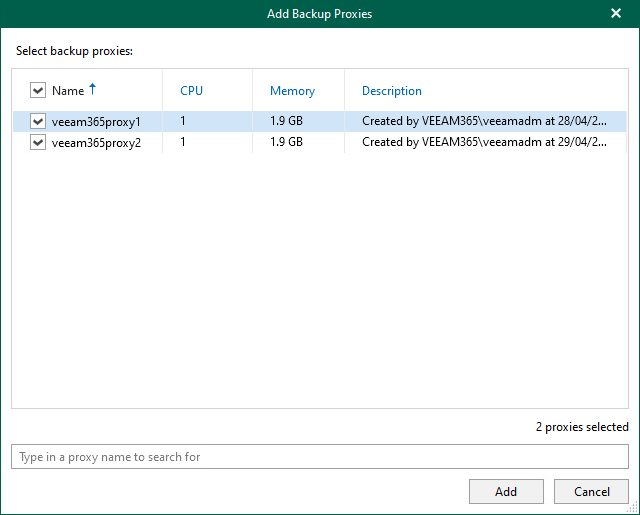
Once the proxies have been added click Finish.

Clicking on the newly created proxy pool shows the members within the pool and a summary of their current resource consumption.
Primary Immutability
Immutability was first introduced in V7 of the software and was available for Backup Copies only. In V8, we now have the ability to make the primary copy of the backup data immutable.
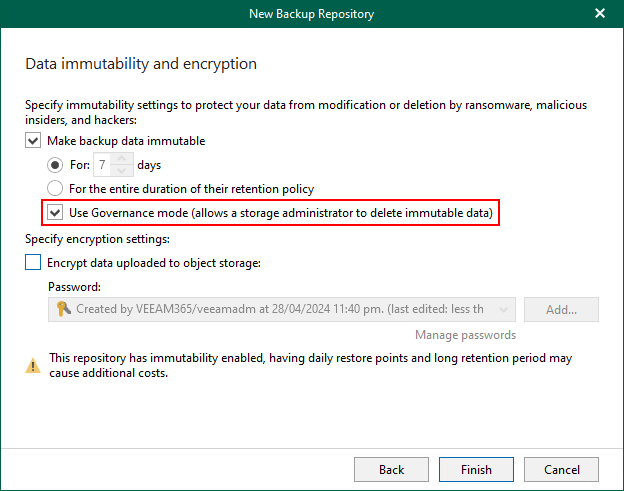
When creating an object storage based backup repository, in the final step there is a new immutability section.

Ticking Make backup data immutable will by default set the immutability to 30 days. It is also possible to set the immutability period to match the retention period by selecting the For the entire duration of their retention policy option.
If you want the ability as an administrator to delete the data before the immutability period is up, select Use Governance mode.
Wrap Up
That concludes a sneak peek into some of the cool new features that are coming in Veeam Backup for Microsoft 365 V8. I’m looking forward to putting this into practice once it goes GA where I will look to cover any changes and additional features in a future blog post – watch this space!

Leave a comment