
V12 has been a hot topic in the Veeam community for quite a while now and today is the day it goes GA. V12 has so many great new features available that upgrading will no doubt be at the top of everyone’s to do list. The upgrade path is actually possible from all the way back to V10a. The only scenario where the standard GA upgrade is when upgrading from the RTM version which requires a different Day 0 Update.
As is always the case with upgrades, I recommend reading the Release Notes first to make sure you have everything in place before upgrading.
Veeam have done an excellent job in collating all the information you will need to plan and perform your upgrade in the V12 Upgrade Center over on the Veeam Community page. For those running Cloud Connect, there is a great Update Veeam Cloud Connect to V12 article in which a service provider shares their upgrade process from start to finish.
Migration walkthrough
In this post I will be going through a V12 upgrade using my V11a home lab. This will only cover Backup & Replication as I’m not running Enterprise Manager or Veeam ONE.
First download and copy the V12 installer to your B&R server by going to https://www.veeam.com/downloads.html and signing in.
The next step is probably the most important one – make sure you have a recent backup of your configuration.


Although my configuration backup runs daily, I like to take a manual backup just before the upgrade to ensure any changes that might have occurred since the previous backup are captured. This has real value in large production environments where changes to the configuration are often made throughout the day.
If you are running an environment with a lot of backup jobs, check they are not running and wait for any that are to complete before continuing. To be on the safe side you can disable the jobs to ensure they don’t try and run during the upgrade. Now we can close the console and start the upgrade.
Mount the ISO against the B&R that you copied earlier and run Setup.exe then click Upgrade.

Now click Upgrade Veeam Backup & Replication which will initialise the setup.

Agree to the EULA by clicking I Accept. Next, the wizard will summarise what components will be upgraded showing the current build numbers and what they will be after the upgrade. It is possible to instruct the upgrade to update the remote components automatically here however I like to leave this unticked and perform this step separately after the upgrade has completed.

Now a quick system configuration check takes place to see if there are any missing features that are required to be installed. If there is nothing to install the wizard skips straight to the next step. Otherwise, you will be prompted to install the required components before continuing.

Next specify the license file. In my lab I’m using the Community Edition so no license is required – all other editions of B&R require a license. If you are upgrading a licensed edition you should find that the license file has already been populated. This is because V10 and V11 use the same license file format as V12.
Next specify the account that B&R services should run under and the SQL database to connect to. Both of these screens should be populated with your existing settings other than any passwords which will need to be entered. When an existing SQL database is specified, the below popup will appear advising it will be upgraded to the latest version.

Next another configuration check is performed, this time to confirm there are no combability issues.

You should now be at the point where the upgrade is ready to begin. Click the Upgrade button to begin.

The time it takes to complete the upgrade will vary depending on your environment.
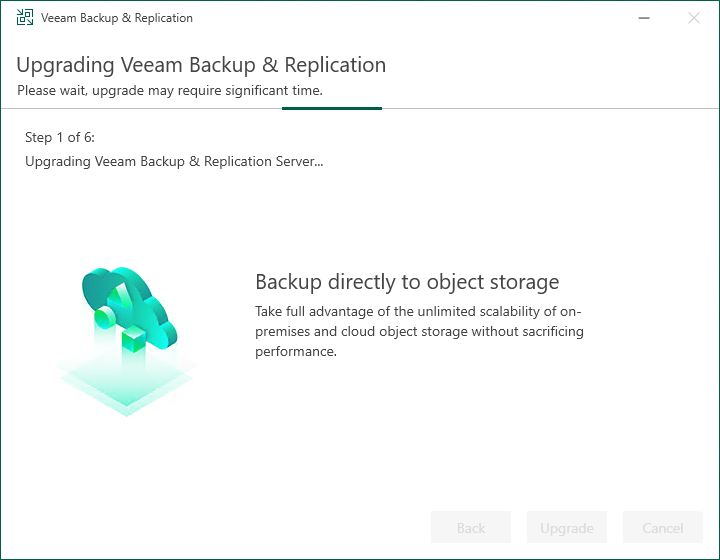
In my lab environment the upgrade took about 7 minutes to complete however I would plan a longer window for larger production environments. Once the upgrade is complete click Finish and login to the console. The ISO can be unmounted at this point.
The Components Upgrade window will automatically appear when accessing the console for the first time after an upgrade. If you selected the Update remote components automatically option earlier during the setup wizard, this step won’t apply and can be skipped since the components will have already been upgraded.
The number of components to be upgraded will differ depending on your environment. By default, all components will be selected for upgrade. Click Apply to begin the process.

Packages for any remote servers are pushed centrally from the B&R server.

Once all components have been successfully upgraded, the Finish button will become available.

The migration can now be considered complete!
Post Migration Tasks
After performing any upgrade, I like to keep things status quo for a while before making any changes or implementing new features. That way, I can make sure everything is still working as expected in the new version. It also helps make the troubleshooting process a little easier if something was to go wrong. Here are a few tasks I usually perform at the end of an upgrade:
- Enable any jobs that were disabled at the beginning of the upgrade
- Check backup job results – keep a close eye on the next scheduled run of your backup jobs to make sure everything is still backing up successfully
- Check configuration backup is completing successfully
Over the coming weeks I will begin rolling out some of the new V12 features into my lab and will be back to share some of my personal favourites.

Leave a comment