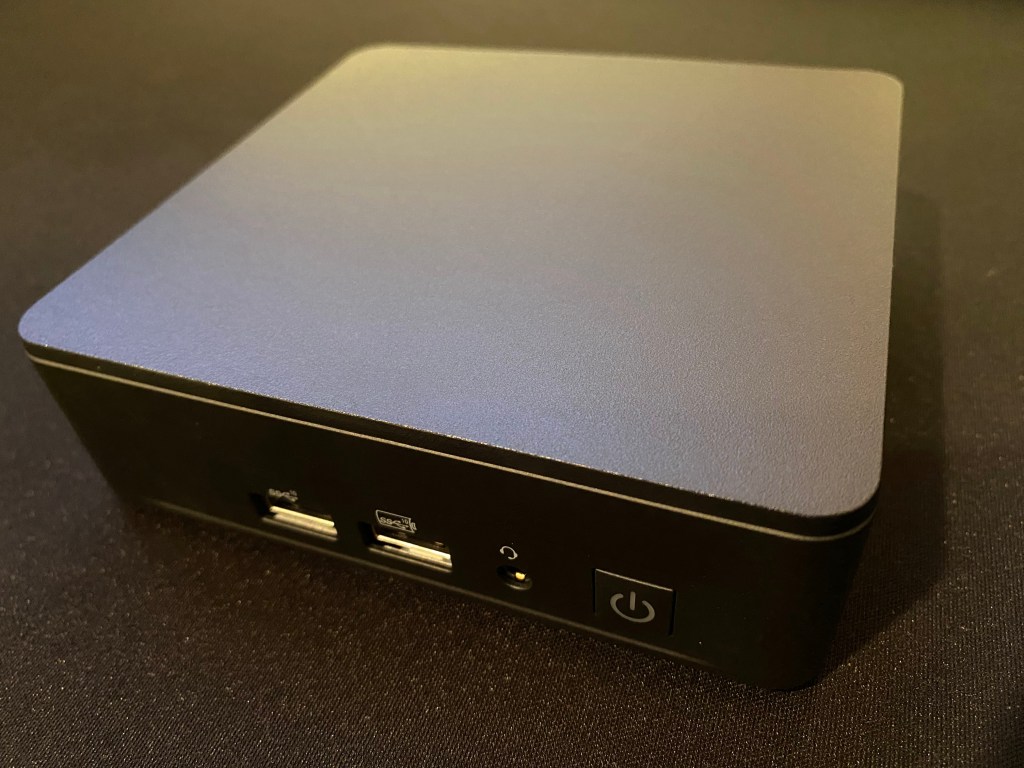
NUCs are great little things. All the features of a modern day server (albeit less room for expansion) within a 5 x 5″ footprint. Because it’s so small, I don’t have to find a dedicated place in the house (likely the garage!) to house this unit and what’s more, it only uses around 50-70W of power. That should be a massive saving on my power bill when compared to the power draw of a traditional rack mounted server.

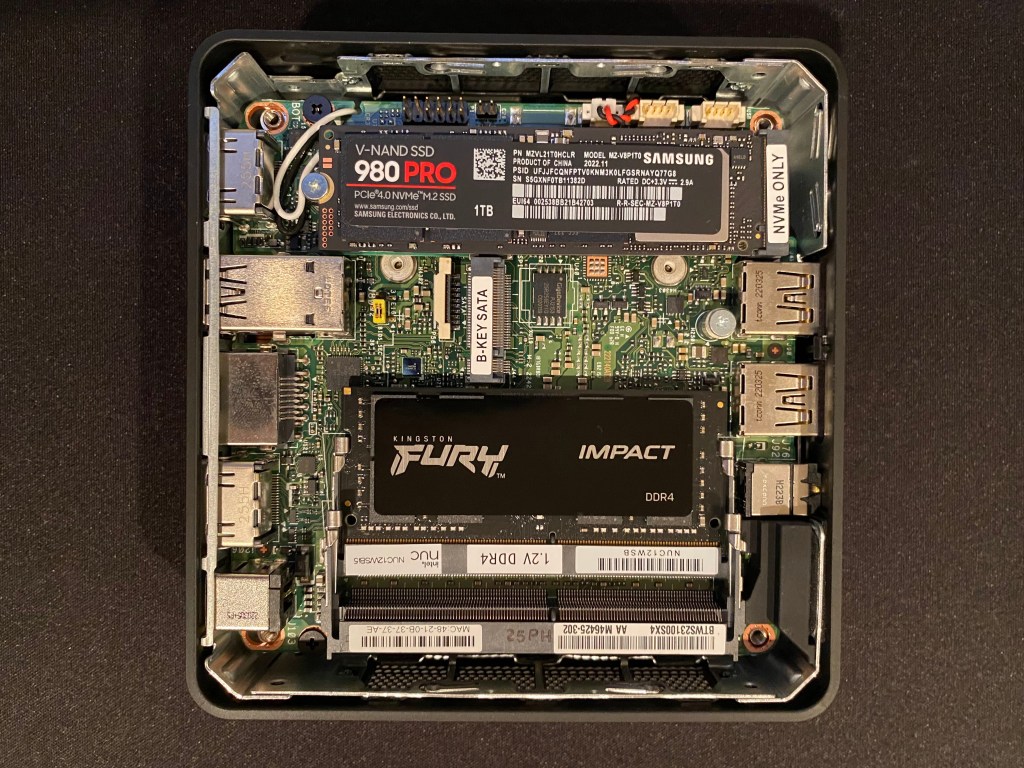
With my trusty screwdriver in hand, I popped open the case and began to get to work. The process is simple and involves installing the NVME SSD and memory module which only takes a few minutes. This is a far cry from any PC or server I’ve built over the years.
Once I had the NUC connected up to a screen and keyboard, it was time to install the Hypervisor. I’ve been working with vSphere for the past decade so for me ESXi was the natural choice. William Lam has a great write up on the NUC 12 which was my reference point to make sure it was compatible with the latest version of vSphere 8.
I’m not going to delve into all the steps required to install ESXi as they are readily available on the internet but at a high level it involves creating a bootable USB stick.
Before starting the install I made a few changes in the BIOS which is available by pressing F2.
- My NUC would be running virtual machines that I’d like to always be running. So having the unit power back on after a power failure is a must. We very rarely get power outages in my area but I think it’s worth enabling this setting anyway. You can find it under Power > Secondary Power Settings > After Power Failure. Set it to “Power On”
- Again, this is not essential but after installing ESXi a warning appears in the web interface due to vSphere not supporting TPM 2.0 on the NUC. To disable go to Security > Security Features and uncheck “Intel Platform Trust Technology”
The install of ESXi was quite straightforward other than needing to press SHIFT+O during boot and appending the below to the kernel boot settings:
cpuUniformityHardCheckPanic=FALSEAfter the install is complete make sure to append it again otherwise ESXi will PSOD during boot.
To permanently configure the ESXi kernel boot setting, in case of updates/upgrades in the future, we can set the kernel setting using ESXCLI. We first need to login to DCUI by pressing F2 and then navigating to Troubleshooting Option and enable ESXi Shell. Switch into the ESXi shell by pressing ALT+F1 and login with root and the password you had configured during installation. Now run the following ESXCLI command to configure the kernel option:
Now it can be set permanently by following these steps:
- Login to DCUI using F2
- Go to “Troubleshooting Options”
- Highlight “Enable ESXi Shell” and enable it by pressing Enter
- Press ALT+F1 to enter the shell and login with the credentials previously configured
- Run the below command
esxcli system settings kernel set -s cpuUniformityHardCheckPanic -v FALSEAfter running through the usual post install network configuration the NUC built was complete. Now I can start creating some VMs but first, I need to setup that NAS…

Leave a comment