
During the pandemic, lockdown took away the one thing that gave me the ability to function in a morning – coffee! For what seemed the longest time, cafes were closed and it was practically impossible to get a takeaway coffee anywhere. No longer could I be without a flat white so I decided to buy a coffee machine and make my own. By the time things started getting back to normal again, I was able to make a half decent flat white.
I’m really pleased with the machine however the only thing that always frustrated me especially in the morning was turning it on and waiting for it to warm up. I know, first world problem right? But since I have an interest in home automation it got me thinking, surely there’s a way to automate this…
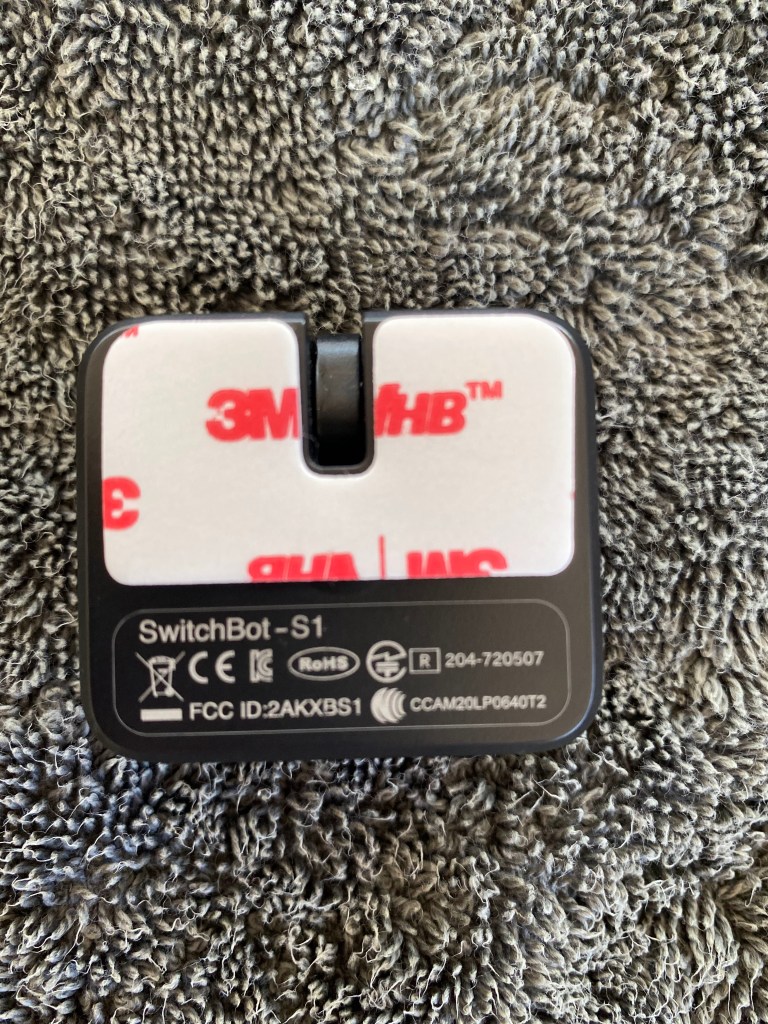
Enter the SwitchBot Bot! It has the ability to turn any old appliance with a rocker switch or button into something much smarter. The concept is quite simple – powered by a CR2 3V battery, the device has a small robotic arm that moves when triggered via Bluetooth. This should be compatible with most coffee machines out there provided they have a button that can be reached by the robotic arm.
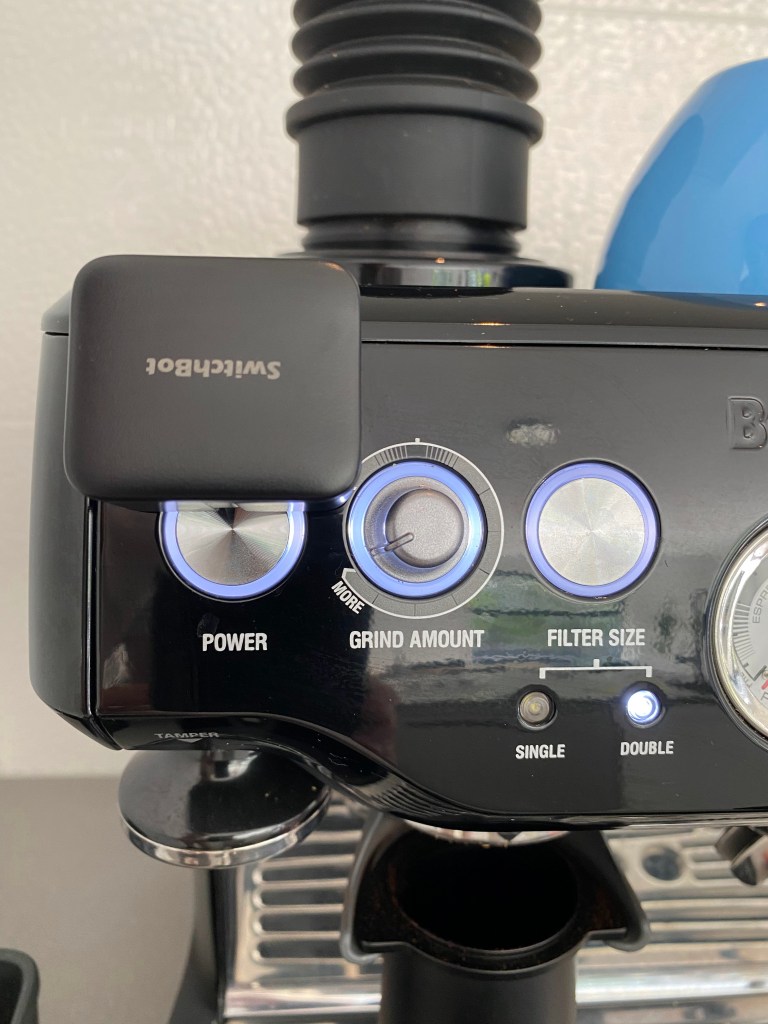
I was able to easily mount the device to the power button on my Breville Barista Express using the adhesive pad included in the box.
The product documentation states that by itself the SwitchBot Bot can only be used within Bluetooth range however by adding a SwitchBot Hub Mini, it can be triggered from anywhere. In this post I’m going to show you how to set up the Bot in Home Assistant without the need for the Hub Mini. Integrating the Bot into HA will give us the ability to do far more than what can be achieved via the SwitchBot app while still being able to control the it from anywhere. Keep in mind that to integrate the Bot, the device running HA must have Bluetooth capabilities.
Integrating the SwitchBot device
The steps below assume you already have the Bluetooth integration configured in HA. If not follow these configuration steps.
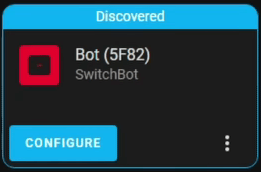
Adding the Bot into HA is really easy. Under Settings > Devices and Services you should find that the device is discovered automatically. Click Configure then Submit to add it.

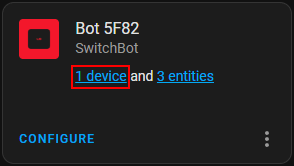
Now click on the device to view the associated entities.
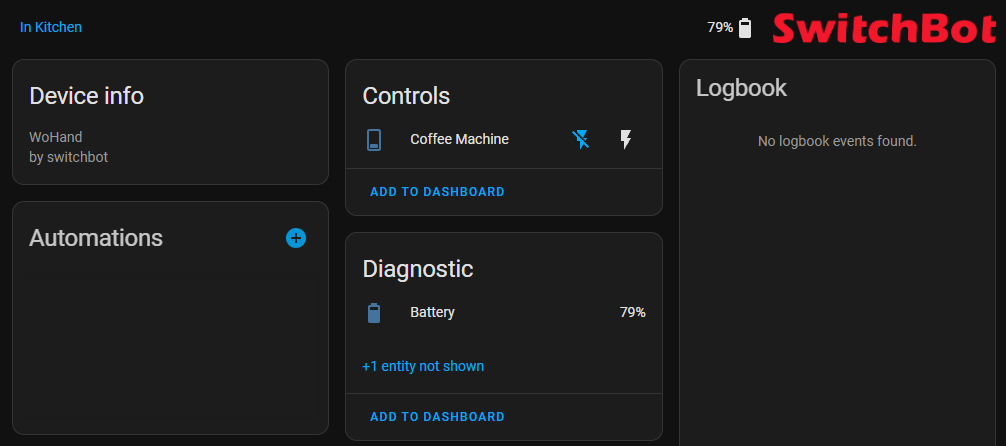
Here you can test turning the device on and off using the buttons in the Controls tile. After some testing I’ve found there is little to no delay between toggling the switch and the robotic arm kicking into life. There is also a sensor for the battery percentage under the Diagnostic tile. At this point I renamed my device to make it easier to manage.
From here you can create your own automations or continue reading to check out my ones.
Coffee Based Automation
There are many ways to automate the toggling of the switch. The way I have it configured is through voice commands using Alexa which allows me to say “Alexa, turn on coffee machine” but use whatever works best for you.
Create Helper Timer
Before creating the automation we need to create a timer to keep track of when the coffee machine has warmed up and ready to use. Head to Settings > Devices & Services > Helpers and create a new Timer helper.

Give the timer a name such as Coffee Machine Warmup. For the duration, set it to however long your coffee machine takes to warm up. Some models have this stated in the manual however it is typically somewhere between 20-30 minutes. To set the duration as 20 minutes, use 00:20:00. Also tick the Restore box – this will ensure the timer continues where it left off in the event HA is restarted while the timer is running. Once finished click Create.

Create Warmup Automation
Next we will create an automation to start the warmup timer when the coffee machine is switched on. Go to Settings > Automations and create a new automation

Click Add Trigger and select State from the list. In the Entity dropdown box select your SwitchBot Bot switch. In this case mine is called switch.coffee_machine. In the From field select Off and in the To field select On.

Next click Add Action and select Call service from the list. In the Service dropdown box select Timer: Start. Under Targets click the Choose entity button and select the helper timer created in the previous step.

Lastly click the Save button in the bottom right, give the automation a name then click Save.

Here is the automation in YAML format for those that prefer it. Change the parts with <> to suit your entity names.
alias: Coffee Machine Warmup
description:
trigger:
  - platform: state
    entity_id:
      - switch.<switchbot entity name>
    from: "off"
    to: "on"
condition: []
action:
  - service: timer.start
    data: {}
    target:
      entity_id: timer.<helper timer entity name>
mode: single
Create Ready Automation
Now we will create a second automation to notify us when the coffee machine has warmed up and ready to use. Create a new automation and add a trigger, this time selecting Event. In Event type enter timer.finished and in Event data put entity_id: <helper timer entity name>. If you used Coffee Machine Warmup as your helper timer name earlier, you would use entity_id: timer.coffee_machine_warmup.

Under actions is where you would add an action to notify you that the coffee machine is ready to use. The type of action you add here will depend on how you receive actions in HA. I have both mobile notifications (via the HA app) and Alexa notifications (via the Alexa HA integration). I won’t be covering how to configure these in this post but if you have either of these setup on your HA, here is how I have them configured.
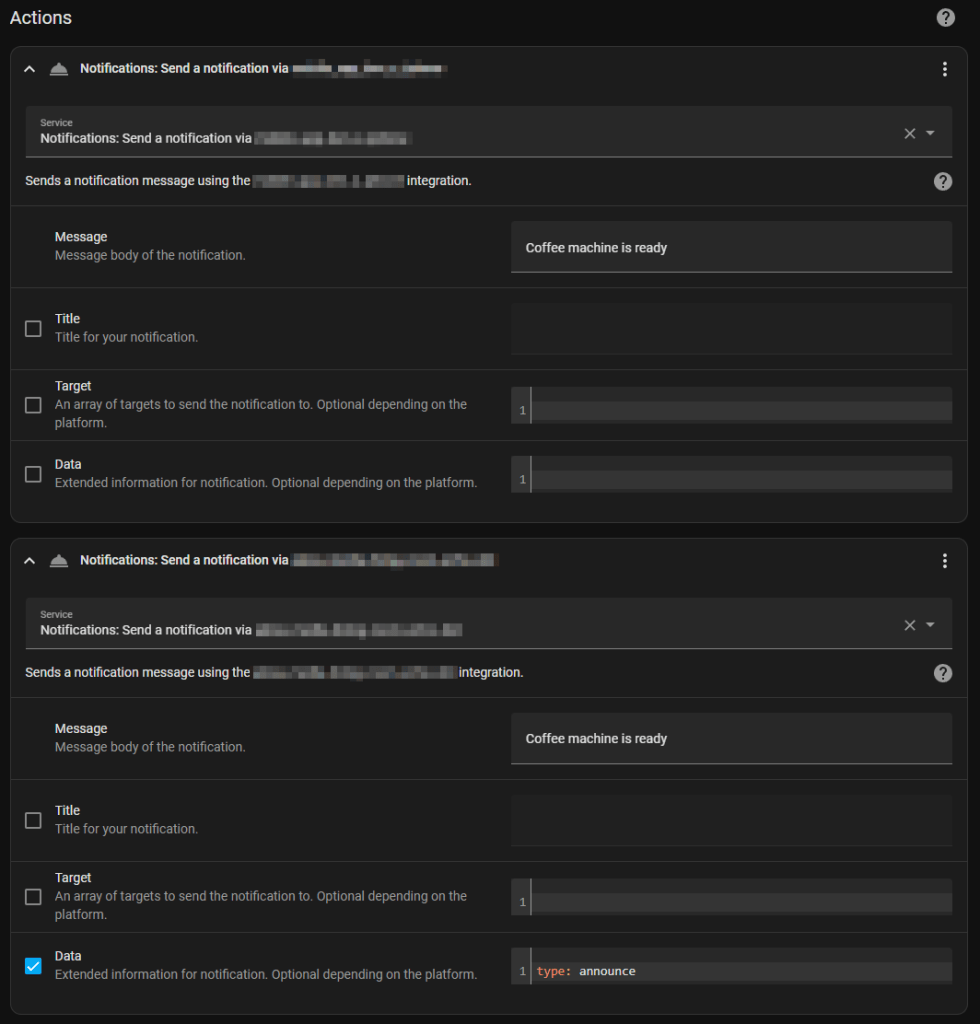
Add an action and select Call service. Under Service select Notifications: Send a notification via <device> where device would be the name of your mobile phone. In Message type the text for the notification that will appear on your phone.
Add another action and select Call service again. Under Service select Notifications: Send a notification via <device> where device would be the name of your Alexa device. In Message type the text for the notification that will be spoken from your Alexa device. Tick the box beside Data and enter type: announce.
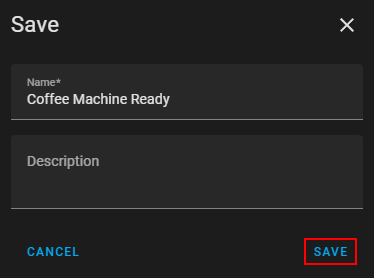
Lastly click the Save button in the bottom right, give the automation a name then click Save.
Again, for those preferring YAML, here is the code for this automation. Change the parts with <> to suit your entity names.
alias: Coffee Machine Ready
description:
trigger:
  - platform: event
    event_type: timer.finished
    event_data:
      entity_id: timer.<helper timer entity name>
    enabled: true
condition: []
action:
  - service: notify.<mobile device>
    data:
      message: Coffee machine is ready
  - service: notify.<alexa device>
    data:
      data:
        type: announce
      message: Coffee machine is ready
mode: single
Now whenever you toggle the Bot switch to on, the Coffee Machine Warmup automation will start the helper timer. When the timer finishes it will trigger the Coffee Machine Ready automation and send you a notification. I find this super useful especially first thing in the morning when you wake up or if you are on the way home and want the coffee machine ready and waiting.

Leave a comment